The Kegerator Doctor: Balancing Lines, Fixing Foam, and Faucet Upgrades.
Introduction: Why is my beer foamy?
I spent three months drinking foam, but not by choice. I’d converted an old fridge into a kegerator, tapped my first homebrew, and pulled the faucet expecting a beautiful amber pour.
Instead, I got a glass that was 60% head and 40% disappointment. I blamed everything from the yeast and carbonation to Mercury being in retrograde.
It wasn’t bad luck; it was bad physics. Every foam problem in a draft system comes down to one thing: CO2 coming out of solution too early.
When beer moves from keg to glass, it experiences pressure changes, temperature swings, and turbulence. If any of those variables are wrong, the dissolved carbon dioxide turns your beer into a science fair volcano.
The good news is that draft systems follow predictable rules. Once you understand the relationship between pressure, temperature, line resistance, and flow rate, you can diagnose any foam issue in under five minutes.
I’ve done this in my garage with a 12 dollar pressure gauge and a notebook. You don’t need a brewery; you need the right measurements.
This guide will walk you through calculating exact line lengths and identifying why faucets drip. I’ll also show you which upgrades are worth the money and which ones are just shiny distractions.
Section 1: The Mathematics of Balance
The core principle of draft balance is simple: the resistance in your beer line must match the pressure in your keg. If your serving pressure is 12 PSI, your line needs to create enough resistance to drop that pressure to near zero by the time it reaches the faucet.
If there’s too much pressure at the tap, the beer accelerates, gets turbulent, and releases CO2. Here is the formula I use (derived from the McMaster-Carr draft physics): PSI drop needed = (Serving PSI) minus (Elevation PSI) minus (Faucet PSI).
Elevation adds roughly 0.5 PSI per foot of vertical rise. Most faucets need about 1 PSI to open and pour smoothly.
If your keg is at 12 PSI and your faucet is 3 feet above the keg, you need to drop 9.5 PSI through the line. Standard 3/16 inch ID vinyl tubing has a resistance of about 2.2 PSI per foot.
To drop 9.5 PSI, you need roughly 4.3 feet of line, though I round up to 5 feet to be safe. I see people running 2-foot lines because it looks cleaner, but the line is your shock absorber.
If you want a faster pour, increase the line diameter to 1/4 inch ID, but you’ll need much longer lines. I once tried this and ended up with 18 feet of tubing coiled inside my kegerator.
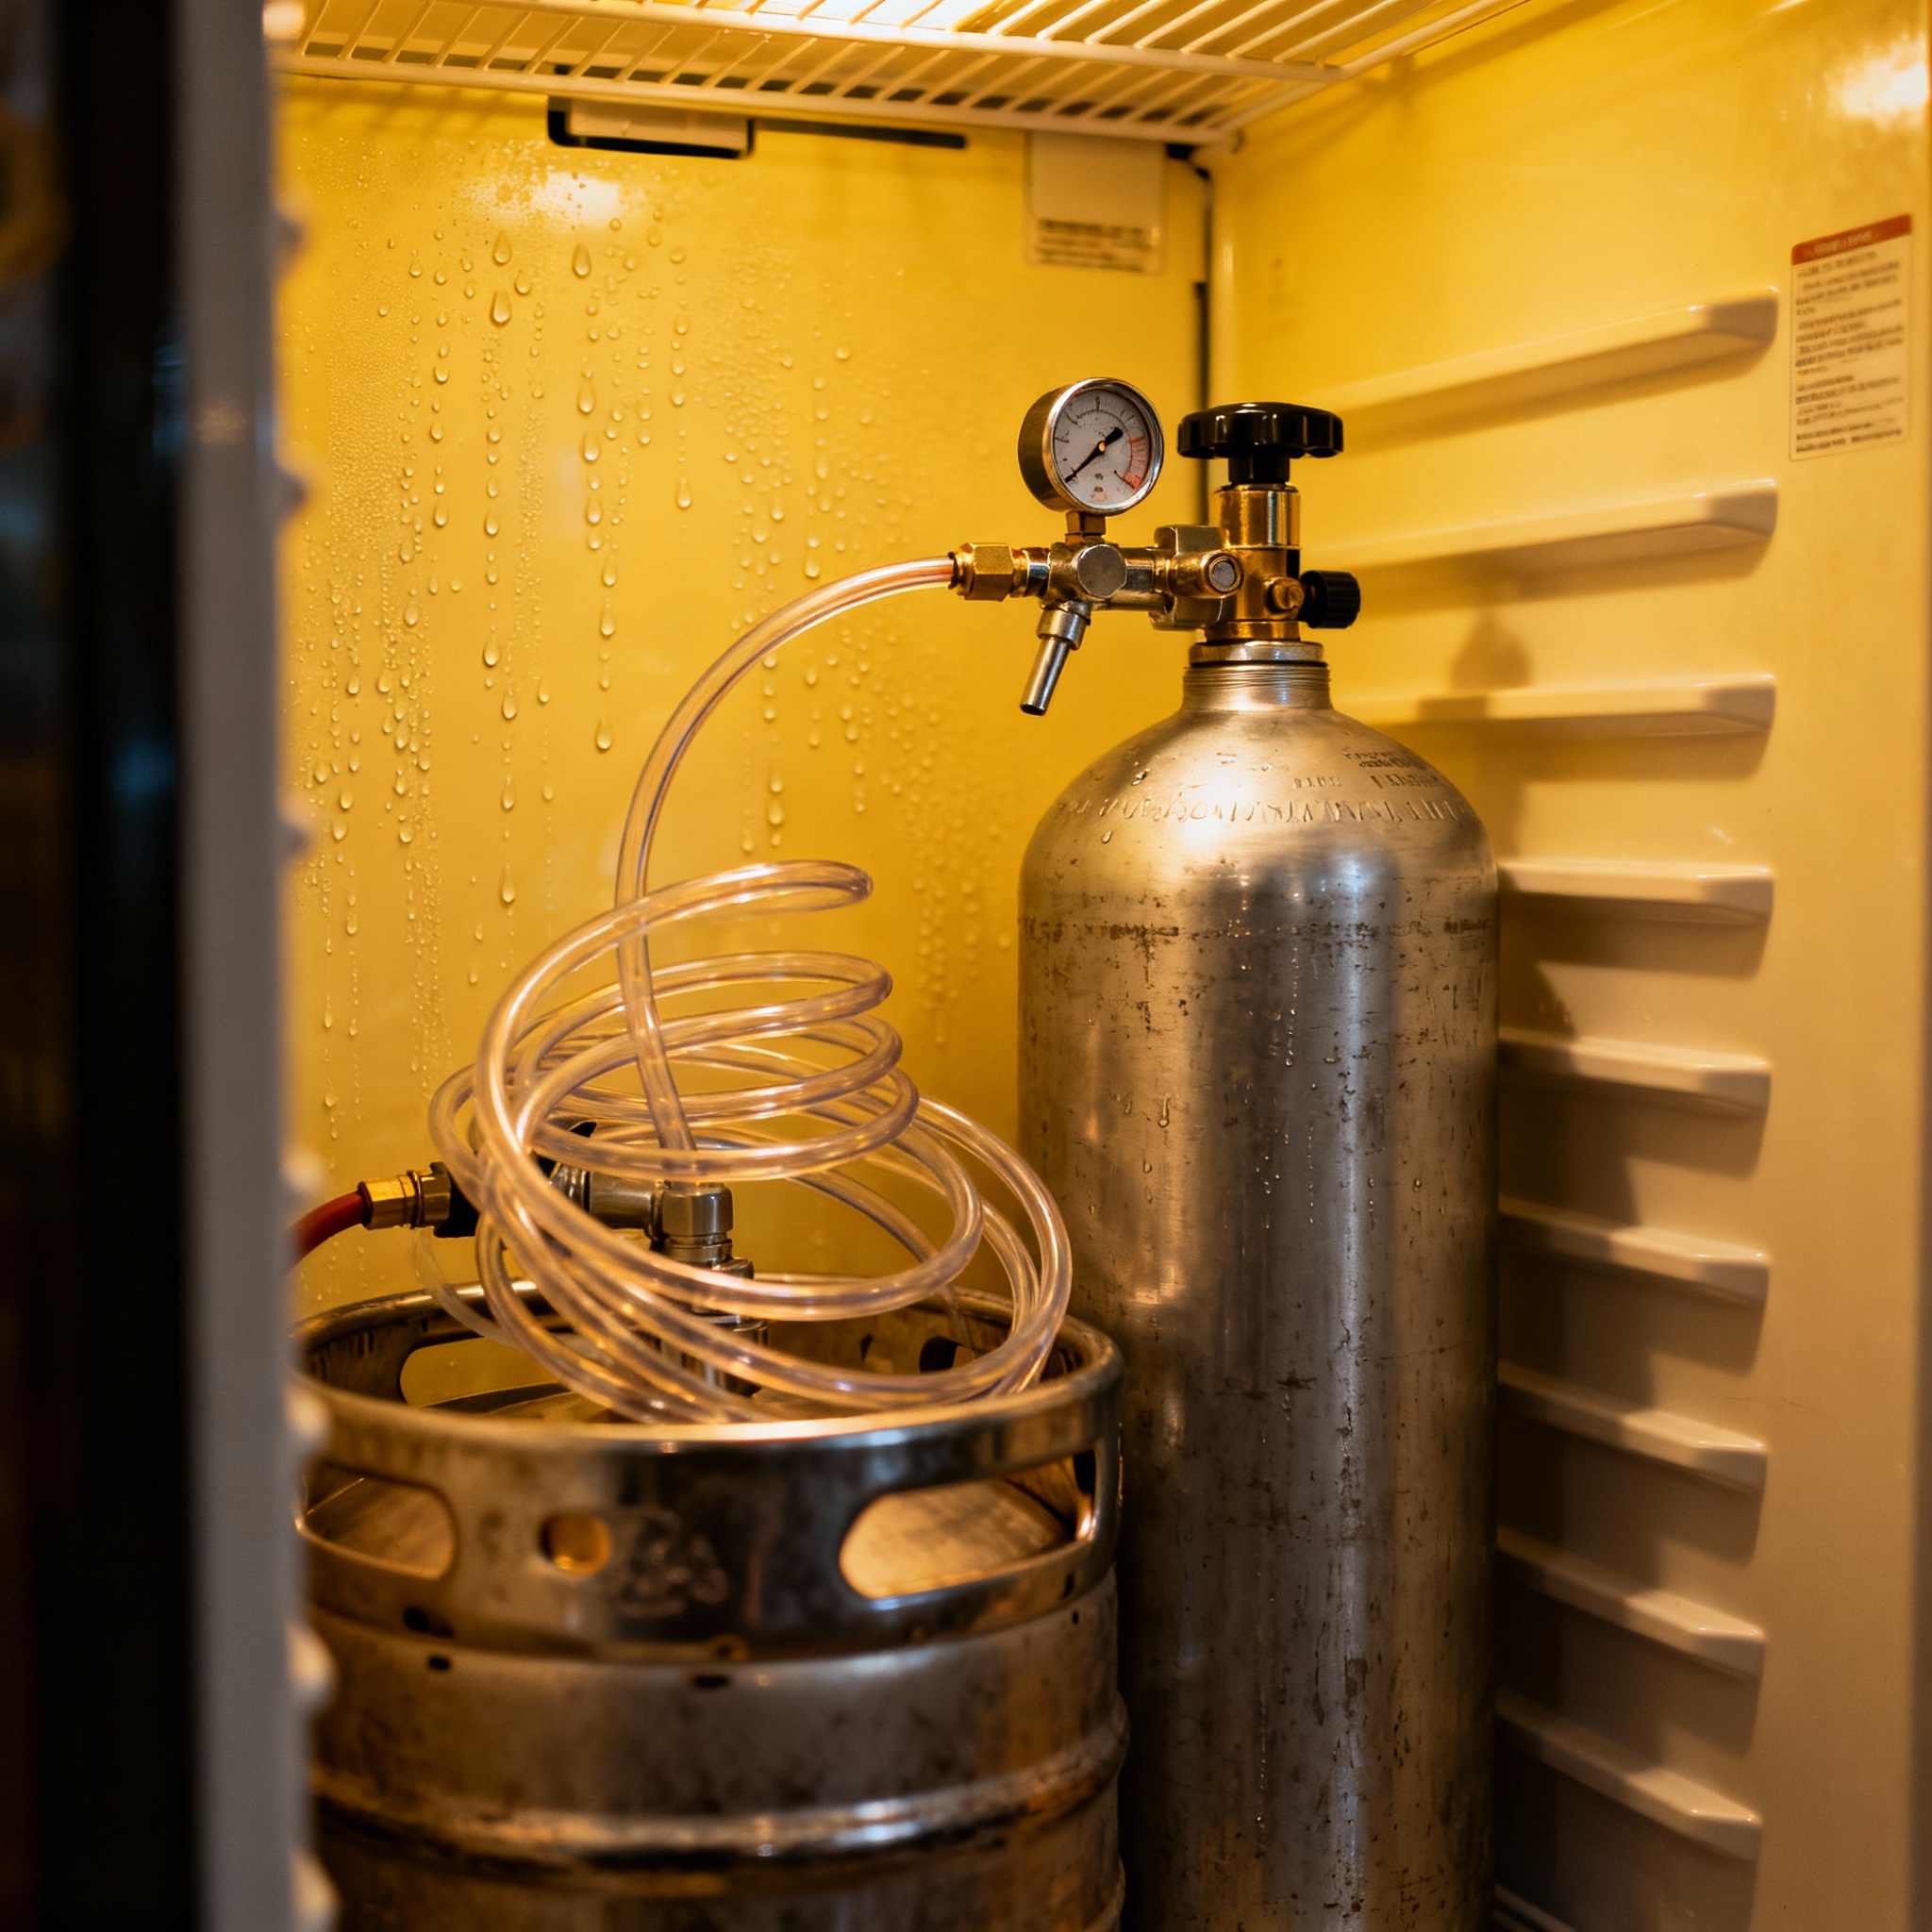
Temperature is the other variable. Warmer beer holds less CO2, so if your keg is at 45°F instead of 38°F, you’ll need to increase your line length.
Measure your actual serving PSI with a gauge attached to the gas-in post on your keg, not just the regulator output. Regulators can lie if the diaphragm is sticky.
Section 2: Temperature Issues
Temperature is the silent killer of draft systems. I learned this when I installed a chrome tower on top of my kegerator.
The first pint of the day was always foam, while the second was fine. The beer sitting in the tower was warming up between pours.
Room temperature beer cannot hold carbonation. If your faucet and shank are exposed to 70°F air, the beer inside heats up within an hour.
When you pull the tap, that warm beer hits the cold beer behind it, the pressure drops, and CO2 flashes out. I wrapped my tower shank in pipe insulation and added a small 12-volt tower fan inside to keep air circulating.
This reduced my first-pint waste by about 70%. Fridges also have cold and warm spots.
I’ve measured a 10-degree difference between the top and bottom shelves. I now store my kegs on the lowest shelf and use a USB-powered fan to push cold air upward.
I test this by measuring the beer temperature with a probe thermometer as it comes out of the faucet. If it’s above 40°F, I know a line in the tower or a door seal is letting warm air in.
According to Henry’s Law, the amount of dissolved gas in a liquid is proportional to its partial pressure. As temperature increases, the solubility of CO2 decreases significantly, causing the gas to rapidly break out of the liquid phase when exiting the tap. (See carbonation physics).
Install an inexpensive temperature controller (like an Inkbird ITC-308) on your kegerator. It overrides the fridge’s built-in thermostat and keeps the internal temp rock-solid at 38°F.
Section 3: Faucet Types
Most kegerators come with rear-sealing faucets. They’re cheap, but when you close the tap, beer trapped in front of the seal sits exposed to air and dries out.
Next time you open the faucet, you get a sticky release and the beer tastes like cardboard. Rear-sealing faucets also love to drip as the seal degrades.
Forward-sealing faucets (like Perlick, Intertap, and Nukatap) seal at the spout instead. This means the entire internal cavity stays full of beer between pours with no air exposure.
My first pour with a Perlick was like upgrading from a flip phone to a smartphone. I run two Intertap faucets now which cost about 40 dollars each.
They’ve paid for themselves in reduced waste. The Intertap design also has modular spouts for stout pours or growler fillers.
Nukatap faucets are the premium option from Australia and cost around 70 dollars. Forward-sealing faucets do need proper installation; if the shank is too short, the seal won’t engage correctly.
[Image showing the mechanical difference between a rear-sealing and forward-sealing draft faucet]
Even with a forward-sealing faucet, run a wet rag over the spout before your first pour. Dust and dried beer can accumulate on the tip and affect the flavor.
Section 4: Gas Leaks
Gas leaks are the invisible enemy that can run a CO2 tank dry after one keg. I lost half a tank because a single O-ring on a gas disconnect was pinched.
The soapy water test is your best friend. Mix one part dish soap with three parts water in a spray bottle and spray every connection while the system is pressurized.
If you see bubbles, you have a leak. I do this test every time I swap a keg or adjust my regulator.
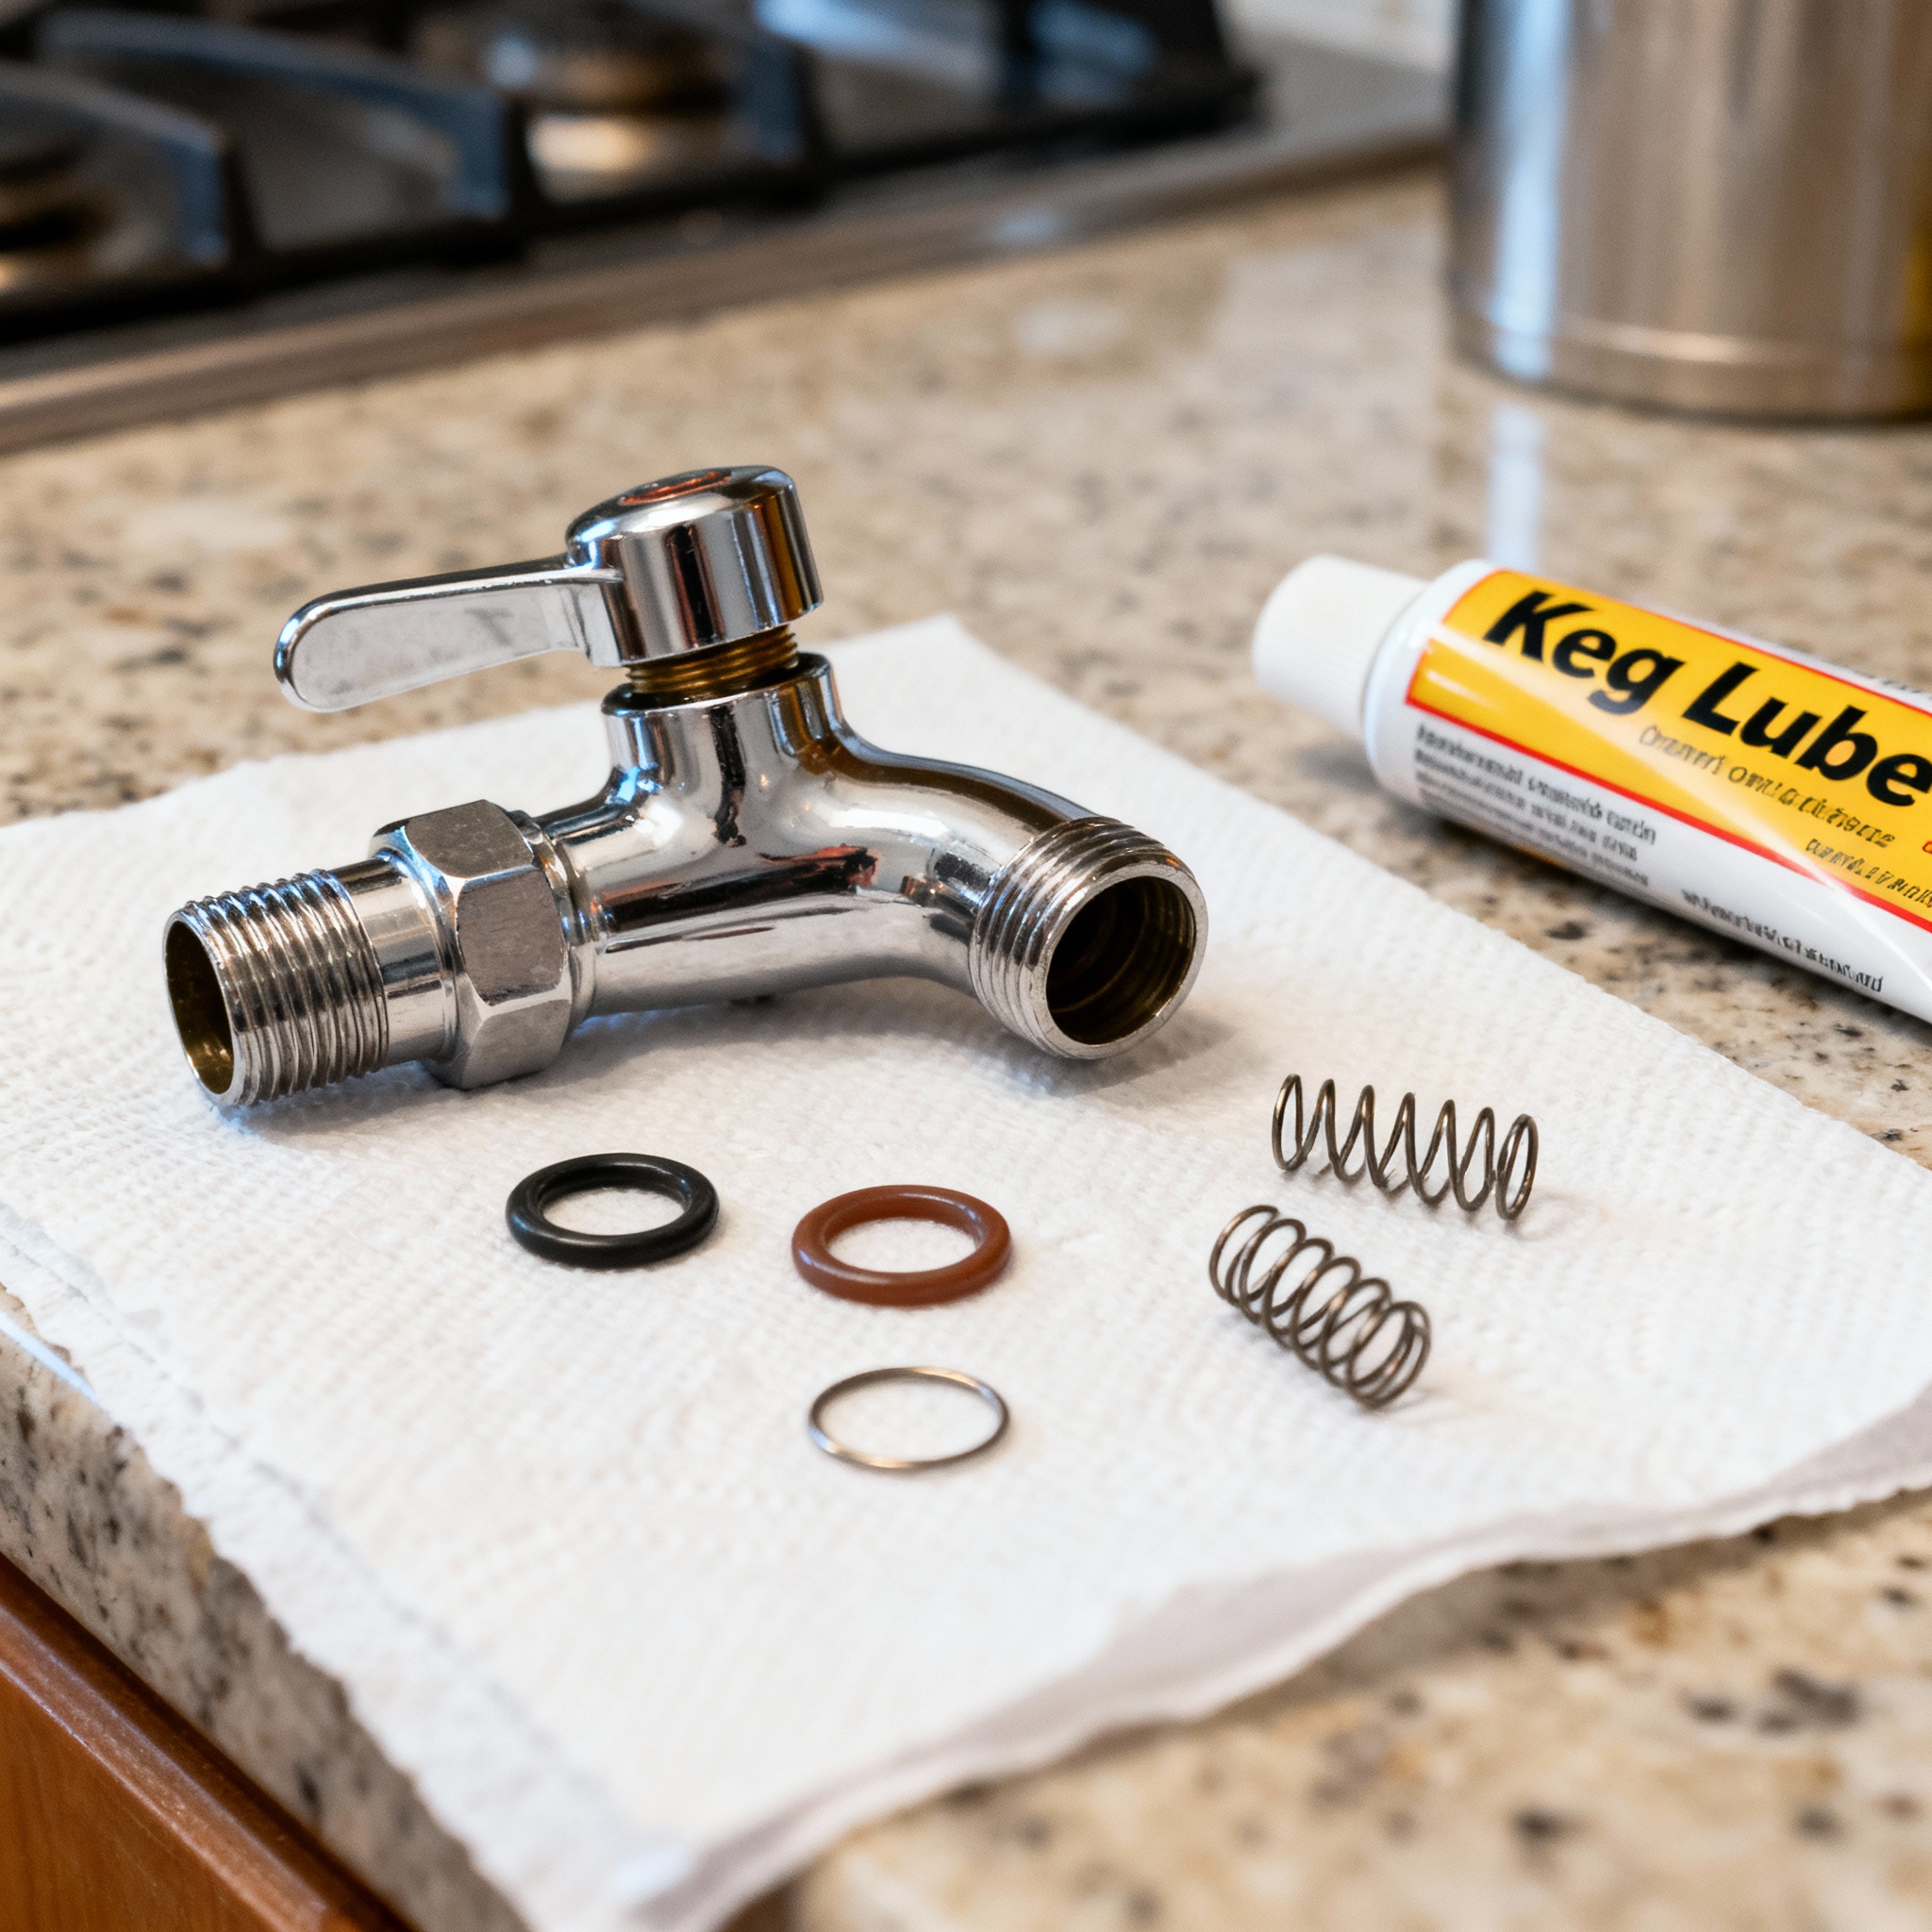
The most common leak points are the O-rings on your disconnects. A bag of 50 replacement O-rings costs about 8 dollars.
Keg Lube, a food-grade silicone grease, is essential for these gaskets. A tiny dab on each O-ring creates a better seal and prevents the rubber from drying out.
Sneaky leak sources include the regulator diaphragm or the check valves. Check valves prevent backflow from the keg into your CO2 line.
If they fail, beer can be sucked into your gas system, ruining the regulator. I installed a one-way check valve after a 60 dollar mistake involving beer in my regulator diaphragm.
Mark your CO2 tank with a piece of tape and a date when you first install it. Track how many kegs you serve; I average about 4 to 5 kegs per 5-pound CO2 tank.
Section 5: Cleaning Draft Lines
Dirty lines ruin beer. If your lines are coated in beer stone and yeast, everything you pour will taste like wet cardboard or sour gym socks.
I clean my lines every two weeks. The standard method is to flush the line with a caustic cleaner like PBW or BLC, let it soak, and then rinse.
A hand pump bulb is the budget option, but it requires pumping for 10 minutes per line. I eventually built a recirculating pump system using a small submersible pond pump.
I fill a bucket with hot PBW solution and let the pump cycle it through the line for 20 minutes. This cut my hands-on cleaning time to about 5 minutes per tap.
Never use bleach, as it can corrode stainless steel and leave residues. Always run a sanitizer rinse with Star San after cleaning.
The residual foam is harmless and protects the line until the next pour. I also perform a full faucet teardown every three months to scrub internal threads.
Keep a log of your cleaning schedule. I use a dry-erase board on my kegerator to track the date of the last cleaning so two weeks doesn’t sneak up on me.
Conclusion
Draft systems are not magic; they’re plumbing, thermodynamics, and a little bit of patience. Every foam problem or flat beer has a root cause that you can measure and fix.
The difference between a frustrating pour and a perfect pour is usually just one or two small adjustments to your line length or temperature. Start with the math of your serving pressure and ensure your beer stays cold from keg to glass.
Understanding your system means you no longer have to guess when something tastes off. You are troubleshooting with data rather than luck.
Kegerator Troubleshooting Quick Reference
| Symptom | Primary Suspect | Fix |
|---|---|---|
| Consistent Foam | Short Beer Lines | Increase 3/16” line length (target 5-8 ft). |
| First-Pour Foam | Warm Tower | Insulate tower or add a circulation fan. |
| Sticky Handle | Rear-Sealing Faucet | Upgrade to forward-sealing (Perlick/Intertap). |
| Flat Beer | Gas Leak | Perform soapy water test on all O-rings. |
| Off-Flavors | Dirty Lines | Flush with BLC/PBW every 14 days. |
References
- Brewers Association. Draught Beer Quality Manual. 4th Edition.
- Palmer, J. (2017). How to Brew. Brewers Publications.
- UC Davis Extension. “Thermodynamics of Carbonated Beverage Dispense.”