Cream Ale: The American Lawnmower Classic.
I brewed my first Cream Ale in July three years ago, right before a heat wave hit Asheville. My plan was to have something light and cold by the time August rolled around.
What I got instead was a beer that disappeared faster than any IPA I’d ever made. My neighbor, who never drinks craft beer, even asked for a second glass.
That’s when I realized Cream Ale isn’t just another style. It’s the gateway drug for people who think they don’t like beer.
Cream Ale is an American original that occupies a weird space. It’s an ale that desperately wants to be a lager.
It uses ale yeast but borrows every trick from the lager playbook, including adjuncts and cold conditioning. The result is a beer that drinks like a macro lager but has enough character to remind you someone actually brewed it.
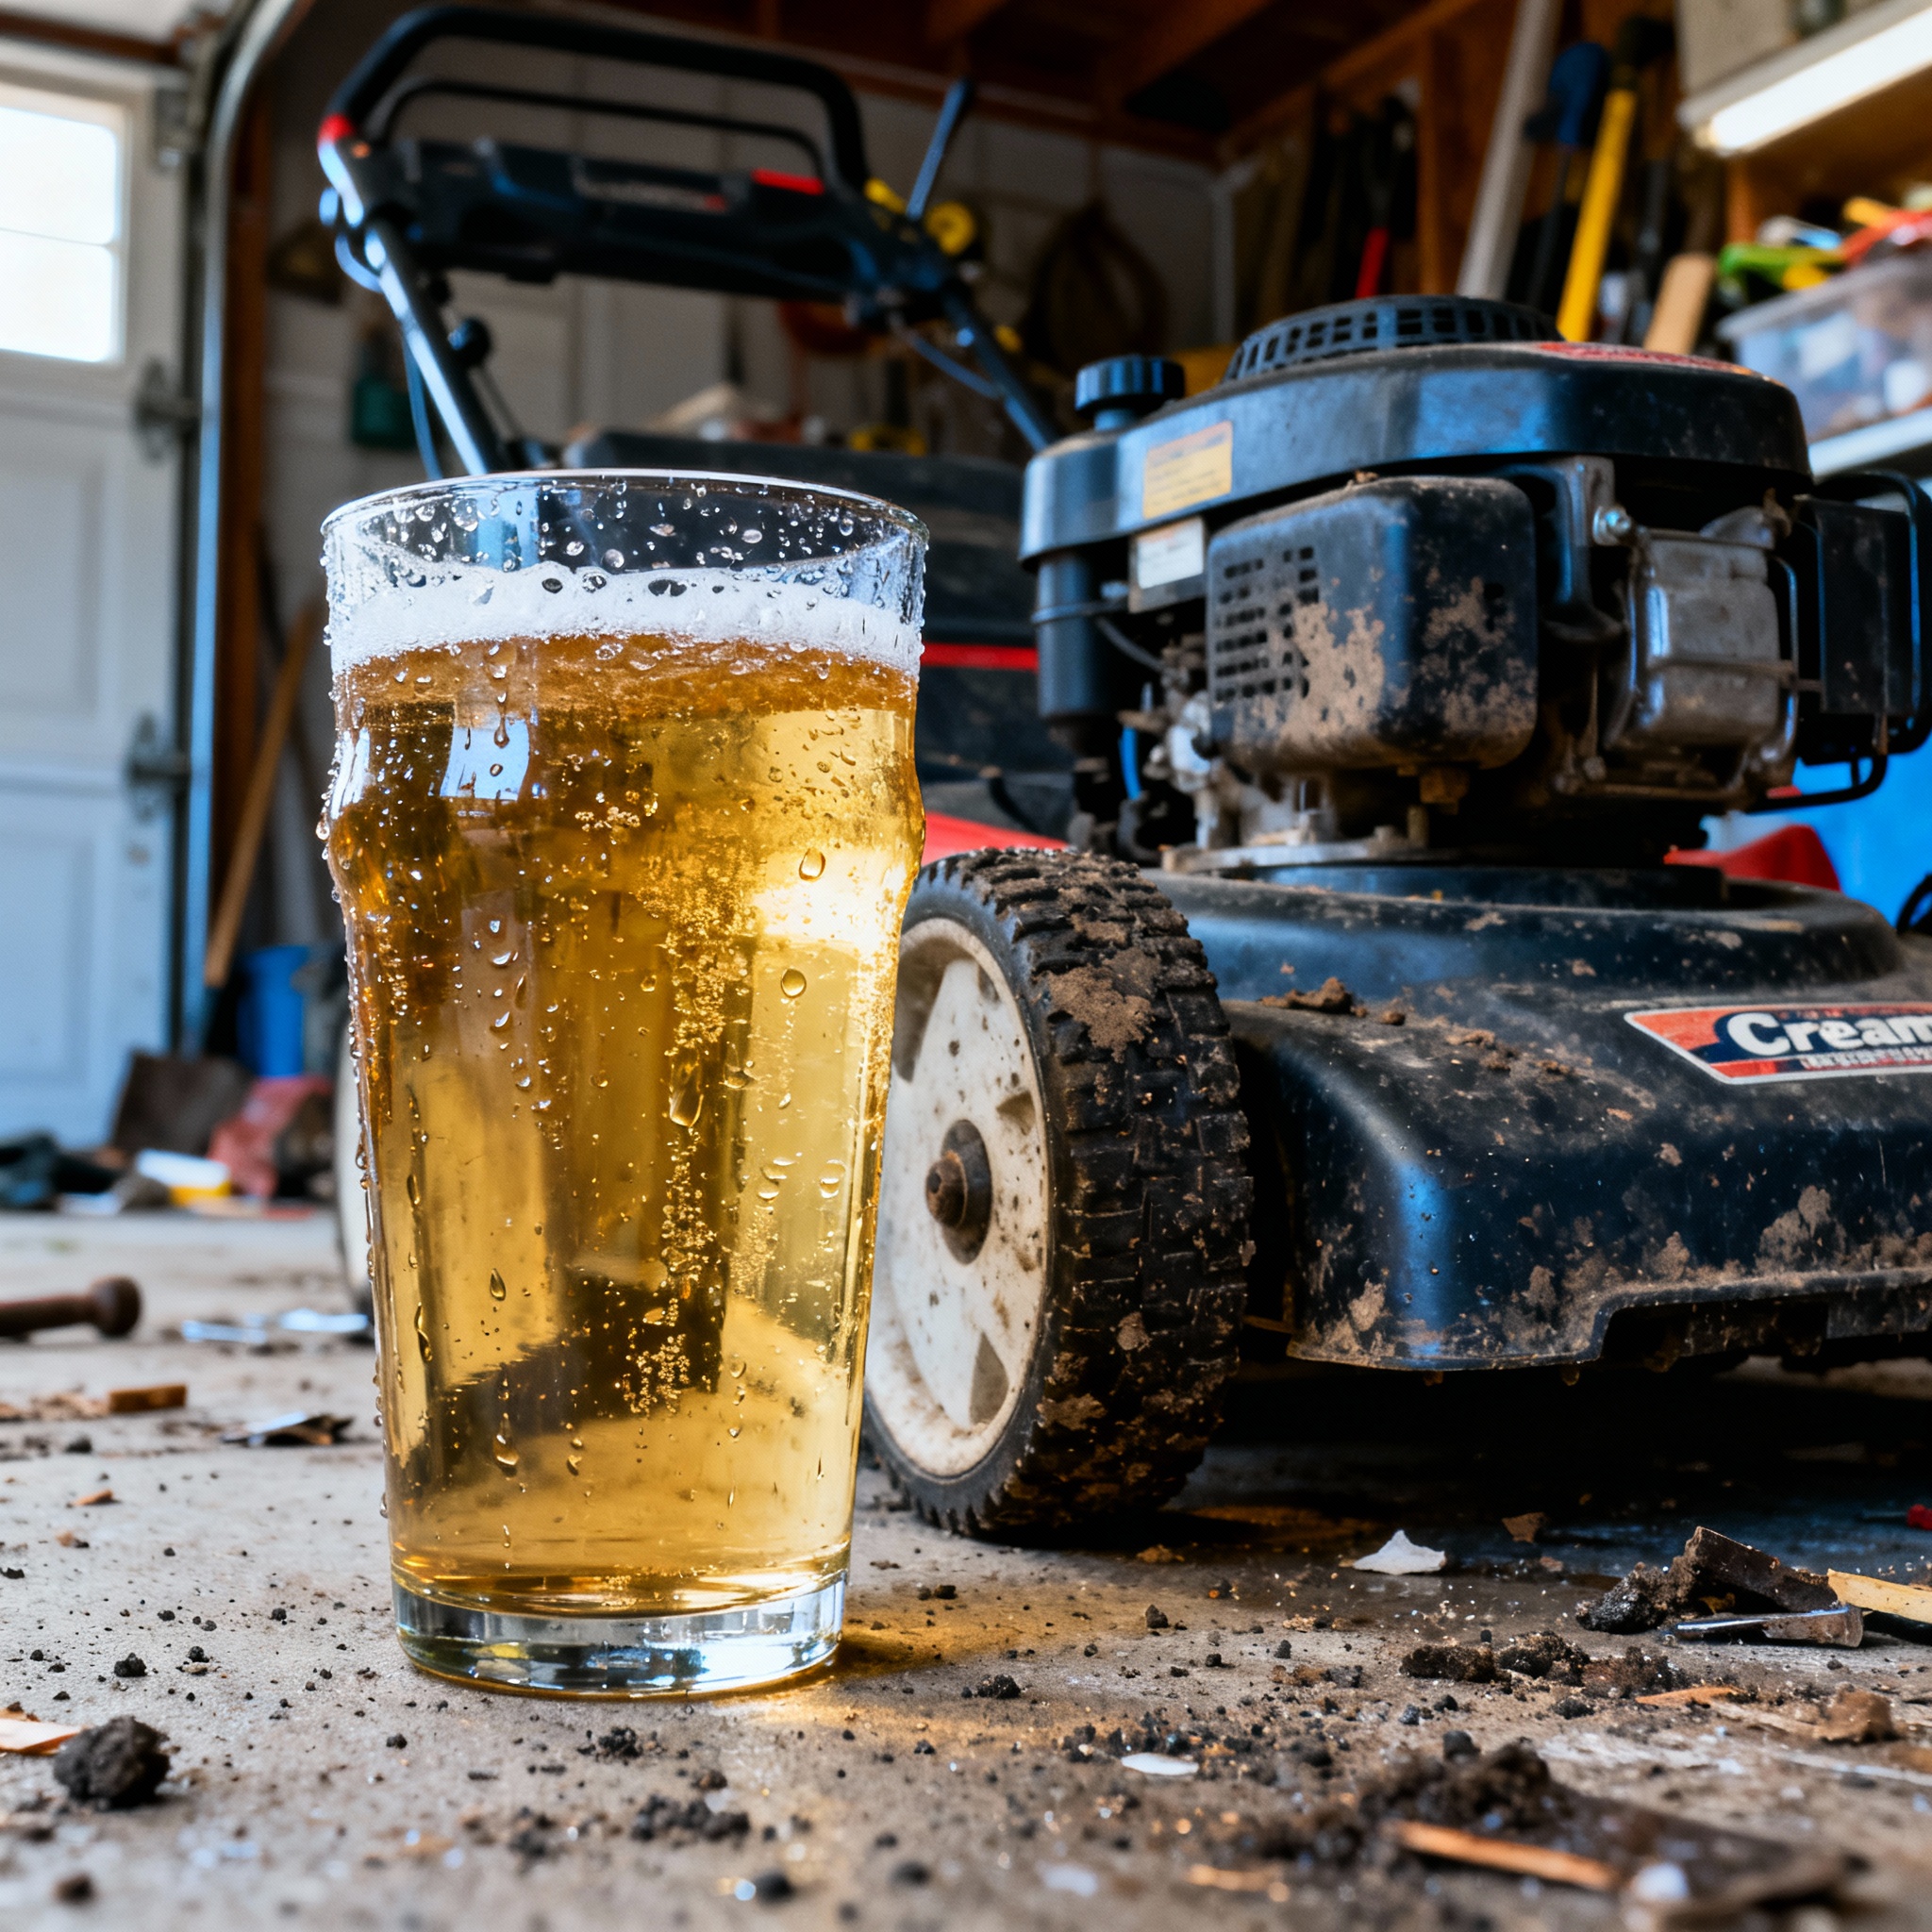
It’s the kind of beer you crack open after mowing the lawn in 90-degree heat. No overthinking is required.
If you’ve never brewed one, you’re missing out on one of the most forgiving styles in homebrewing. You can use cheap ingredients and still end up with something people will drain from your keg.
Let me walk you through how I approach this classic American style.
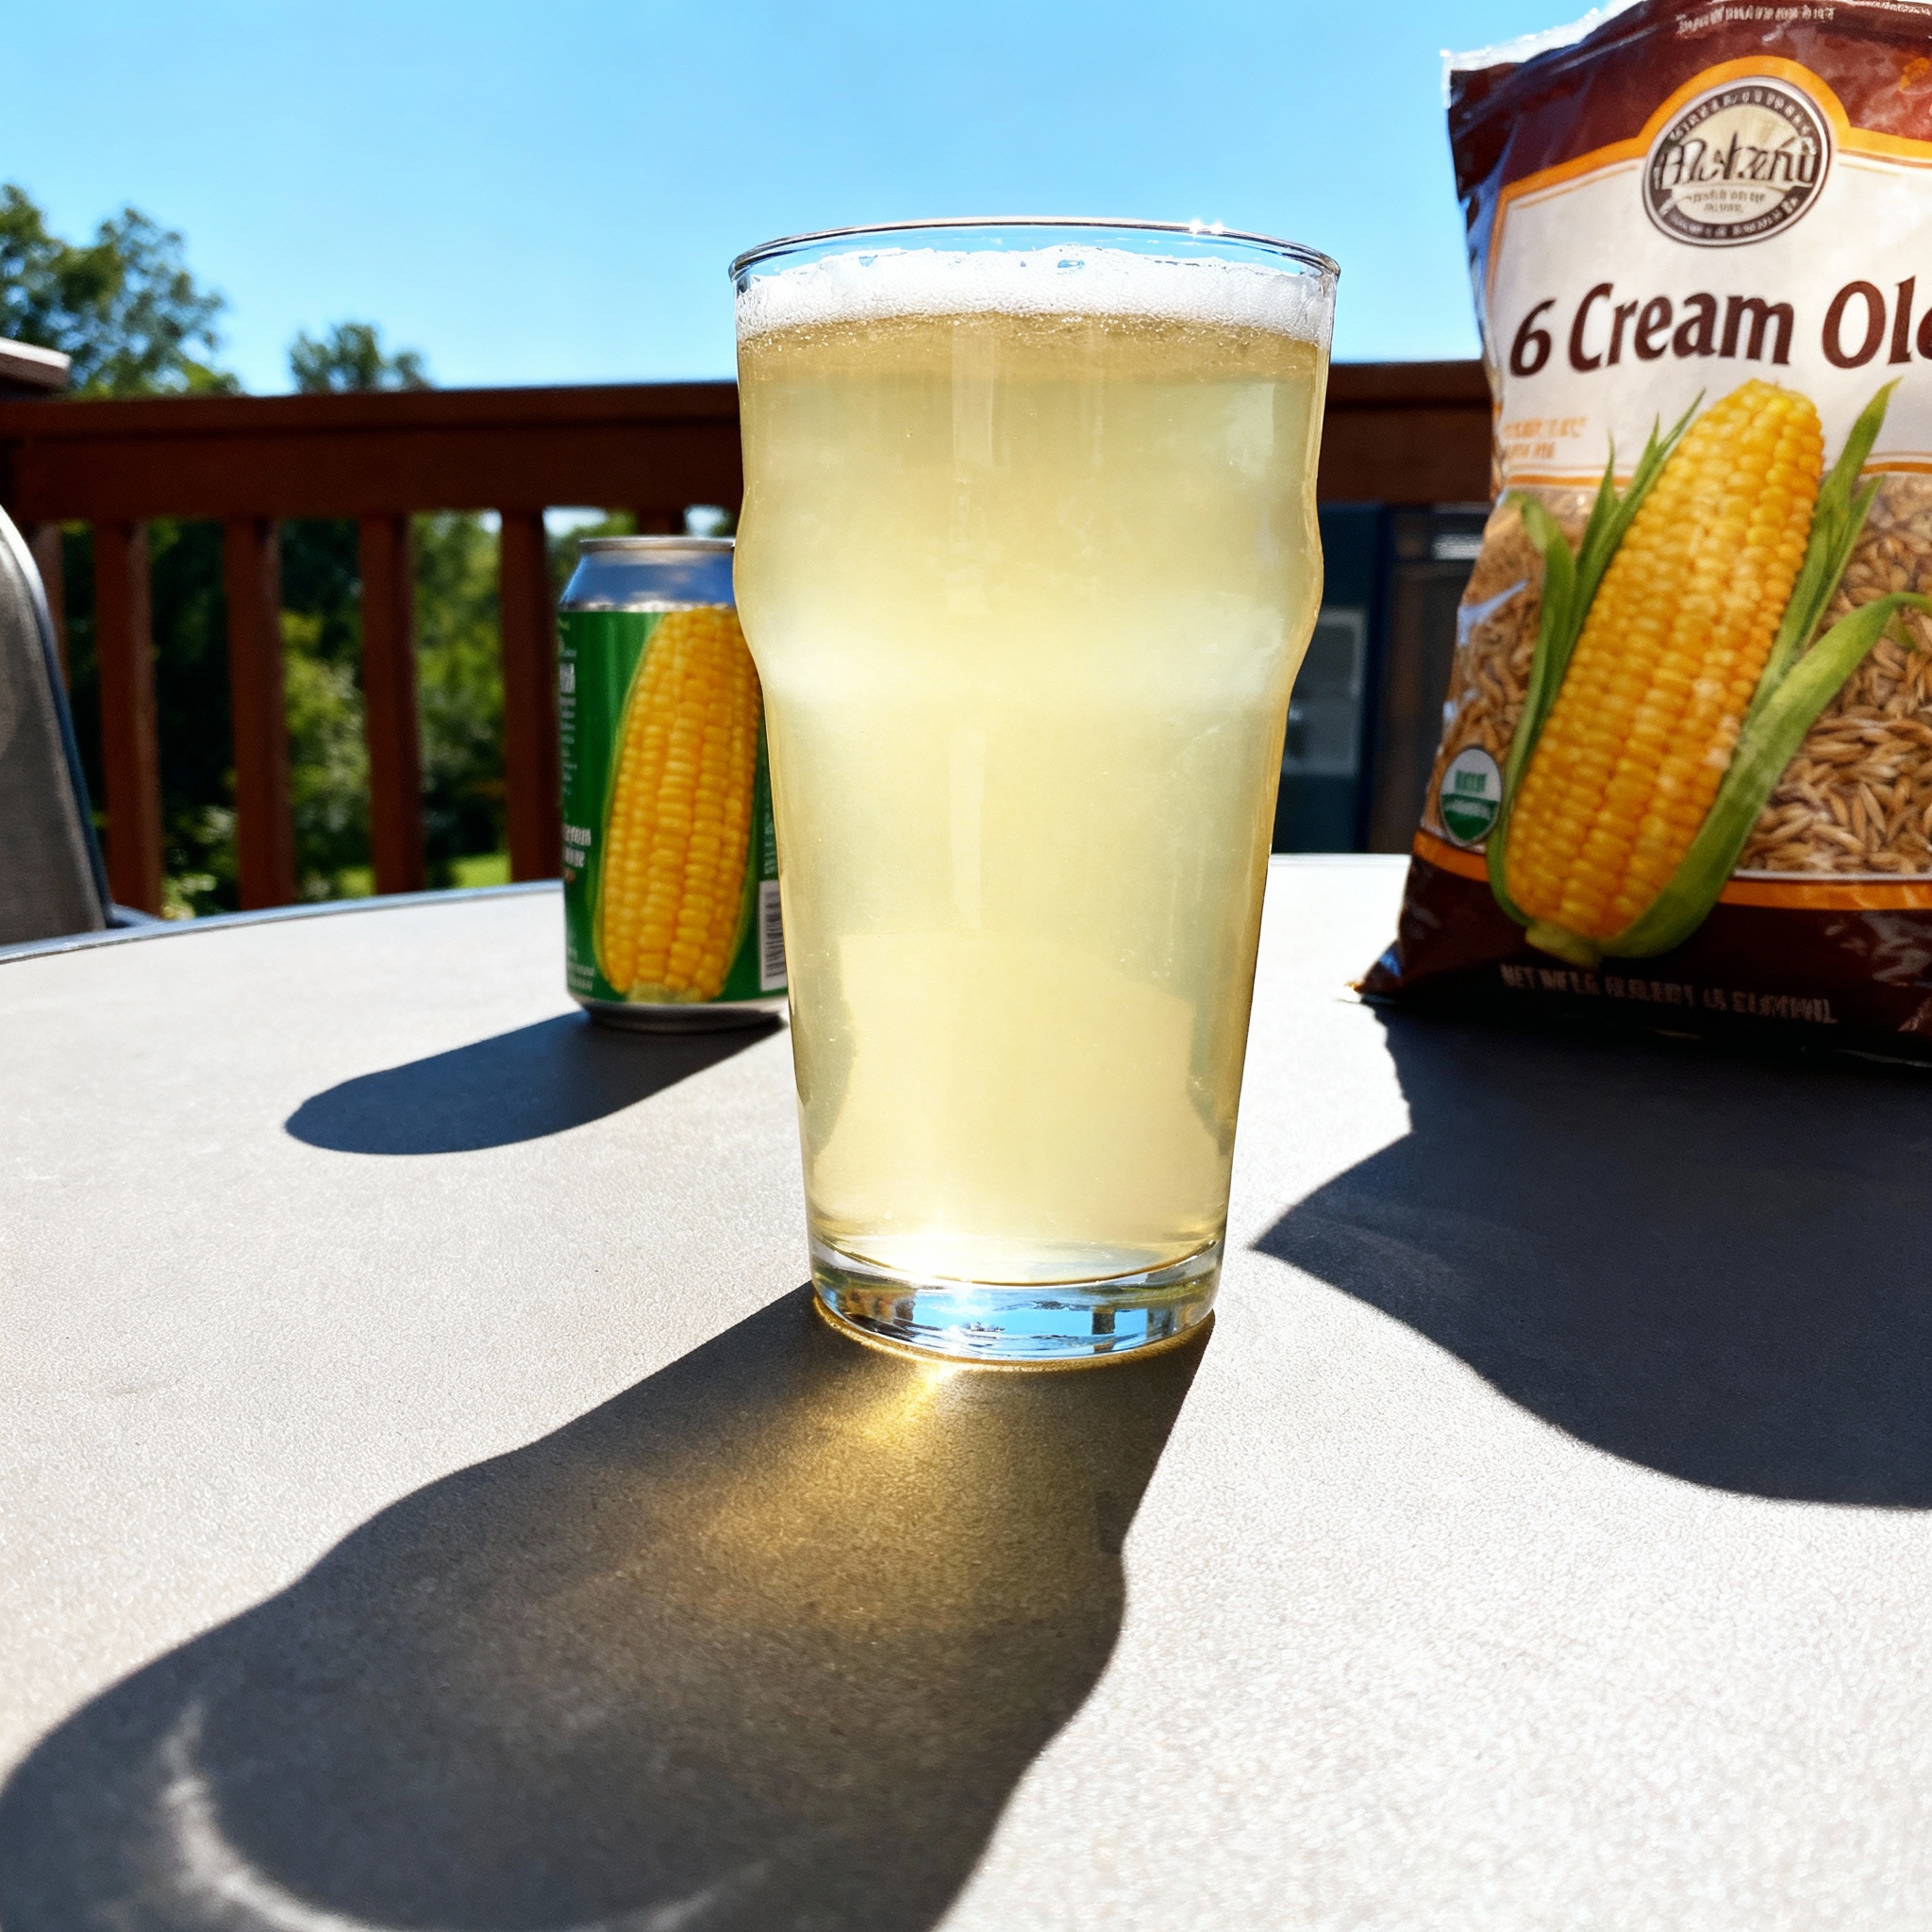
The Grist: Six-Row Barley and Flaked Corn
Most brewers treat six-row barley like a second-class grain because they default to the cleaner flavor of two-row. However, Cream Ale is one of the few styles where six-row actually makes sense.
It has higher enzyme content, which helps convert adjuncts like corn or rice. Plus, it provides a slightly grainier, breadier flavor that fits the rustic American vibe of this beer.
I build my grain bill around 60 to 70 percent six-row pale malt. The rest is flaked corn, also called flaked maize.
I prefer corn over rice because it adds a subtle sweetness and a softer mouthfeel without making the beer feel heavy. Flaked corn also gelatinizes during the mash, so you don’t need to cook it separately.
If you can’t find six-row, two-row will work just fine. You’ll lose a little bit of that rustic edge, but the beer will still turn out clean and drinkable.
In side-by-side batches, most people can’t tell the difference. The corn does much more of the heavy lifting than the base malt in this recipe.
Watch out for your mill gap. Flaked corn is soft and can turn into a gummy mess if your mill is set too fine.
I run my six-row through at my normal gap and then add the flaked corn directly to the mash without milling it. It breaks down perfectly on its own.
Target a mash temperature around 150°F (65°C). You want a highly fermentable wort because Cream Ale should always finish dry.
I usually end up with a final gravity around 1.008 to 1.010. This gives the beer that signature crisp, snappy finish.
If you’re using a cooler mash tun, preheat your cooler with boiling water first. Dump it out before adding your grains and strike water. This keeps the mash within a degree of the target for the full 60 minutes.
Yeast Selection: Ale vs. Lager Strains
You can ferment with a clean ale strain at low temperatures or a lager strain at high temperatures. Either way, the goal is the same.
You want to produce as little ester and phenol character as possible. This keeps the flavor profile neutral and refreshing.
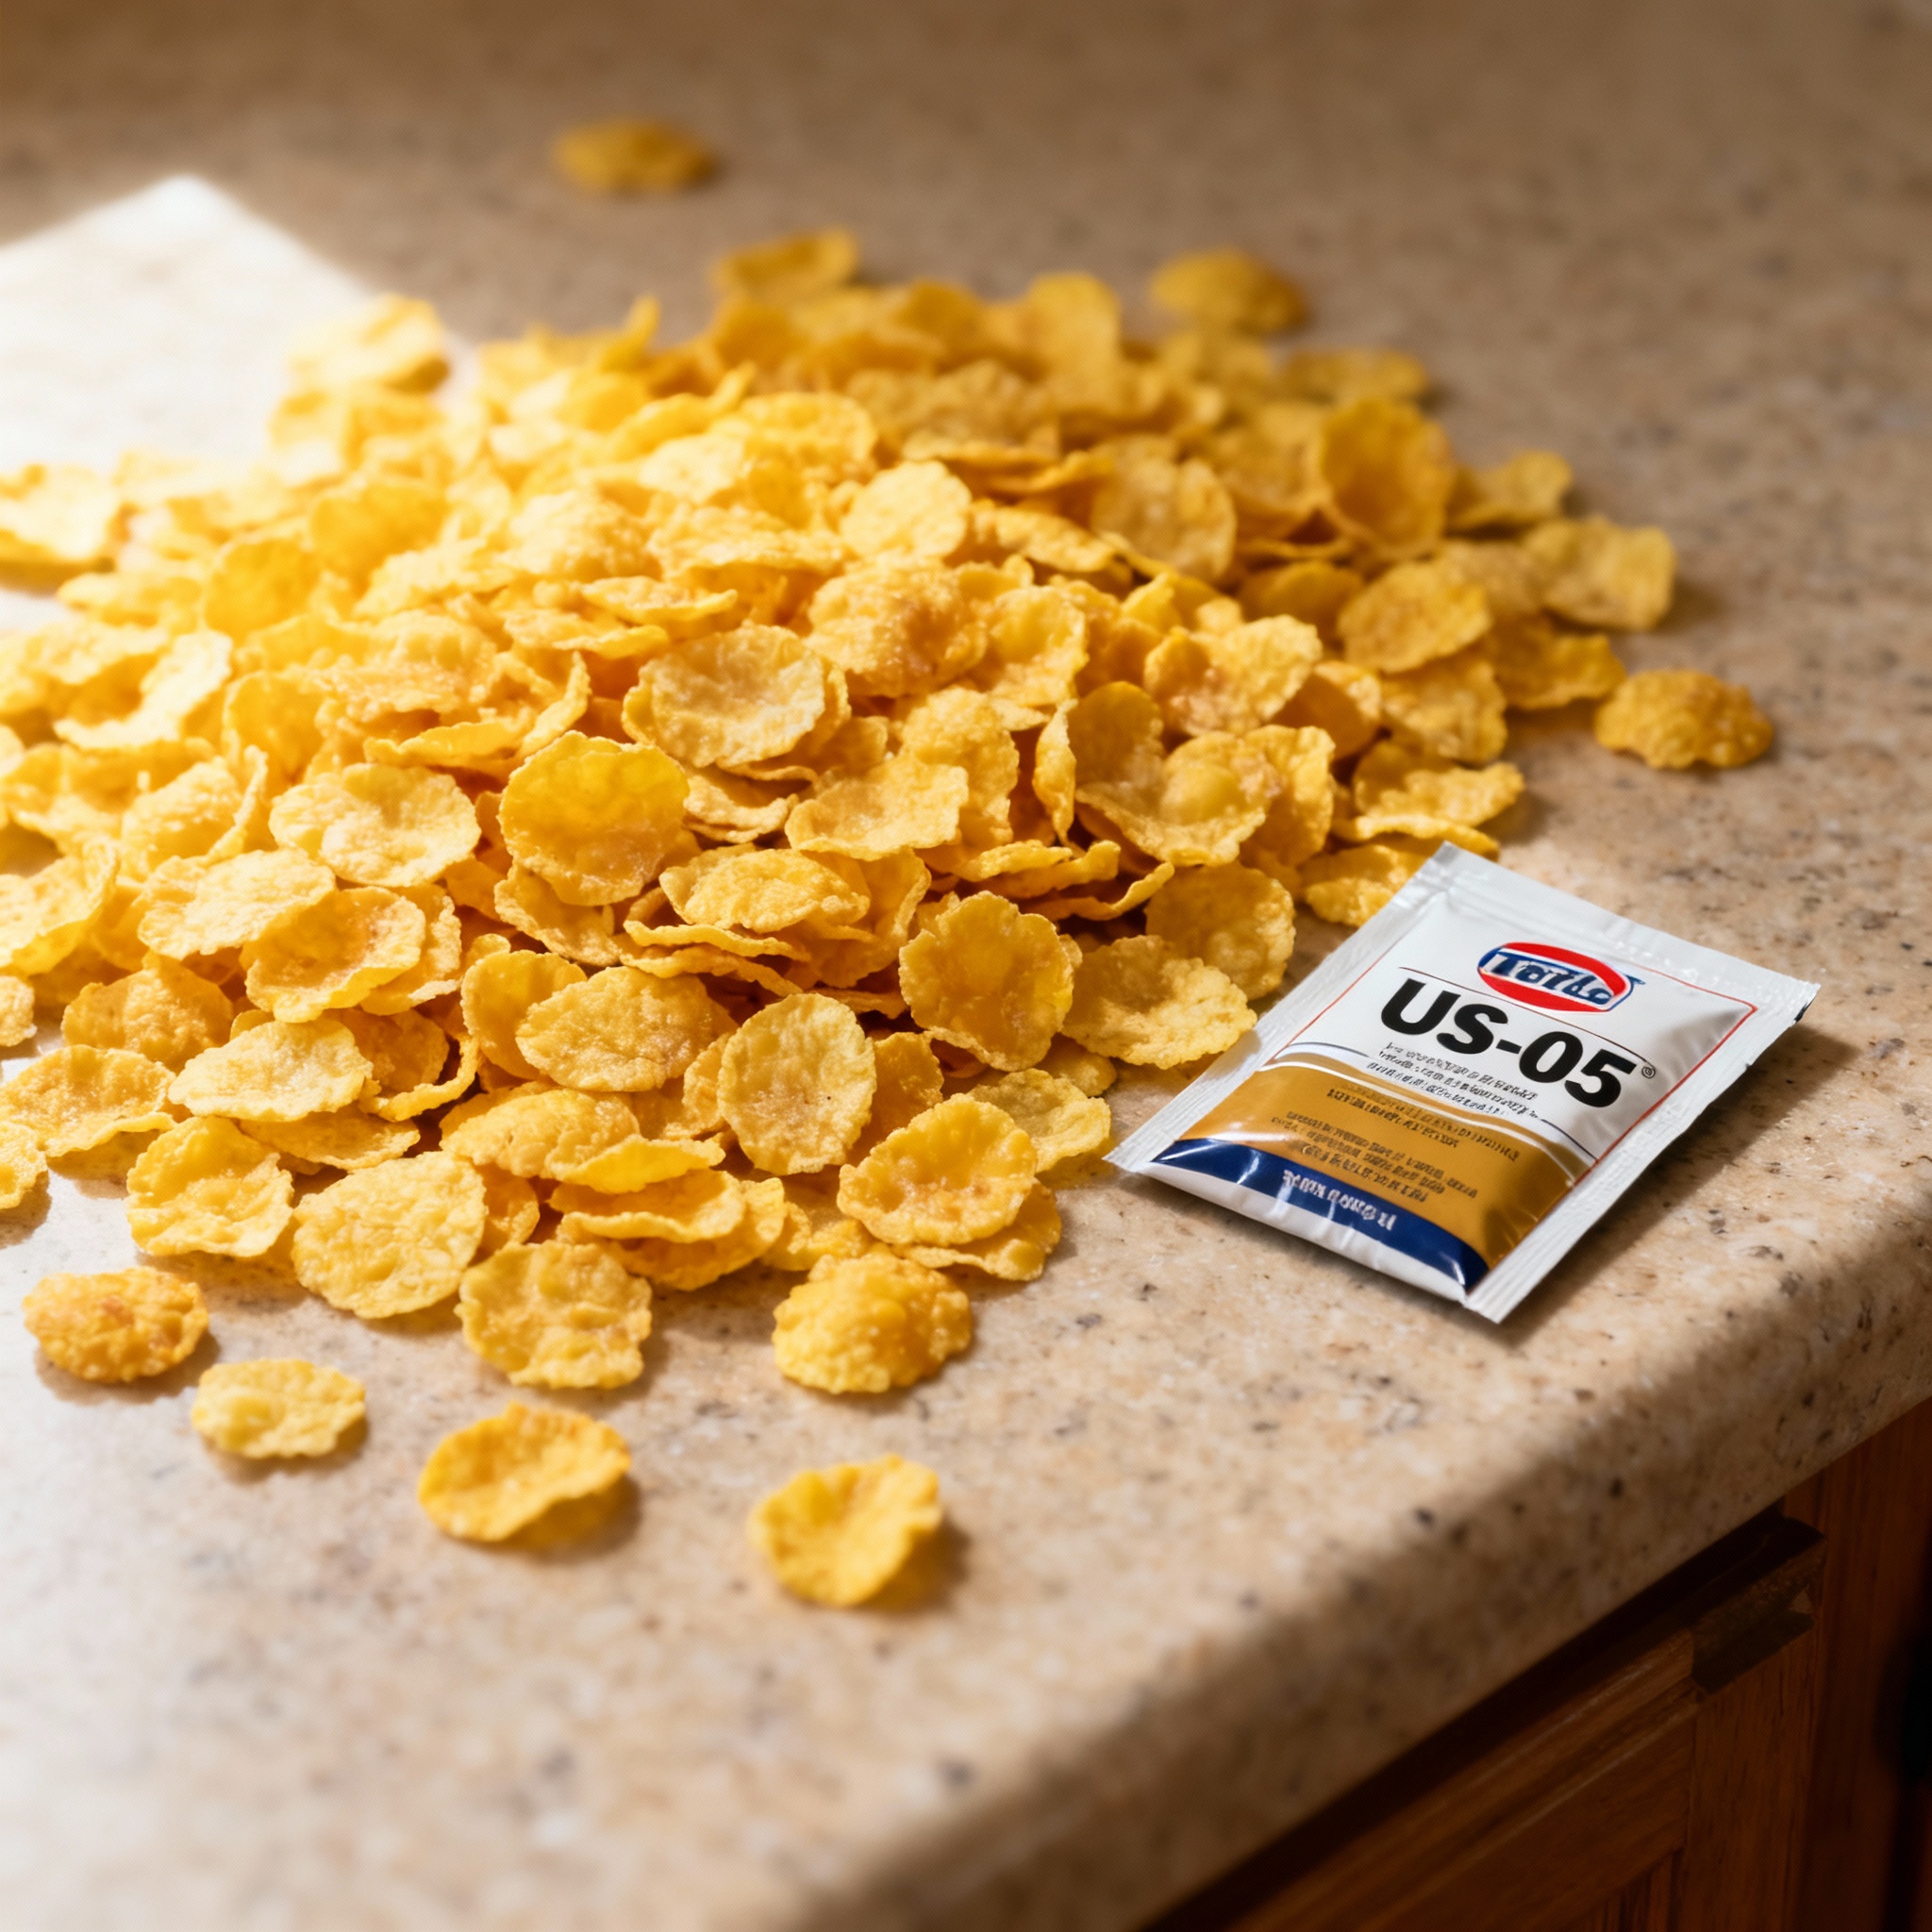
I usually reach for the Chico strain, such as US-05 or WLP001. It’s the workhorse of American brewing and ferments clean as long as you keep it cool.
I pitch at 60°F (15°C) and let it free-rise to about 65°F (18°C). Any warmer and you start to get fruity esters that don’t belong in this style.
The lager route takes more patience but gives you an even cleaner result. I’ve used WLP830 and Saflager W-34/70 with good success.
Pitch at normal lager temps around 50°F (10°C) but let it warm up to 60°F (15°C) during active fermentation. After primary is done, drop the temp back down to 35°F (2°C) for a week of conditioning.
The ale version finishes faster, which is great if you need beer in two weeks. The lager version has a slightly smoother finish, but it ties up your fermentation chamber for a month.
You need to pitch enough yeast regardless of the strain you choose. Aim for 1.5 times the normal ale pitch rate, especially if you’re fermenting cold.
Underpitching leads to stressed yeast and off-flavors. I once used a single pack of dry yeast and ended up with a sulfur note that took three weeks to fade.
If you’re fermenting with an ale strain, consider adding a small amount of lager yeast at the end of primary. This “kräusening” trick helps clean up any residual diacetyl or acetaldehyde.
Water Profile: Balanced Chlorides and Sulfates
This style doesn’t need a dramatic water profile; it just needs balance. Cream Ale sits right in the middle of the chloride-to-sulfate spectrum.
You don’t want it sharp and bitter like an IPA or soft and bready like an English bitter. The sweet spot is a 1:1 ratio.
This balance gives the beer a slightly fuller mouthfeel without making it taste minerally or harsh. I aim for about 75 ppm chloride and 50 ppm sulfate.
If your tap water is reasonably soft, you can hit this with just a little bit of gypsum and calcium chloride. I usually add half a teaspoon of each to a five-gallon batch.
Monitor your calcium levels to ensure you have at least 50 ppm. This helps with yeast health and flocculation.
Low calcium can lead to hazy beer, which is the enemy of a good Cream Ale. I don’t mess with pH adjustments unless something is obviously wrong.
If you’re using municipal tap water, let it sit in an open container overnight before brewing. This lets chlorine evaporate, preventing it from creating “Band-Aid” off-flavors in your beer.
Clarity: Why Cream Ale Must Be Brilliant
Cream Ale has to be clear. You should be able to read a newspaper through the glass.
Clarity is the defining visual characteristic of this style. If your Cream Ale looks like hazy orange juice, you’ve missed the mark.
Getting there takes a combination of good process and fining agents. First, make sure you’re doing a full boil to get a good hot break.
I boil for 60 minutes and watch for that foamy layer of protein to drop out. After the boil, I chill the wort as fast as possible using an immersion chiller.
Ingredient Substitutions
If your local homebrew shop is out of the traditional “Pre-Prohibition” staples, don’t worry. This style is incredibly flexible. Use the table below to adjust your recipe while keeping that signature lawnmower-beer crispness.
| Original Ingredient | Best Substitution | Ratio | Notes |
|---|---|---|---|
| 6-Row Barley | 2-Row Pale Malt | 1:1 | Add 2% more grain to compensate for protein. |
| Flaked Corn | Flaked Rice | 1:1 | Provides a drier, more neutral profile. |
| Flaked Corn | Corn Grits | 1:0.8 | Warning: Requires a cereal mash (boiling) before adding. |
| Sugar (Dextrose) | Honey | 1:1.2 | Adds a floral note; use only if you want a “Honey Cream Ale.” |
The reason we traditionally use 6-row is its high diastatic power (enzymes). It helps convert the starches in corn much faster than standard 2-row malt.
The faster you drop the temperature, the more protein drops out of suspension. Then I let the wort sit for 10 minutes while the trub settles before transferring to the fermenter.
Finally, cold crash and fine with gelatin. After fermentation is complete, drop the temperature to 35°F (2°C) for 48 hours.
The gelatin binds to yeast and protein particles and drags them to the bottom like a magnet. This results in a brilliant, sparkling finish.
If you keg your beer, try closed-loop transfers using CO2 pressure. This keeps oxygen out and avoids stirring up the trub, resulting in noticeably clearer beer.
The “Pre-Prohibition” Vibe
Cream Ale was invented in America during a very specific moment in brewing history. In the mid-1800s, German immigrants brought crisp lagers that started to dominate the market.
American ale brewers realized their English-style ales were too heavy to compete. They improvised by using corn and rice to mimic the lager profile while still using ale yeast.
The result was a style that was technically an ale but drank like a refreshing lager. It became the working-class beer of the Northeast and Midwest.
Prohibition nearly killed the style, but Genesee in New York helped it hang on. The craft beer movement eventually brought it back into the spotlight.
I love that Cream Ale was born out of necessity and pragmatism. It wasn’t about perfecting a centuries-old recipe; it was about making beer that people enjoyed drinking.
That’s the spirit I try to bring to my own batches. I’m just trying to make something clean, drinkable, and refreshing for my friends.
For a historical experiment, try blending a Cream Ale with a light lager. Ferment them separately and mix them at packaging for a smoother, more balanced profile.
Wrapping It Up
Cream Ale doesn’t always get the respect it deserves because it’s not “trendy.” However, it’s one of the most satisfying beers to brew and drink.
The beauty of this style is that it rewards good technique over expensive ingredients. You don’t need fancy malts or hard-to-find hops to succeed.
Manage your fermentation temperature, pay attention to clarity, and give the beer time to condition. You’ll end up with something that has a little more soul than a macro lager.
I keep a keg of Cream Ale on tap all through the summer months. It’s the first thing I offer to people who say they don’t like craft beer.
They almost always change their mind after the first glass. Start a batch now, and it will be ready just as the weather warms up.
References
- Palmer, J., & Kaminski, C. (2013). Water: A Comprehensive Guide for Brewers. Brewers Publications.
- White, C., & Zainasheff, J. (2010). Yeast: The Practical Guide to Beer Fermentation. Brewers Publications.
- BJCP Style Guidelines. Category 1C: Cream Ale.
- Genesee Brewing Company. Historical Archives and Style Profile.
- Hieronymus, S. (2012). For the Love of Hops. Brewers Publications.