Crystal Clear: Using Finings, Cold Crashing, and Time.
I remember the first time I poured a homebrew for a friend who works at a craft brewery. The beer tasted good and the fermentation was clean. However, it looked like orange juice someone shook too hard.
He squinted at the glass and asked if I had added flour to the batch. That hurt.
You can nail the recipe and hit your mash temps perfectly. But if your beer looks murky, people assume it tastes off. Clarity is the first impression that tells the drinker you had control over the process.
This guide is about getting commercial-level clarity using techniques that fit in a garage. We will start at the boil and move through post-fermentation fixes that work in kegs or bottles. By the end, you will understand why some beers drop clear while others stay cloudy for months.
Section 1: The Boil (Irish Moss and Whirlfloc)
Most people think clarity happens after fermentation, but it actually starts in the kettle. When you boil wort, proteins coagulate and form clumps called “hot break.”
If those proteins make it into your fermenter, they stay suspended and create a permanent haze. Irish moss and Whirlfloc are made from seaweed and bind to these proteins. This makes them heavy enough to settle out before you transfer the liquid.
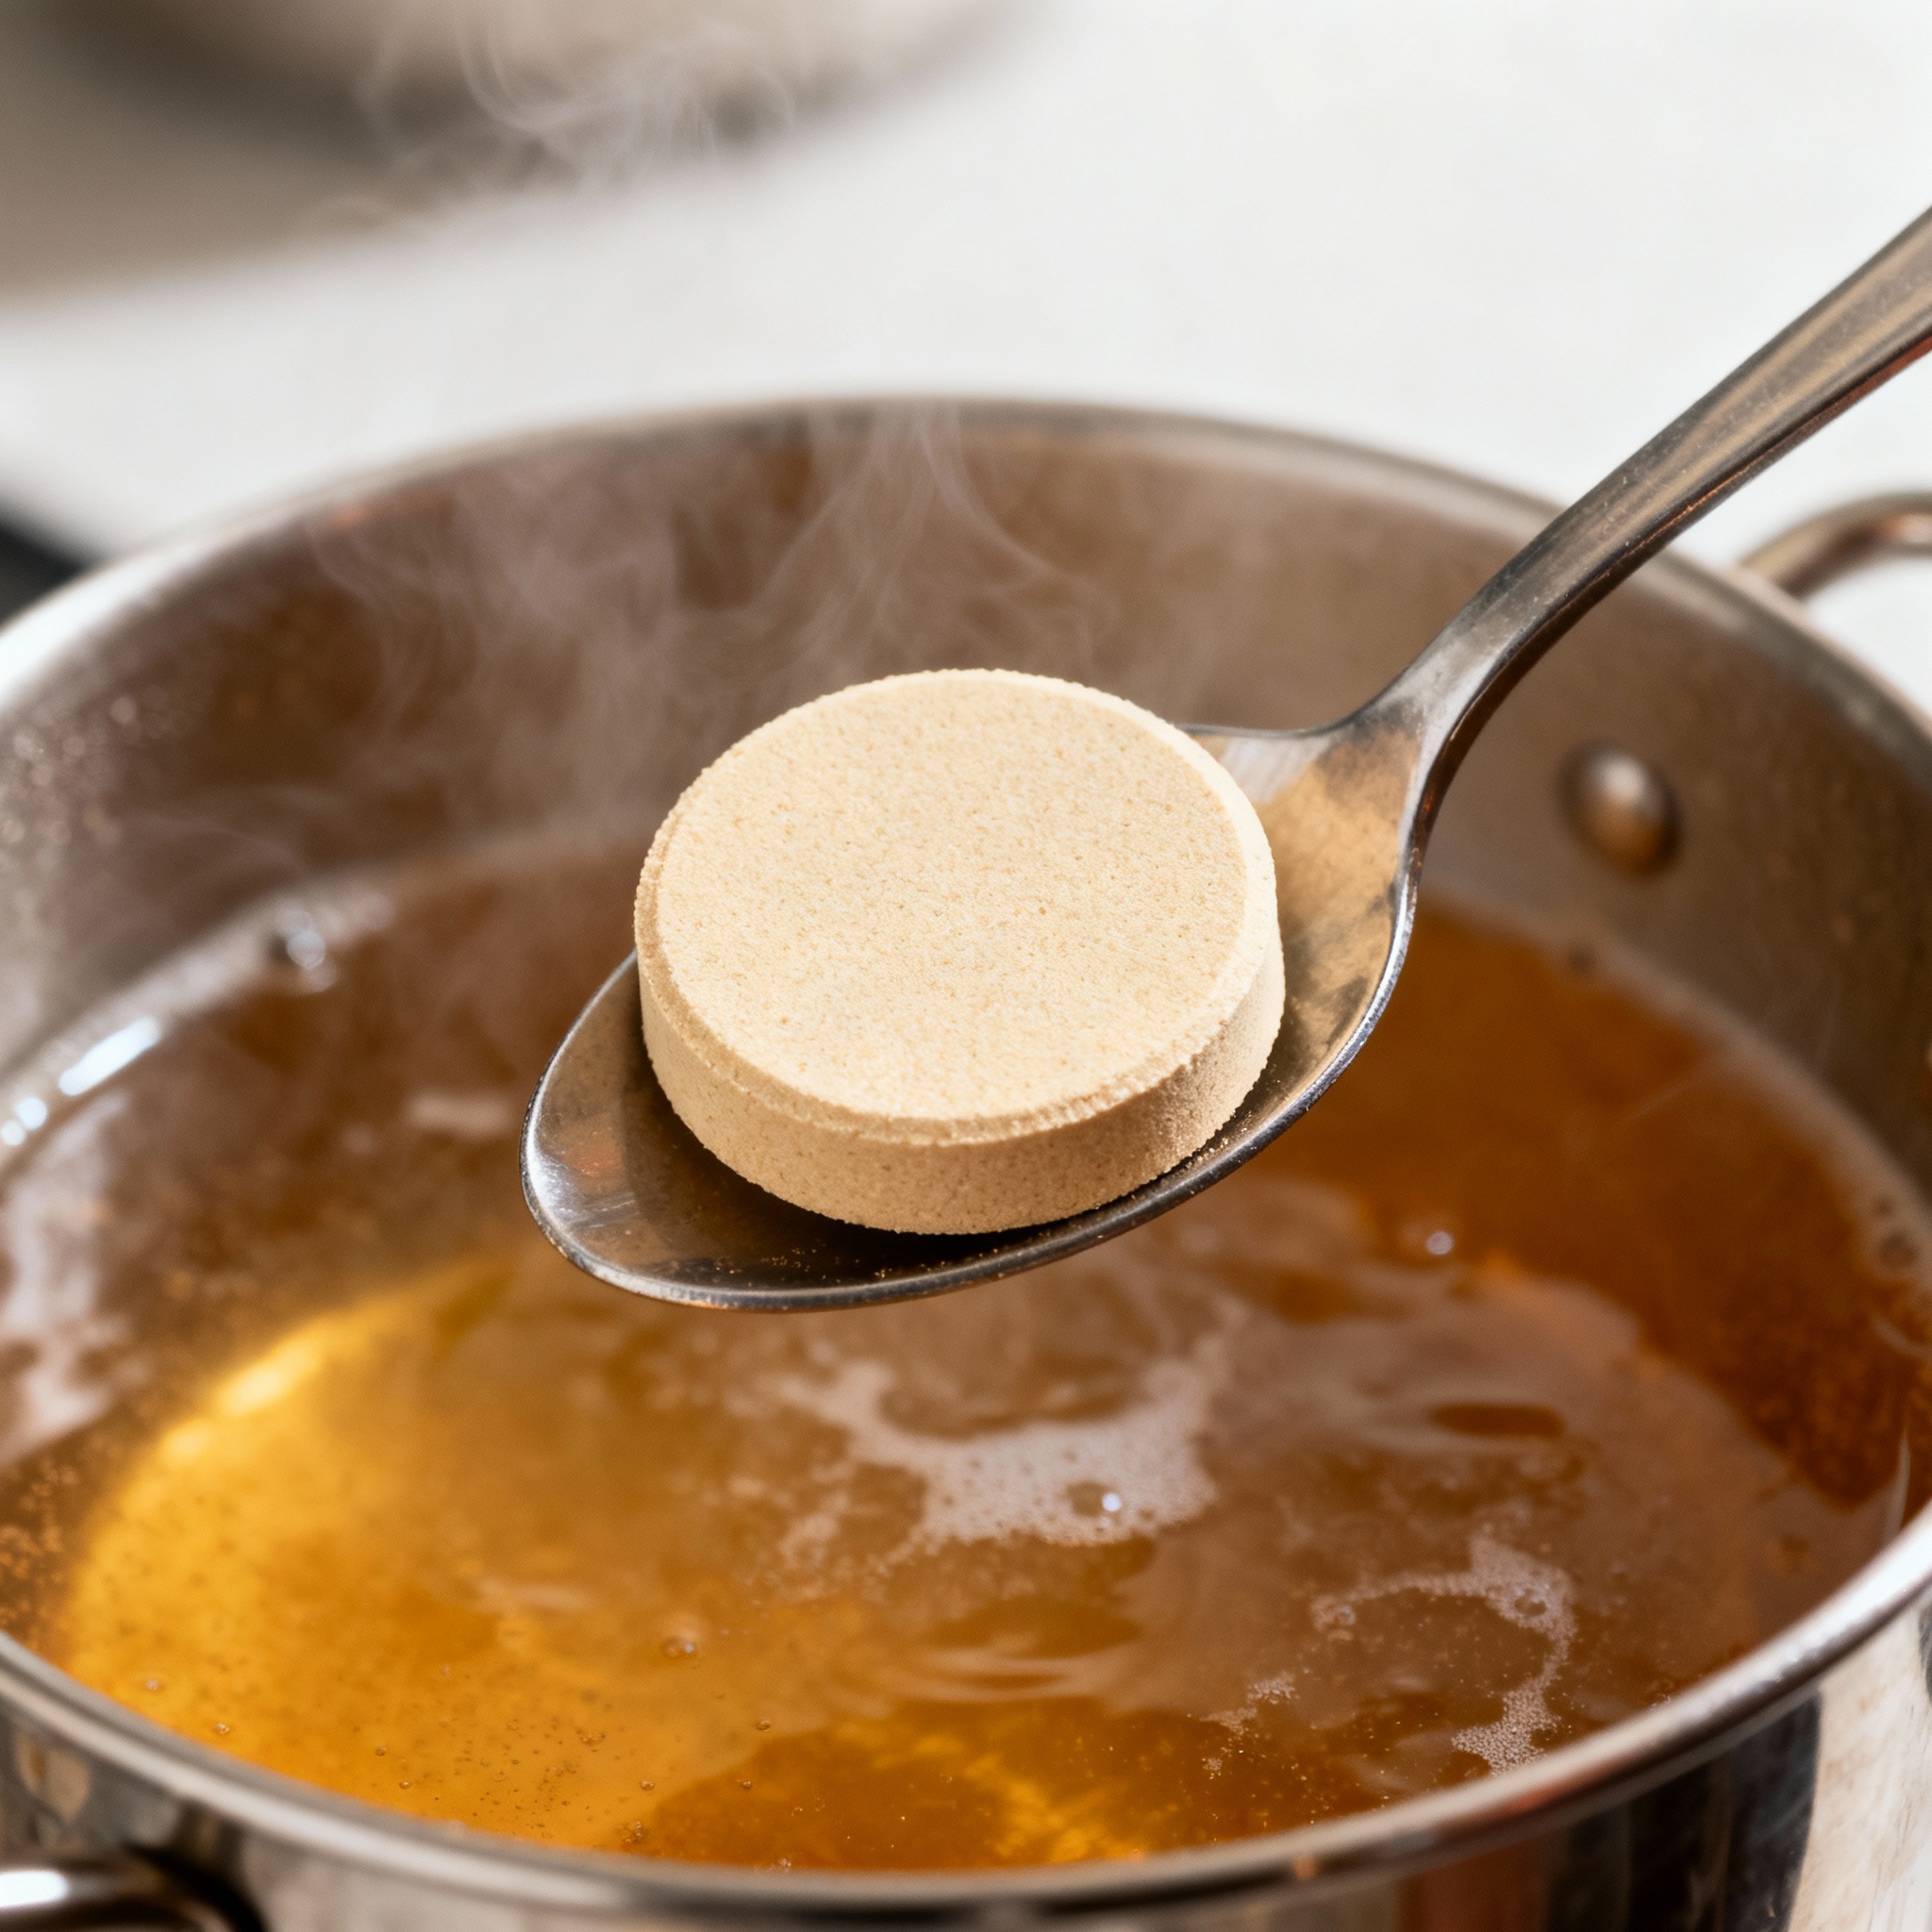
I use Whirlfloc tablets. I drop one tablet into the five-gallon boil with 10 minutes remaining. Whirlfloc is pre-processed, so it works faster and more consistently than raw Irish moss.
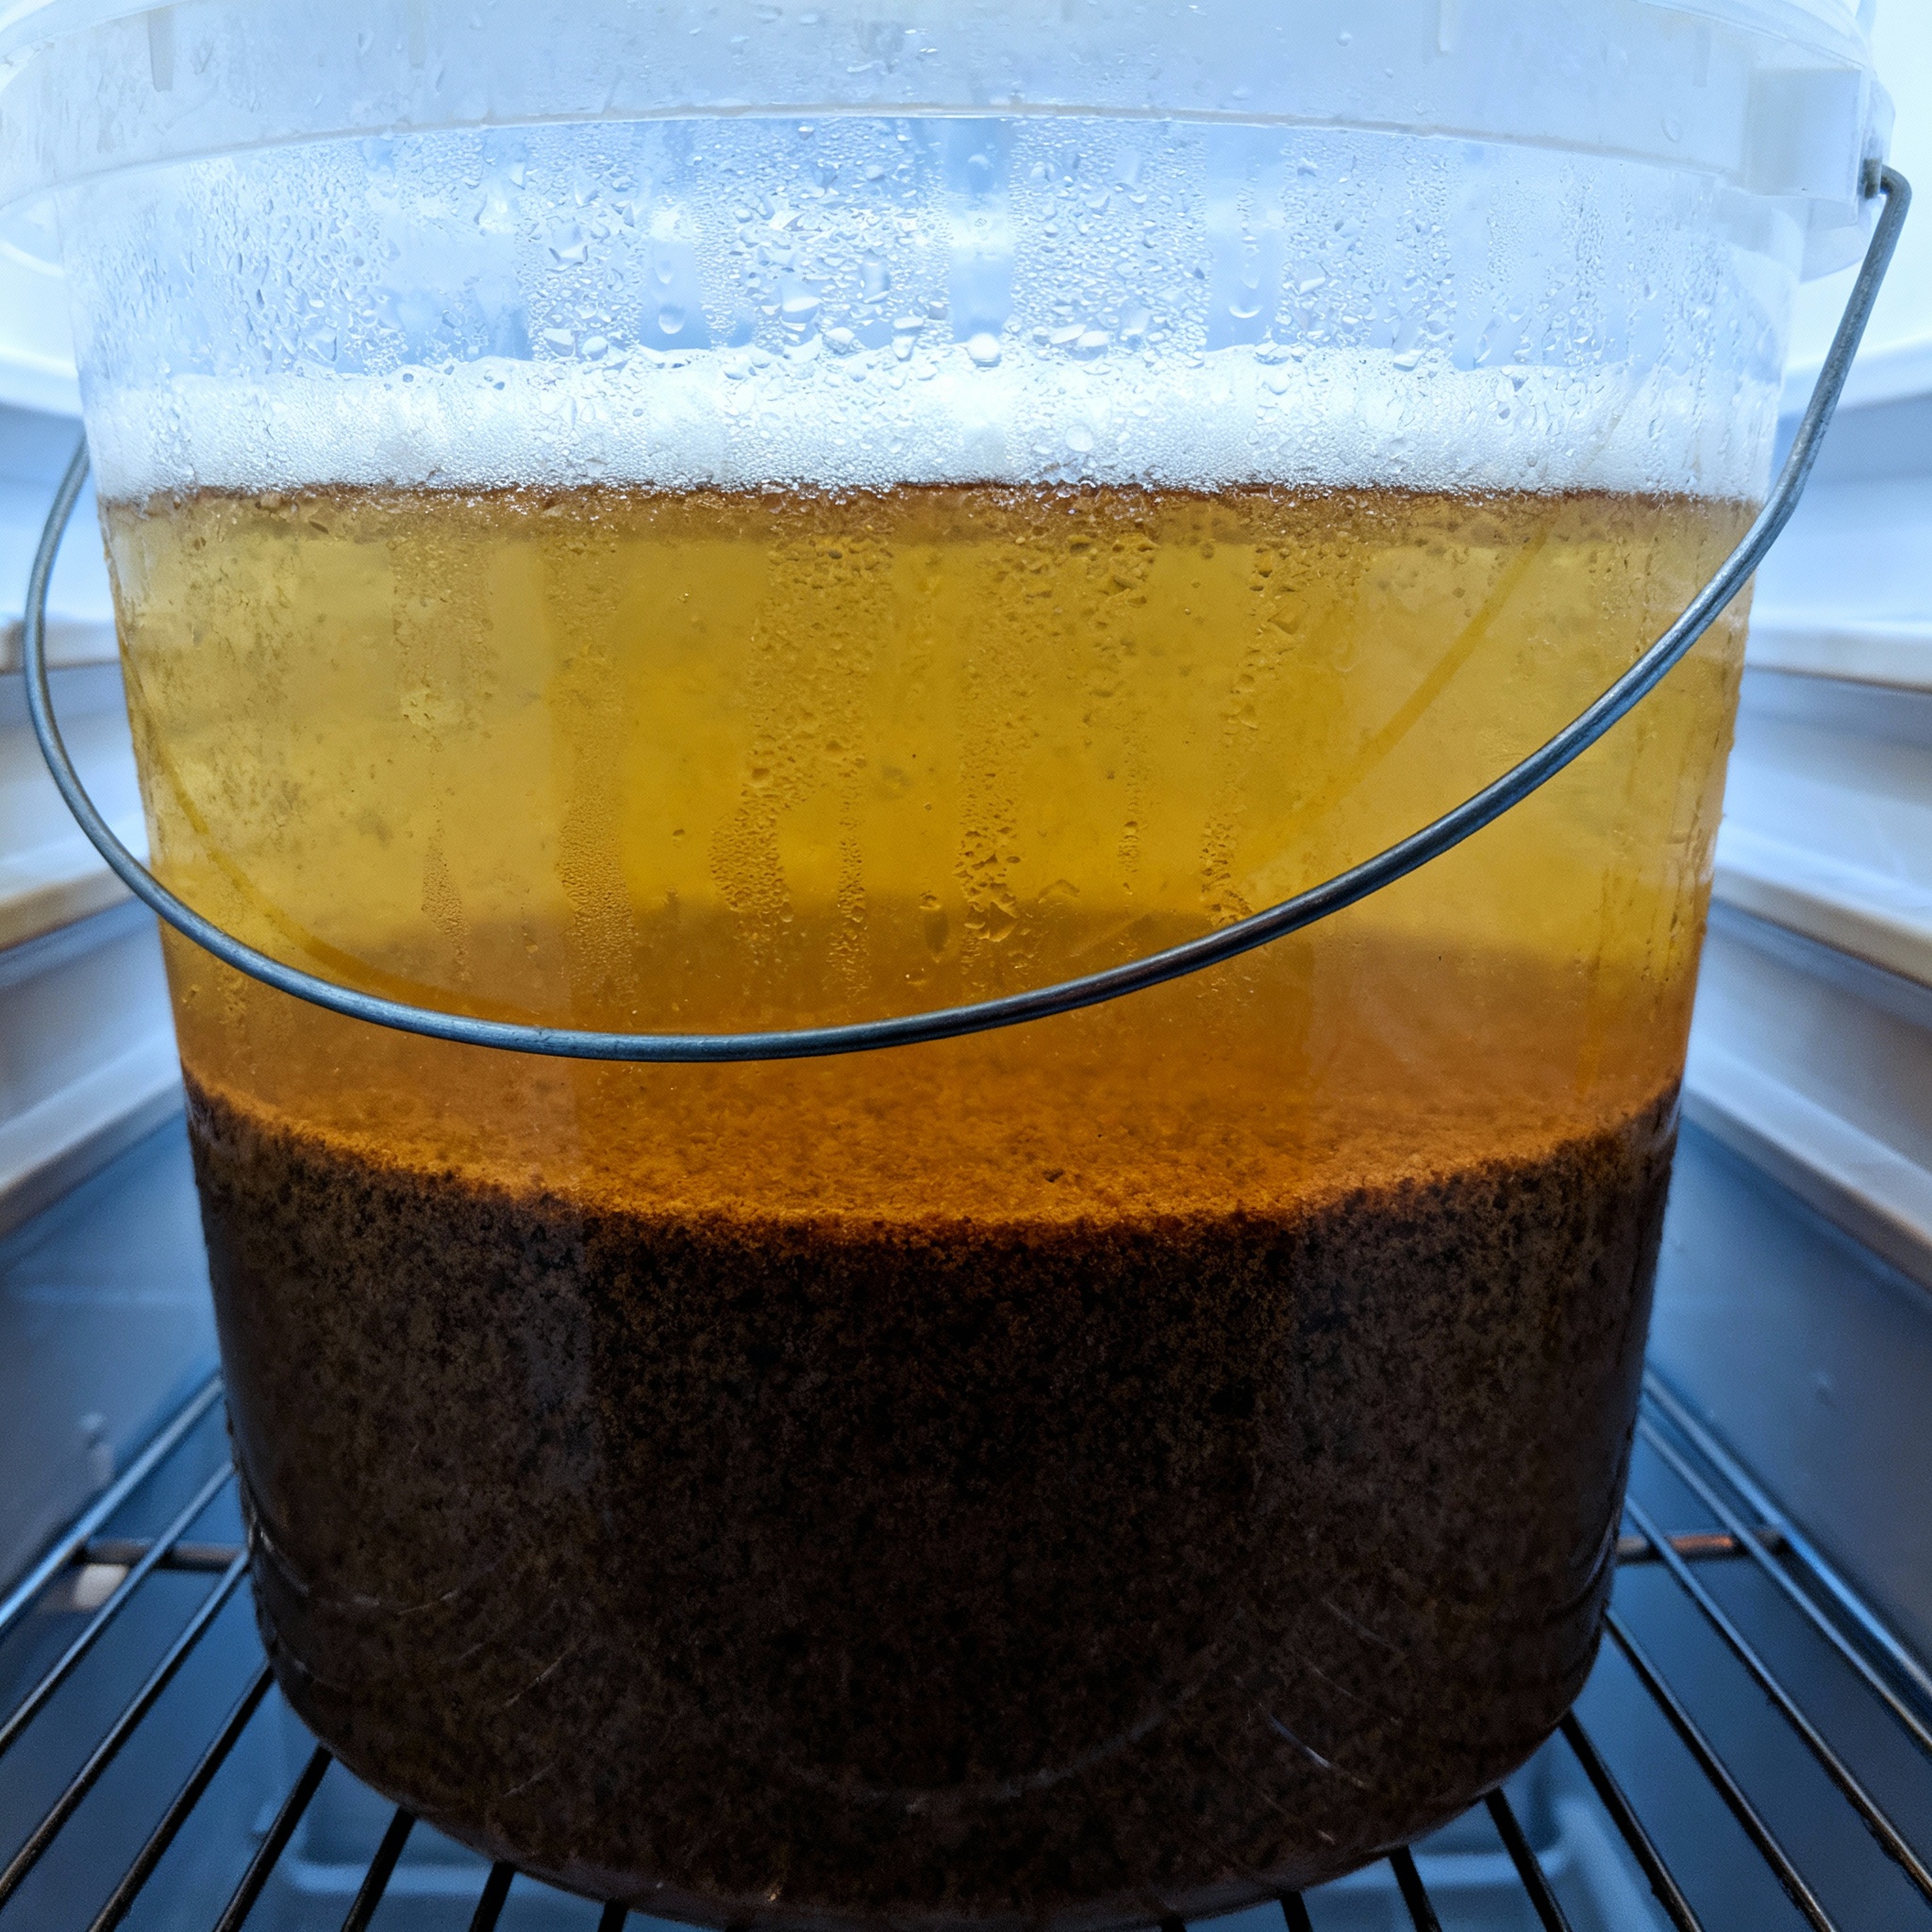
The difference is immediately visible. Before I used Whirlfloc, my wort looked milky when it came off the boil. Now, the trub settles into a thick layer at the bottom, leaving the wort much clearer.
You must boil for the full time for this to work. If you rush the boil, the proteins do not fully coagulate. The Whirlfloc cannot grab onto particles that haven’t formed yet.
After the boil, let the kettle sit for 10 to 15 minutes before you transfer. This “whirlpool rest” allows the trub to settle into a cone at the bottom. Leave that cone behind to ensure a clearer fermenter.
Section 2: Cold Crashing
Cold crashing is the simplest tool in the clarity toolbox. You drop the temperature of your beer to just above freezing, usually 33°F to 35°F. At these temperatures, yeast cells lose their ability to stay suspended and fall to the bottom.
I move my fermenter into a chest freezer once the gravity has been stable for three days. I leave it there for three to five days. The beer is always noticeably clearer after this treatment. This works because yeast cells are denser than beer, but they bounce around when the liquid is warm. For more on fermentation schedules, see temp control.
This works because yeast cells are denser than beer, but they bounce around when the liquid is warm. Cold beer has higher viscosity, which stops the yeast from moving. Eventually, gravity takes over and they sink.
Cold crashing does not remove everything. Hop particles and chill haze proteins do not drop as easily as yeast. If you are brewing a hazy style, cold crashing helps, but it won’t yield a crystal clear result.
Watch out for oxygen ingress when you cool your beer. When beer contracts, it creates negative pressure that can suck air back through your airlock. I have lost batches to oxidation because the beer turned brown and tasted like wet cardboard.
The fix is to use a spunding valve or to purge the headspace with CO2. If you don’t have CO2, swap the airlock for a solid bung once fermentation is completely finished. This is not a perfect solution, but it reduces the risk.
If you are bottling, cold crash first, then add your priming sugar and bottle. Enough yeast stays suspended to carbonate the beer perfectly. You will end up with much less sediment at the bottom of your bottles.
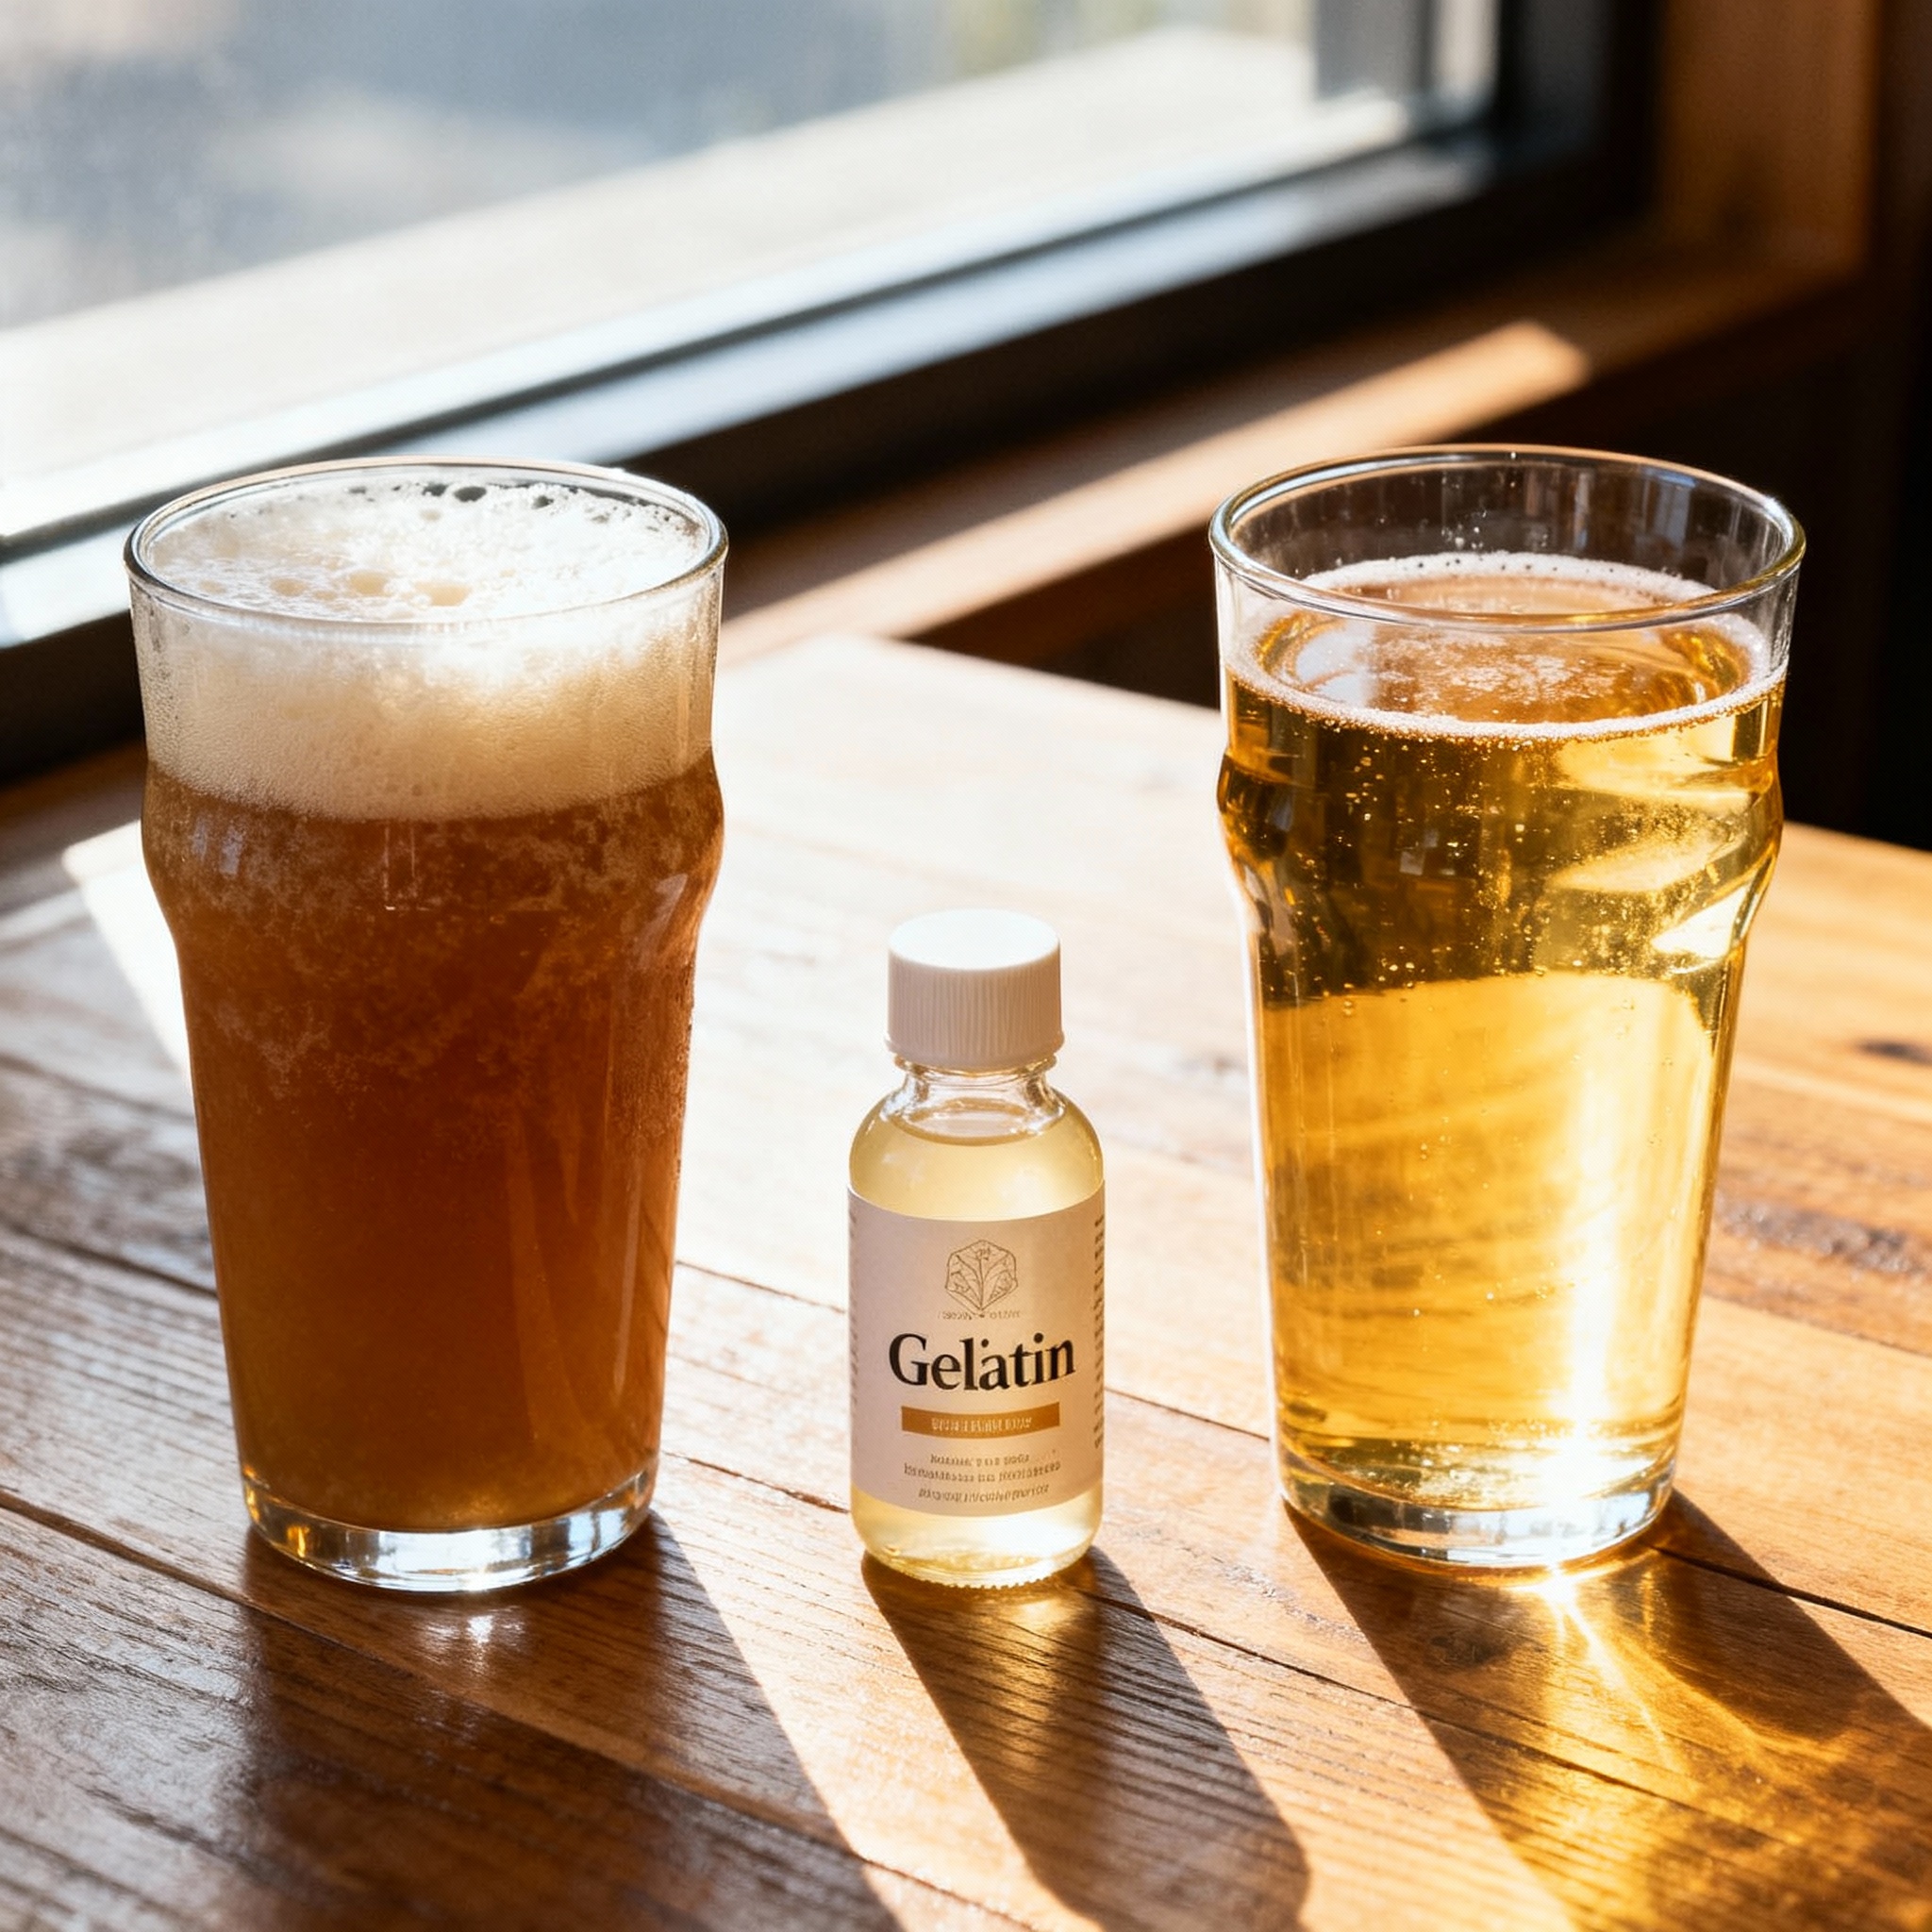
Section 3: Gelatin (The Magic of Collagen)
Gelatin is the fastest way to clear beer. It can take a beer from cloudy to brilliant in 24 to 48 hours. Gelatin is positively charged, while yeast cells are negatively charged, causing them to bind together and sink.
I use plain, unflavored gelatin from the grocery store. Boil two ounces of water and then remove it from the heat source. Add half a teaspoon of gelatin powder and stir until it dissolves completely.
Do not add gelatin to boiling water while it is still on the stove. It will clump and fail to dissolve. Let the solution cool to around 150°F before adding it to your beer.
Pour the solution into your keg or fermenter. The gelatin works best at cold temperatures between 35°F and 40°F. If you add it to warm beer, the settling process is much less effective.
Gelatin can strip a small amount of hop character. It binds to hop oils and polyphenols, dragging some of that aroma down with the yeast. If haze is part of the style, such as in a Hefeweizen, skip the gelatin entirely.
Dose per keg rather than per batch. If you split a 10-gallon batch, make two separate gelatin solutions. This gives you more control and lets you experiment with one untreated keg.
Section 4: Biofine Clear (The Vegan Alternative)
Biofine Clear is a colloidal silica solution that serves as a vegan alternative to gelatin. It is negatively charged, so it binds to positively charged proteins rather than yeast. This results in a clearer beer without stripping as much hop character.
I started using Biofine so I could tell my vegan friends that my beer was animal-product free. Gelatin is derived from collagen, but Biofine is purely mineral-based. It solves the clarity problem without the dietary conflict.
The dose is about 10 milliliters per five gallons. You add it directly to the cold keg or fermenter with no heating required. It usually takes about two to three days to show full results.
In side-by-side tests, Biofine-treated beer often keeps more hop aroma. The mouthfeel also remains slightly fuller. Gelatin can sometimes thin out a beer by pulling out body-contributing polyphenols.
Do not overdose this product. If you add too much, the silica particles clump together and create a haze of their own. I once doubled a dose and the beer looked like skim milk.
Biofine works better on protein haze than yeast haze. If your beer is cloudy because of suspended yeast, use gelatin or a longer cold crash. Use Biofine specifically to target chill haze.
Section 5: Haze Stability
Not all haze is the same. Some haze disappears when the beer warms up, while other haze is permanent. Understanding the difference helps you fix the right part of your process.
Chill haze is caused by proteins bonding when the beer is cold; it disappears as the beer warms. Permanent haze is caused by yeast, starch, or oxidation and will not clear up at any temperature.
Chill haze happens because of malt proteins and polyphenols from the hops. During the boil, Whirlfloc helps drop some of this out. However, the rest stays in solution until the liquid gets cold.
You can reduce these proteins before fermentation even begins. Mashing at a lower temperature produces fewer haze-forming proteins. You should also limit the amount of high-protein grains like wheat or oats in clear styles.
Permanent haze is much harder to fix. If you use a low-flocculating yeast, it might never settle out. Many Belgian and New England IPA strains are bred specifically to stay suspended.
Oxidation also creates a permanent haze that you cannot fix. When oxygen reacts with polyphenols, it forms large molecules that do not dissolve. The beer takes on a brownish tint that cold crashing cannot clear.
I test for chill haze by putting a room-temperature sample in the fridge. If it is clear when poured but gets cloudy after 30 minutes, that is chill haze. This tells me I need to adjust my grain bill or boil process next time.
Avoid high-protein adjuncts like flaked wheat if clarity is your primary goal. Stick to base malts with low protein content and mash on the lower end of the temperature range.
Conclusion
Clarity is not magic; it is a series of small, intentional decisions. Use Whirlfloc to drop hot break and cold crash to settle your yeast. Add gelatin or Biofine if you want that commercial brilliance in a single day.
I do not clear every beer I brew. Some styles look better with a natural, healthy glow. But when I want a beer to look professional, these techniques are my go-to tools.
They are inexpensive and do not require any special equipment. You just need to pay attention to the details and be patient. The next time you pour a glass of crystal clear beer, you will know it was no accident.
Clarity Comparison Table
| Method | Mechanism | Time to Clear | Best For | Drawbacks |
|---|---|---|---|---|
| Whirlfloc | Binds proteins | N/A | All beers | Requires full boil |
| Cold Crashing | Gravity | 3-5 days | Ales & Lagers | Oxygen risk |
| Gelatin | Positive charge | 24-48 hours | Clear styles | Not vegan |
| Biofine Clear | Negative charge | 2-3 days | Hoppy beers | More expensive |
| Time | Natural settling | 2-4 weeks | All beers | Takes the longest |
References
- Palmer, J. (2017). How to Brew. Brewers Publications.
- White, C., & Zainasheff, J. (2010). Yeast: The Practical Guide. Brewers Publications.
- Bamforth, C. W. (2009). “Beer Haze.” Journal of the American Society of Brewing Chemists.
- BJCP Style Guidelines. Strong, G., & England, K. (2015).
- MoreBeer! (2023). “Using Finings in Homebrew.”