Mead 101: Honey, Water, Yeast, and Nutrients.
I remember the first time I tasted real mead. Not the syrupy Renaissance Faire stuff that coats your teeth like candy, but a dry traditional mead someone had aged for a year in a glass carboy tucked under their stairs. It tasted like drinking liquid sunlight with a bite at the end. Clean. Simple. Honest.
I went home that night and Googled “how to make mead.” The first recipe I found told me to dump three pounds of honey into a gallon of water, sprinkle in some bread yeast, and wait.
I tried. Three weeks later, I cracked the lid and almost gagged. It smelled like nail polish remover mixed with burnt rubber, literally. The whole batch went down the drain and I swore to figure out what went wrong.
Turns out mead is the easiest alcohol to start and the hardest to finish well. You only need four ingredients (honey, water, yeast, nutrients), but if you skip even one step or misunderstand the chemistry, you get rocket fuel instead of poetry. This guide is what I wish someone had handed me that first night.
The Drink of Vikings (and Modern Hipsters)
Mead is older than wine. Older than beer. Some anthropologists think it’s the first fermented drink humans ever made, probably by accident when rainwater got into a hollow tree stump full of honeycomb. Wild yeast did the rest.
The Vikings drank it. The Ethiopians still make T’ej (spiced mead with gesho root). Medieval monks brewed it in stone cellars. Then, for a few hundred years, mead mostly disappeared because hops and grapes were cheaper to grow than keeping bees. Now it’s back. You’ll find it at craft breweries, farmers markets, and in the garages of people like me who got tired of $18 bottles that taste like cough syrup.
Here’s the thing: mead is not hard to make. You do not need a degree in biochemistry. You do not need expensive equipment. But you do need to respect the process, because honey is not grape juice and it is definitely not malted barley. It behaves differently. If you treat it like beer or wine, you will fail.
Honey Varietals: Orange Blossom vs Clover vs Wildflower
The biggest mistake beginners make is thinking honey is just honey. It’s not. The type of honey you use will completely change the flavor of your mead, more than the yeast strain or aging time.
I’ve made batches with clover honey from the grocery store. I’ve made batches with buckwheat honey that smelled like burnt molasses. I’ve used orange blossom honey from a beekeeper in Florida who shipped it in a repurposed pickle jar. Each one turned out wildly different.
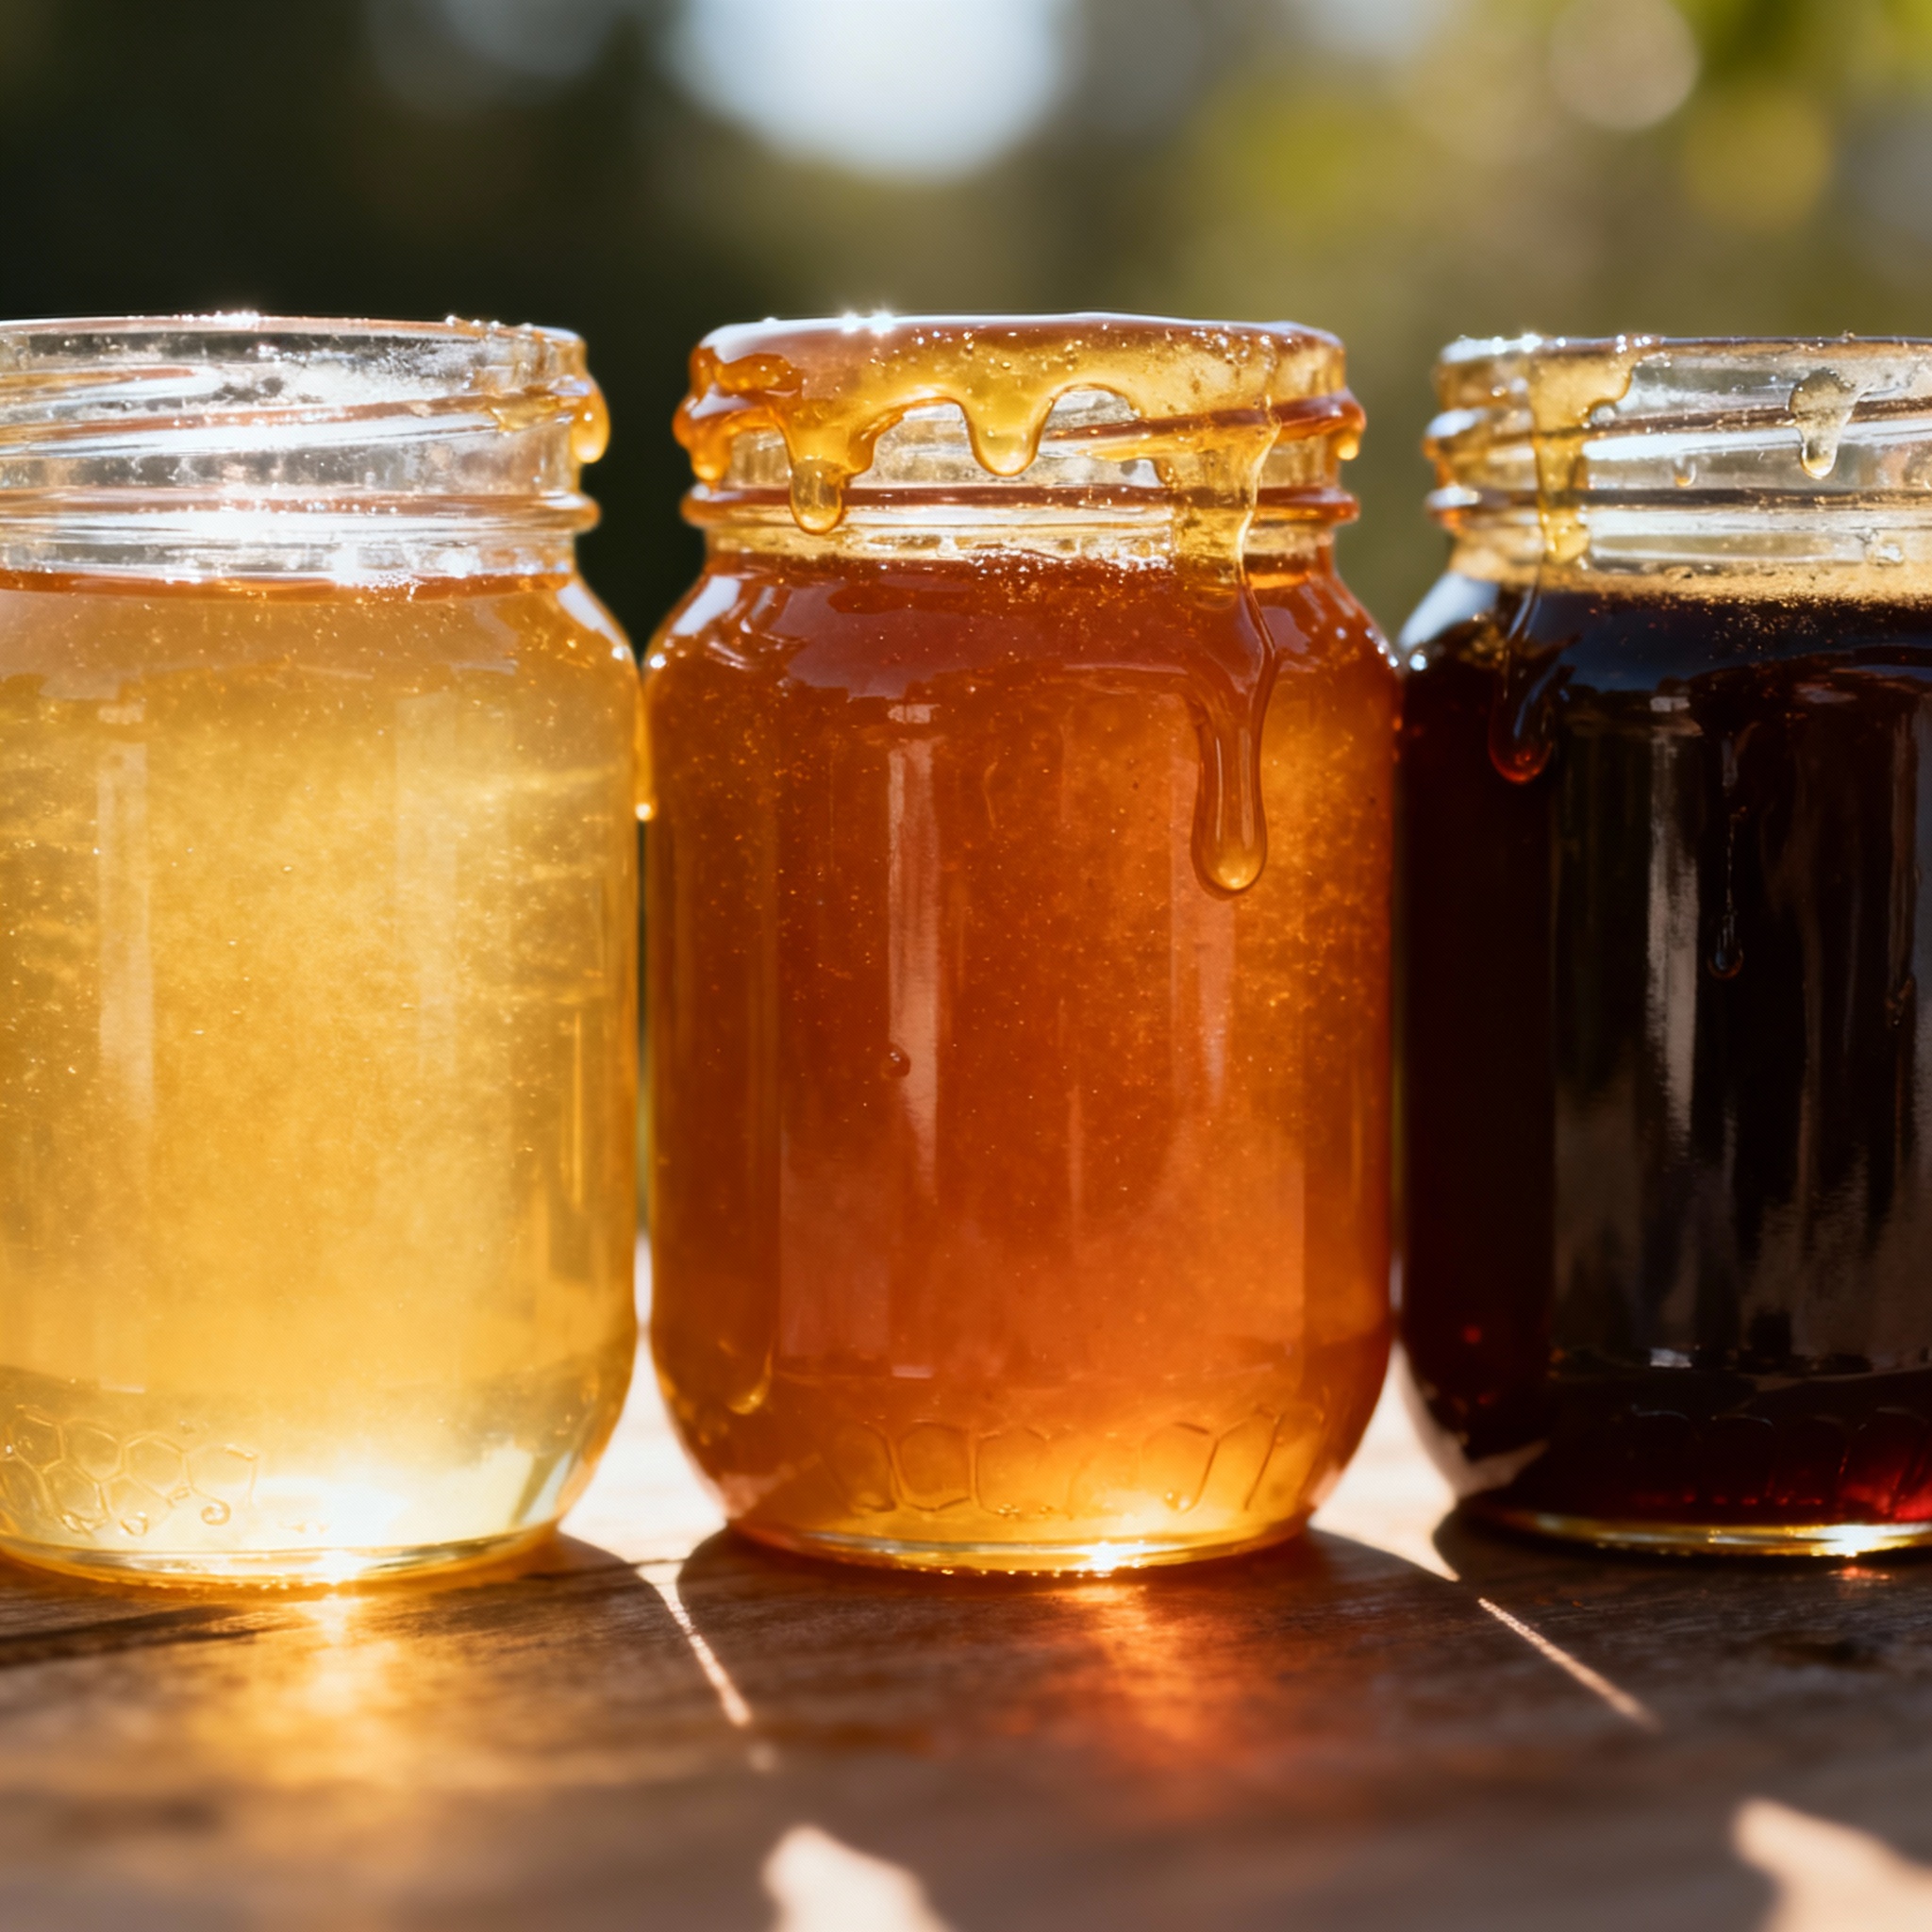
Clover honey is the baseline. Mild, slightly floral, a little boring. If you want a clean slate to add fruit or spices later, clover works. It’s also cheap, which matters when you’re starting out and might screw up a batch (you will screw up a batch).
Orange blossom honey is my favorite for traditional mead. It has this citrus-forward brightness that doesn’t fade even after months of aging. The aroma is delicate but it has a punch.
If you’ve only tasted mead made with generic honey, try a side-by-side with orange blossom and you’ll understand why people get obsessed with this stuff. Wildflower honey is unpredictable. It depends entirely on what the bees were foraging.
I once bought wildflower honey from a guy at the Asheville farmers market who kept hives near a kudzu patch. The mead tasted green and weirdly peppery. Not bad, just strange. Another time I used wildflower from upstate New York and it came out tasting like apples even though there was no fruit in the recipe.
If you’ve only tasted mead made with generic honey, try a side-by-side with orange blossom and you’ll understand why people get obsessed with this stuff. Wildflower honey is unpredictable. It depends entirely on the forage. Only use darker honey like Buckwheat for styles like Bochet.
Here’s what I’ve learned after wasting money on bad honey: buy local if you can, taste it before you brew with it, and avoid anything that says “blend” on the label. Those blends are usually cut with cheap imported honey that has been heat-treated to death. The aromatics are gone. You’re just paying for sugar water at that point.
Smell the honey before you buy it. If it smells like nothing, it will taste like nothing. Good honey should smell floral, fruity, or earthy depending on the source. If it just smells sweet, walk away.
The No-Boil Method: Why Boiling Honey is a Crime
Old recipes, especially ones written before 2000, will tell you to boil your honey and water together before fermenting. Do not do this. Boiling honey is one of the worst things you can do if you care about flavor.
When you boil honey, you blow off all the delicate aromatics that make it interesting. Those floral esters, the fruity top notes, the subtle funk from the pollen, they all evaporate. What’s left is just sugar. Boring, flat, one-dimensional sugar. You might as well ferment corn syrup at that point.
The argument for boiling used to be sanitation. People thought you needed to sterilize the honey to kill wild yeast and bacteria. That made sense a hundred years ago when fermentation science was still catching up. But honey is naturally antimicrobial. It has a pH around 3.9 and a water activity so low that almost nothing can survive in it. You do not need to boil it.
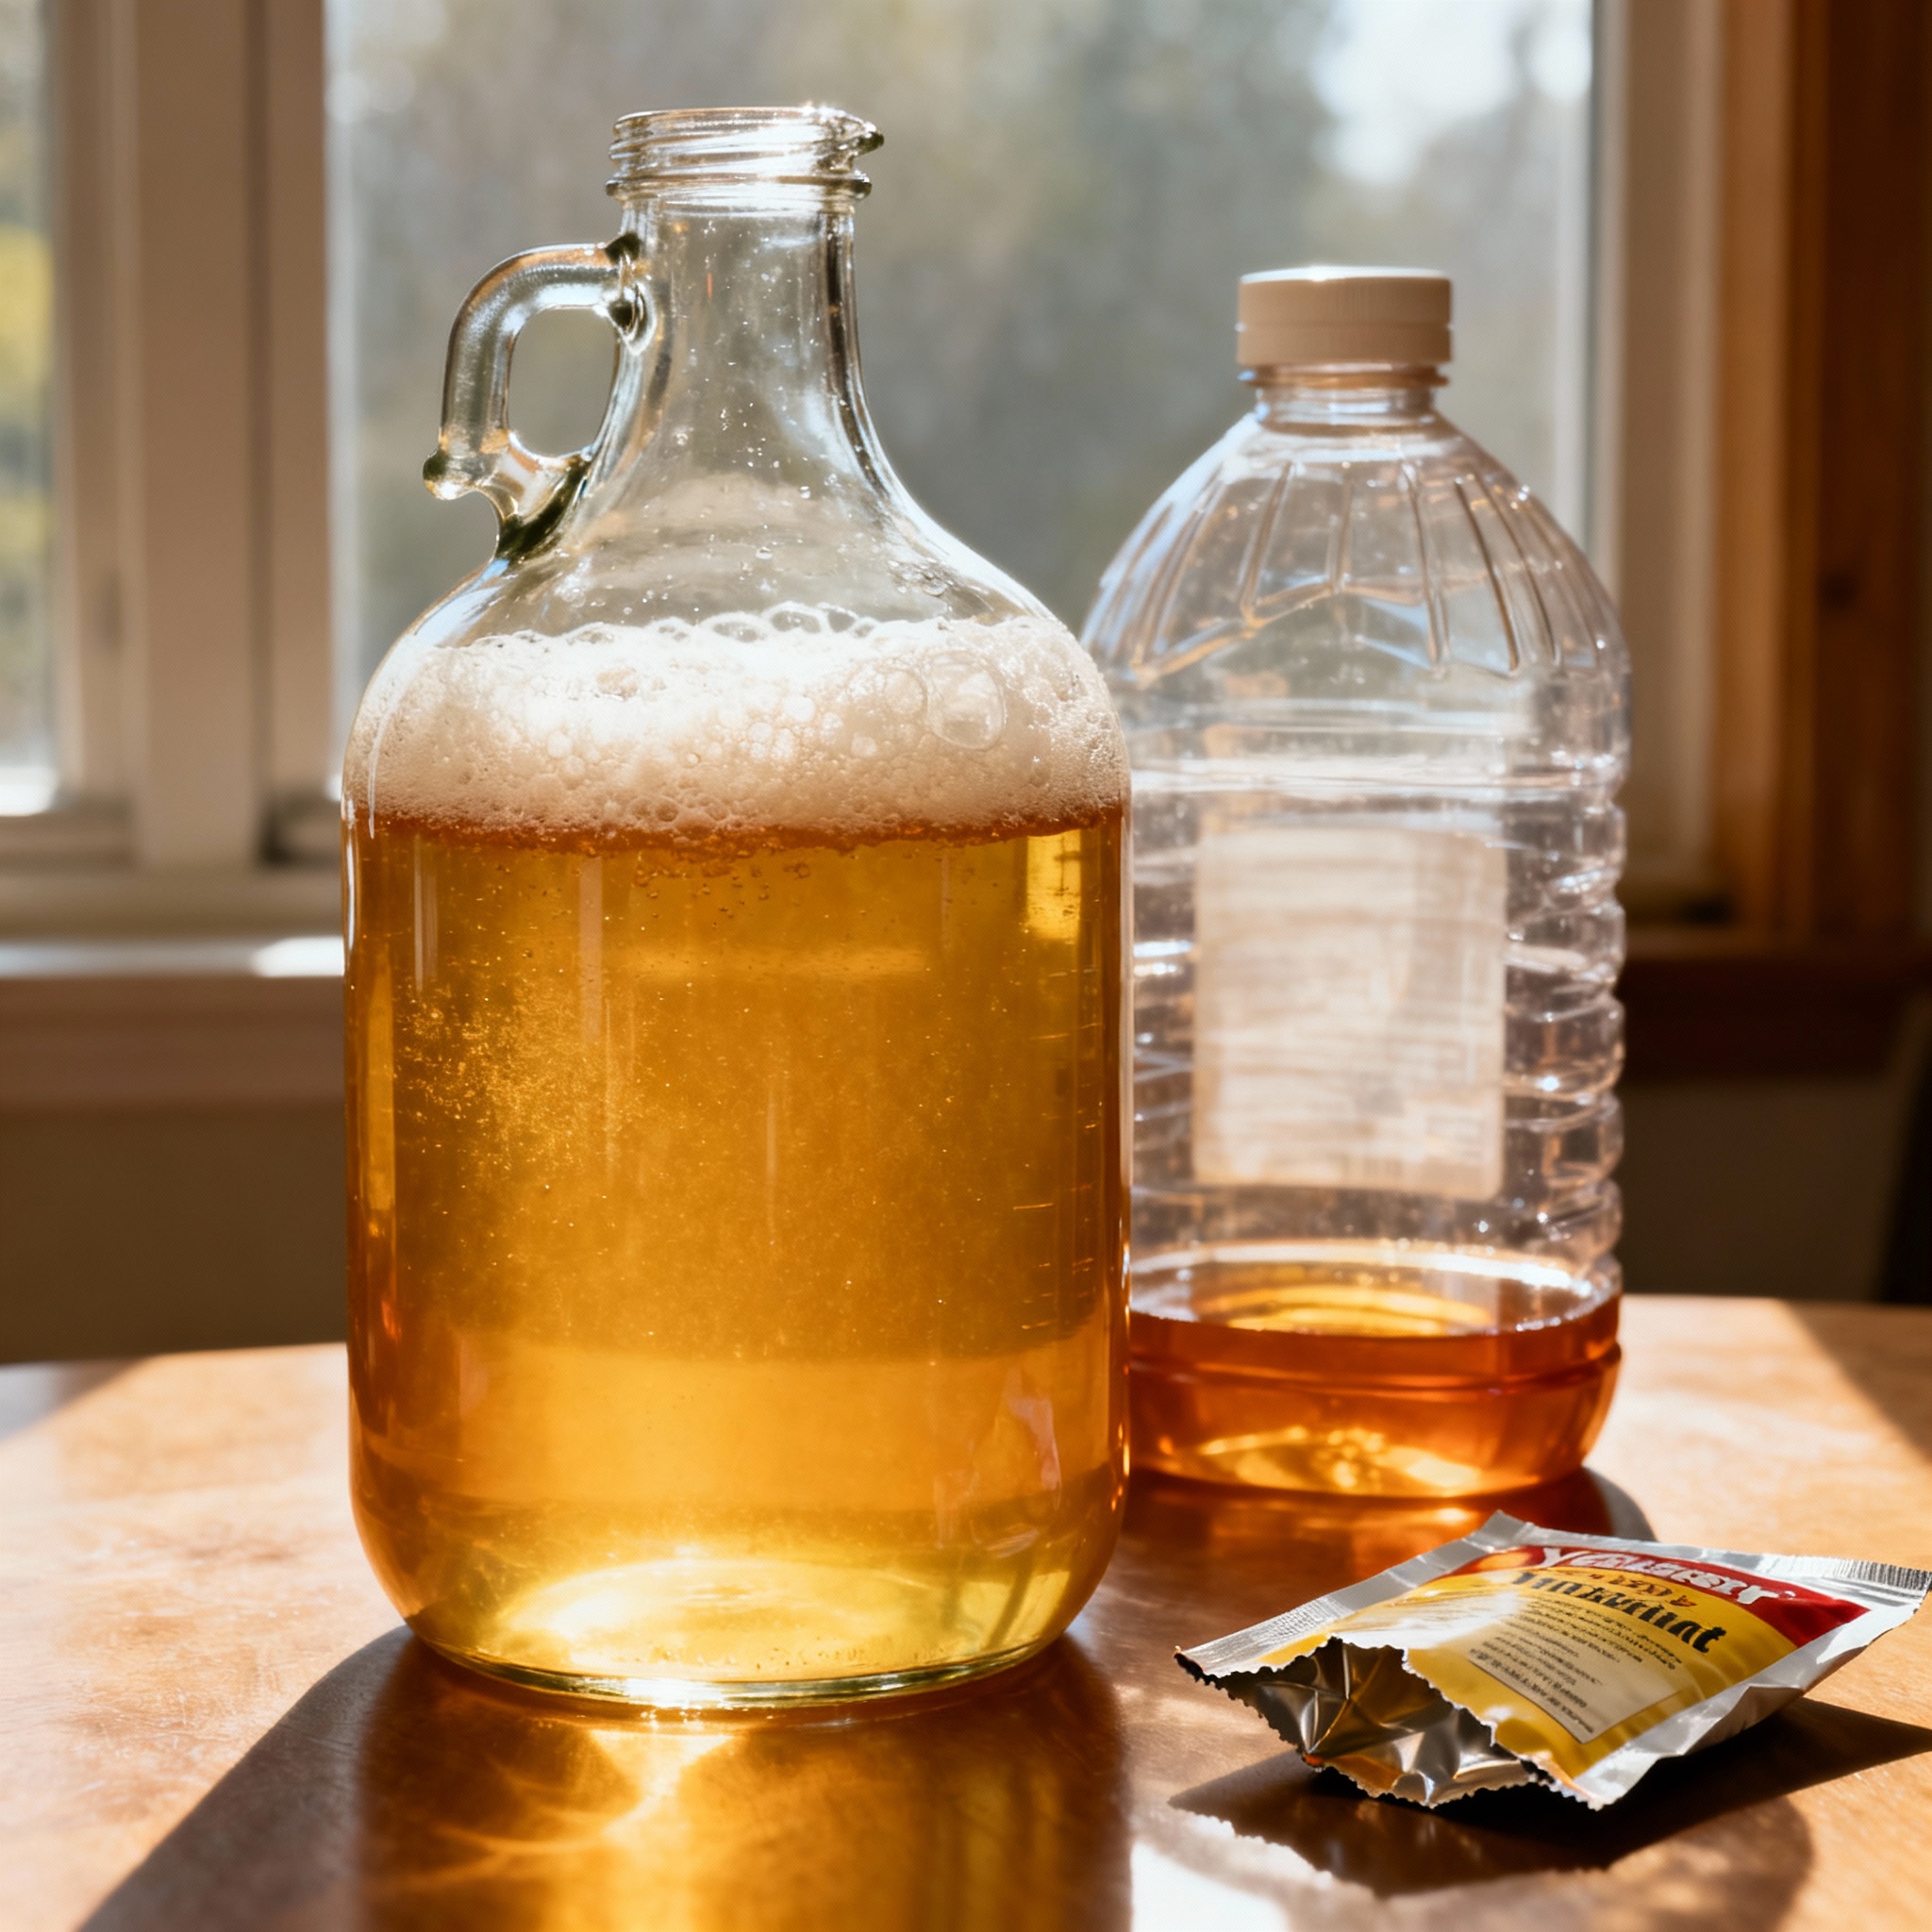
Here’s how I do it now. I heat my water to about 100 degrees Fahrenheit, just warm enough to help the honey dissolve. I pour the honey into a sanitized bucket, add the warm water, and stir until it’s fully mixed. That’s it. No heat above body temperature. The aromatics stay locked in.
Some people don’t even heat the water. They just stir for ten minutes until the honey dissolves. That works too, but I’m impatient and warm water speeds things up. The point is you’re not cooking anything. You’re just mixing.
I learned this the hard way. My third batch of mead, I followed an old recipe from a 1970s homebrewing book. It said to boil the honey for fifteen minutes and skim off the foam. I did exactly that. Six months later, the mead tasted fine but it was boring. No depth. No character. Just vaguely sweet alcohol. I’ll never boil honey again.
If your honey has crystallized (turned solid and grainy), don’t microwave it. Put the jar in a warm water bath (110 degrees max) and let it melt slowly. Microwaving creates hot spots that can degrade the flavor.
Nutrients and TOSNA: Honey is a Desert
This is where most beginners fail. You cannot just dump honey, water, and yeast together and expect magic. Honey is almost pure sugar. It has trace minerals and a few amino acids, but it is a nutritional wasteland compared to grape juice or malted barley. Yeast need nutrients, vitamins, and minerals to ferment cleanly. Without them, they get stressed, throw off nasty sulfur compounds, and produce fusel alcohols that taste like paint thinner.
The old-school method was to add raisins or bread to the must (the unfermented honey-water mix). That sort of worked, but it was inconsistent and often introduced weird flavors. Modern meadmakers use commercial yeast nutrients.
There are two camps: people who dump all the nutrients in at the start (the lazy way) and people who follow a staggered nutrient schedule like TOSNA (Tailored Organic Staggered Nutrient Additions). I’m in the TOSNA camp because I’ve tasted the difference.
TOSNA spreads out nutrient additions over the first few days of fermentation. You’re feeding the yeast when they need it most, during the exponential growth phase. This keeps fermentation healthy and prevents stuck ferments or off-flavors.
Here’s a basic TOSNA schedule I use for a one-gallon batch. On day zero (pitch day), I add nothing. On day one, I add a quarter teaspoon of Fermaid O (an organic yeast nutrient). On day two, another quarter teaspoon. On day three, another quarter teaspoon. That’s it. Three small additions instead of one big dump.
Why does this work? Because yeast multiply like crazy in the first 72 hours. If you give them too much nitrogen too early, they over-reproduce and then run out of food later, which stresses them. If you give them nothing, they starve from the start. Staggering the nutrients keeps the population healthy and the fermentation clean.
I’ve also experimented with DAP (diammonium phosphate), which is a synthetic nitrogen source. It works, but I’ve had better results with organic nutrients like Fermaid O or Go-Ferm. The flavor is cleaner and I don’t get as much of that hot alcohol bite.
One more thing: do not skip Go-Ferm during rehydration. Go-Ferm is a different product than Fermaid. You mix it with warm water before you add the yeast.
It loads up the yeast cells with sterols and vitamins so they’re ready to handle the high-sugar, low-nutrient environment of honey. I didn’t use it on my first five batches and I had slow, sluggish ferments every time. Once I started using Go-Ferm, my lag times dropped and the yeast took off like they were supposed to.
Measure your nutrients by weight, not volume. A “teaspoon” of powder can vary depending on how packed it is. I use a cheap $10 scale from Amazon. Consistency matters.
Aeration: Whipping Oxygen Into the Must
Yeast need oxygen to reproduce. Not to ferment (fermentation is anaerobic), but to build strong cell membranes during the growth phase. In beer brewing, you aerate the wort by shaking the fermenter or using an aquarium pump with an airstone. Mead is the same, but you need to do it multiple times because honey musts are so nutrient-poor. (See aeration for more details).
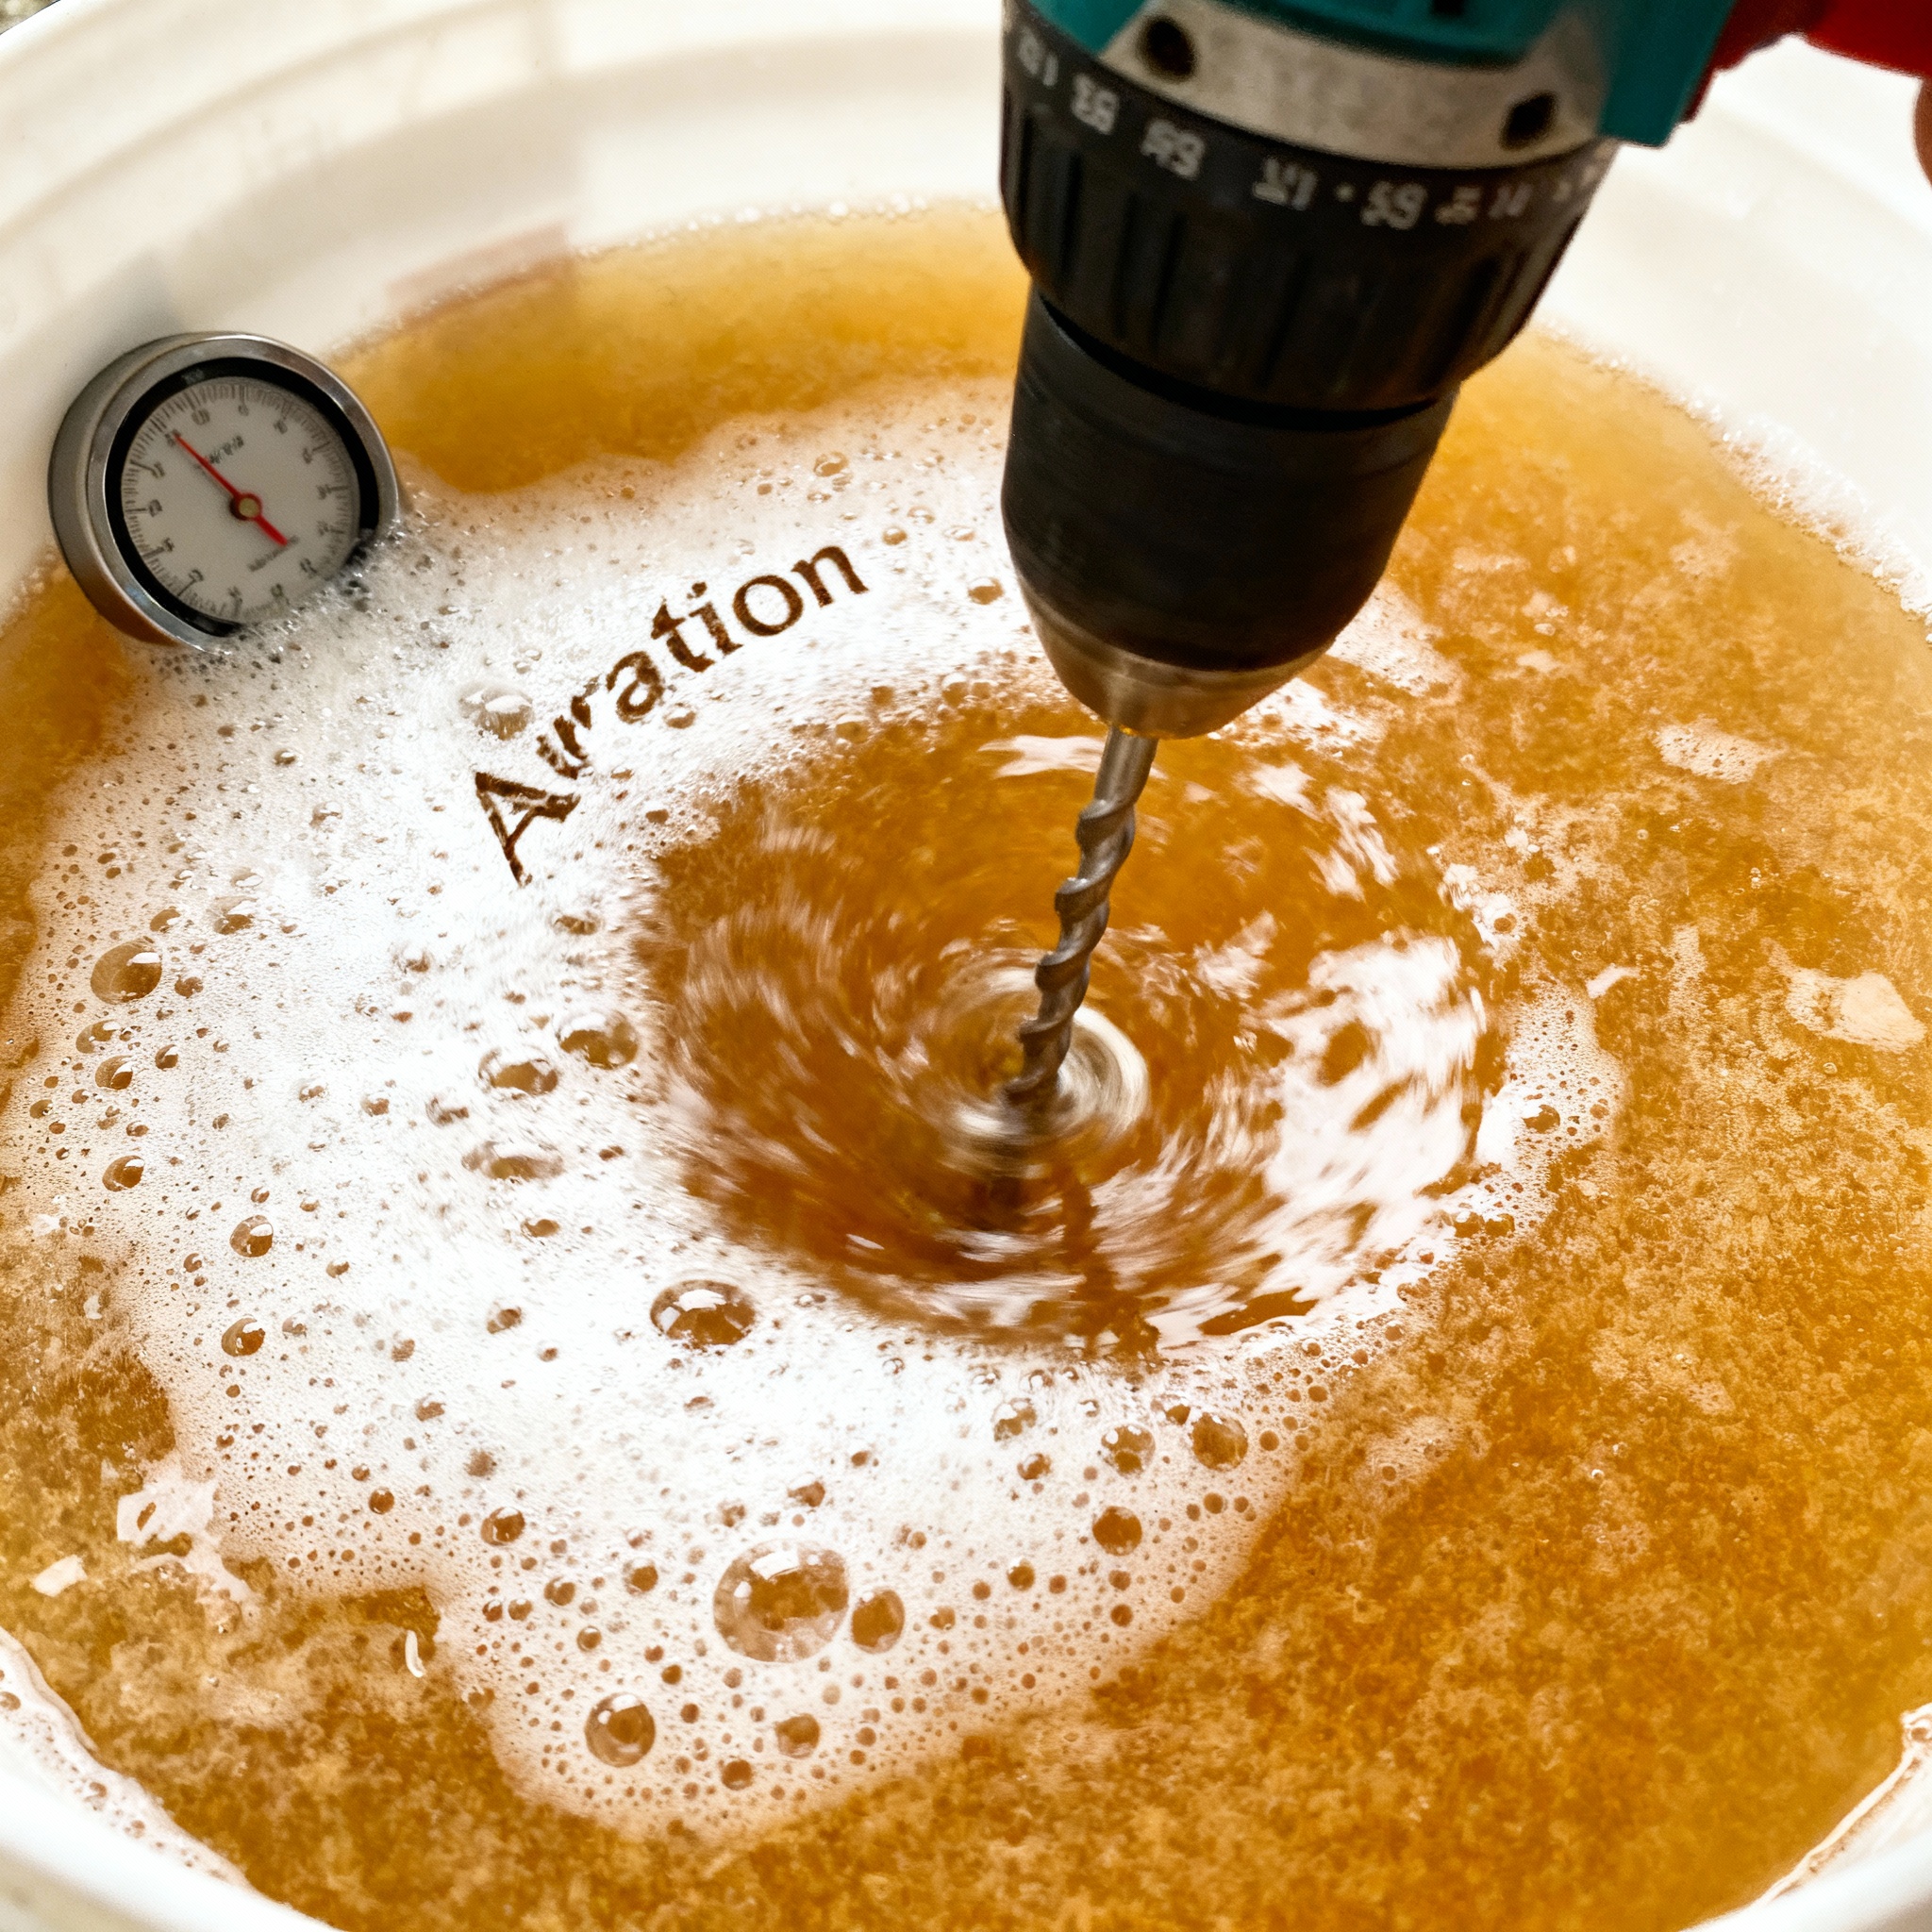
For the first three days, I aerate my mead twice a day. I don’t have a fancy oxygenation system. I just take the lid off the bucket, stick a sanitized spoon in there, and stir vigorously for about a minute. You want to see bubbles and foam. You’re whipping air into the liquid.
Some people use a drill with a sanitized whisk attachment. That works great if you have one. I don’t, so I stir by hand. It’s low-tech but it gets the job done.
Why only the first three days? Because once the yeast finish their growth phase and switch to full fermentation mode, they don’t need oxygen anymore. In fact, oxygen exposure after day three can cause oxidation, which leads to off-flavors like wet cardboard or sherry notes (unless you’re making a deliberately oxidized style, which is a whole different topic).
I also degas during aeration. Fermentation produces CO2, and in a thick, sugary must, CO2 can get trapped. Degassing releases it and prevents the yeast from getting stressed by their own waste product.
The difference between aerated and non-aerated mead is dramatic. I did a side-by-side test once. Same honey, same yeast, same nutrients. One batch I aerated daily for three days.
The other I just let sit. The aerated batch finished fermenting in three weeks and tasted clean. The non-aerated batch took six weeks, threw off sulfur smells, and had a harsh alcohol bite even after aging. Never again.
If you forget to aerate one day, don’t panic. Just pick it back up the next day. Consistency is good but missing one session won’t ruin your batch.
Patience: The Six-Month Rule for Traditional Mead
This is the hardest part. You will want to drink your mead after a month. Do not do it. It will taste terrible.
Traditional mead (no fruit, no spices, just honey, water, yeast, nutrients) needs time. A lot of time. The yeast finish fermenting in two to four weeks, but the flavors need months to smooth out and integrate. I follow a six-month minimum rule for traditional mead. Twelve months is better.
Why so long? Because honey creates a lot of fusels (higher alcohols) during fermentation, even with good nutrients and aeration. Those fusels are harsh and hot when the mead is young. They mellow out over time as they oxidize and esterify into softer compounds. You literally cannot speed this up. You just have to wait.
I’ve tried force-aging tricks like heating the bottles or adding oak chips. They help a little, but nothing beats time. One batch I made in 2021 tasted like gasoline at three months. At six months it was drinkable. At one year it was genuinely good. At eighteen months (which is where it is now), it’s the best mead I’ve ever made. Smooth, floral, dry, with a faint honey aftertaste that lingers.
Fruit meads (melomels) and spiced meads (metheglins) age faster because the fruit acids and tannins help balance the alcohol heat. I’ve had drinkable melomels at three months. But if you’re making a straight traditional mead, plan on waiting.
Here’s how I manage the wait: I make small batches (one gallon) so I’m not tying up a giant carboy for a year. I also stagger my brewing. I start a new batch every two months. That way I always have something aging and something ready to drink.
Bottling also matters. I bottle in swing-top bottles because I can crack one open every month to check how it’s aging without committing to a whole batch. If it still tastes rough, I leave the rest alone. If it’s good, I know the rest of the batch is ready.
One last thing: mead gets better in the bottle, not worse. Unlike beer (which oxidizes and goes stale), mead improves with age as long as you store it cool and dark. I have a batch from 2019 that’s still getting better. It’s almost scary how much it’s changed.
Label your bottles with the date you brewed and the date you bottled. I use a paint pen on the glass. Future you will thank present you when you’re trying to figure out which batch is which.
Conclusion
Mead is not complicated. Four ingredients. Basic equipment. But it punishes shortcuts. If you skip the nutrients, you get jet fuel. If you boil the honey, you get boring sugar wine. If you don’t aerate, fermentation crawls. If you don’t wait, you drink rocket fuel and swear off mead forever.
But if you do it right, if you respect the honey and the yeast and the time, you get something that tastes like nothing else. Clean, delicate, ancient, alive. You get the drink that Vikings carried into battle and monks sipped in candlelit cellars.
Start small. Use good honey. Feed your yeast. Stir in some oxygen. Then wait. Six months minimum. A year if you can stand it.
Your first batch probably won’t be perfect. Mine wasn’t. But it’ll be yours, and that’s worth something.
Pro Tips Summary Table
| Stage | Pro Tip |
|---|---|
| Honey Selection | Smell the honey before buying. No smell means no flavor. |
| No-Boil Method | Use a warm water bath (110°F max) to melt crystallized honey, never a microwave. |
| Nutrients | Measure nutrients by weight with a cheap scale, not by volume. |
| Aeration | Missing one aeration session won’t ruin your batch. Just continue the next day. |
| Aging | Label bottles with brew date and bottle date using a paint pen. |
Basic Traditional Mead Recipe (1 Gallon)
| Ingredient/Step | Amount/Detail |
|---|---|
| Honey (Orange Blossom recommended) | 3 lbs |
| Water (spring or filtered) | To 1 gallon total volume |
| Yeast (Lalvin 71B or D47) | 1 packet |
| Go-Ferm (rehydration nutrient) | 1.25 grams |
| Fermaid O (staggered additions) | 0.75 grams total (split over 3 days) |
| Target Starting Gravity | 1.110 to 1.120 |
| Target Final Gravity | 1.000 to 1.010 (depending on yeast and temperature) |
| Fermentation Temperature | 62 to 68°F |
| Primary Fermentation | 3 to 4 weeks |
| Aging (minimum) | 6 months |
References
- Pambianchi, D. (2008). Techniques in Home Winemaking. Véhicule Press.
- Schramm, K. (2003). The Compleat Meadmaker. Brewers Publications.
- American Mead Makers Association (AMMA). “TOSNA 2.0 Calculator.”