Yeast Management: Starters, Olive Oil, and Harvesting
I killed my first three batches because I treated yeast like a packet of instant coffee. The beer tasted like wet cardboard soaked in Band-Aids because I was starving my fermentation of healthy cells.
When you underpitch, the yeast panics and throws off fusel alcohols, diacetyl, and acetaldehyde. Healthy yeast makes better beer, and managing it well means you can stretch one vial of liquid yeast into six generations.
This guide covers what I learned in the garage lab using basic tools, a little olive oil, and patience. You don’t need a microscope to stop wasting money and start producing professional-grade fermentation results.
Making a Starter
Liquid yeast vials typically contain 100 billion cells, but most five-gallon ales require 200 billion. If you pitch straight from the vial, you are forcing the yeast to overwork, resulting in slow starts and off-flavors.
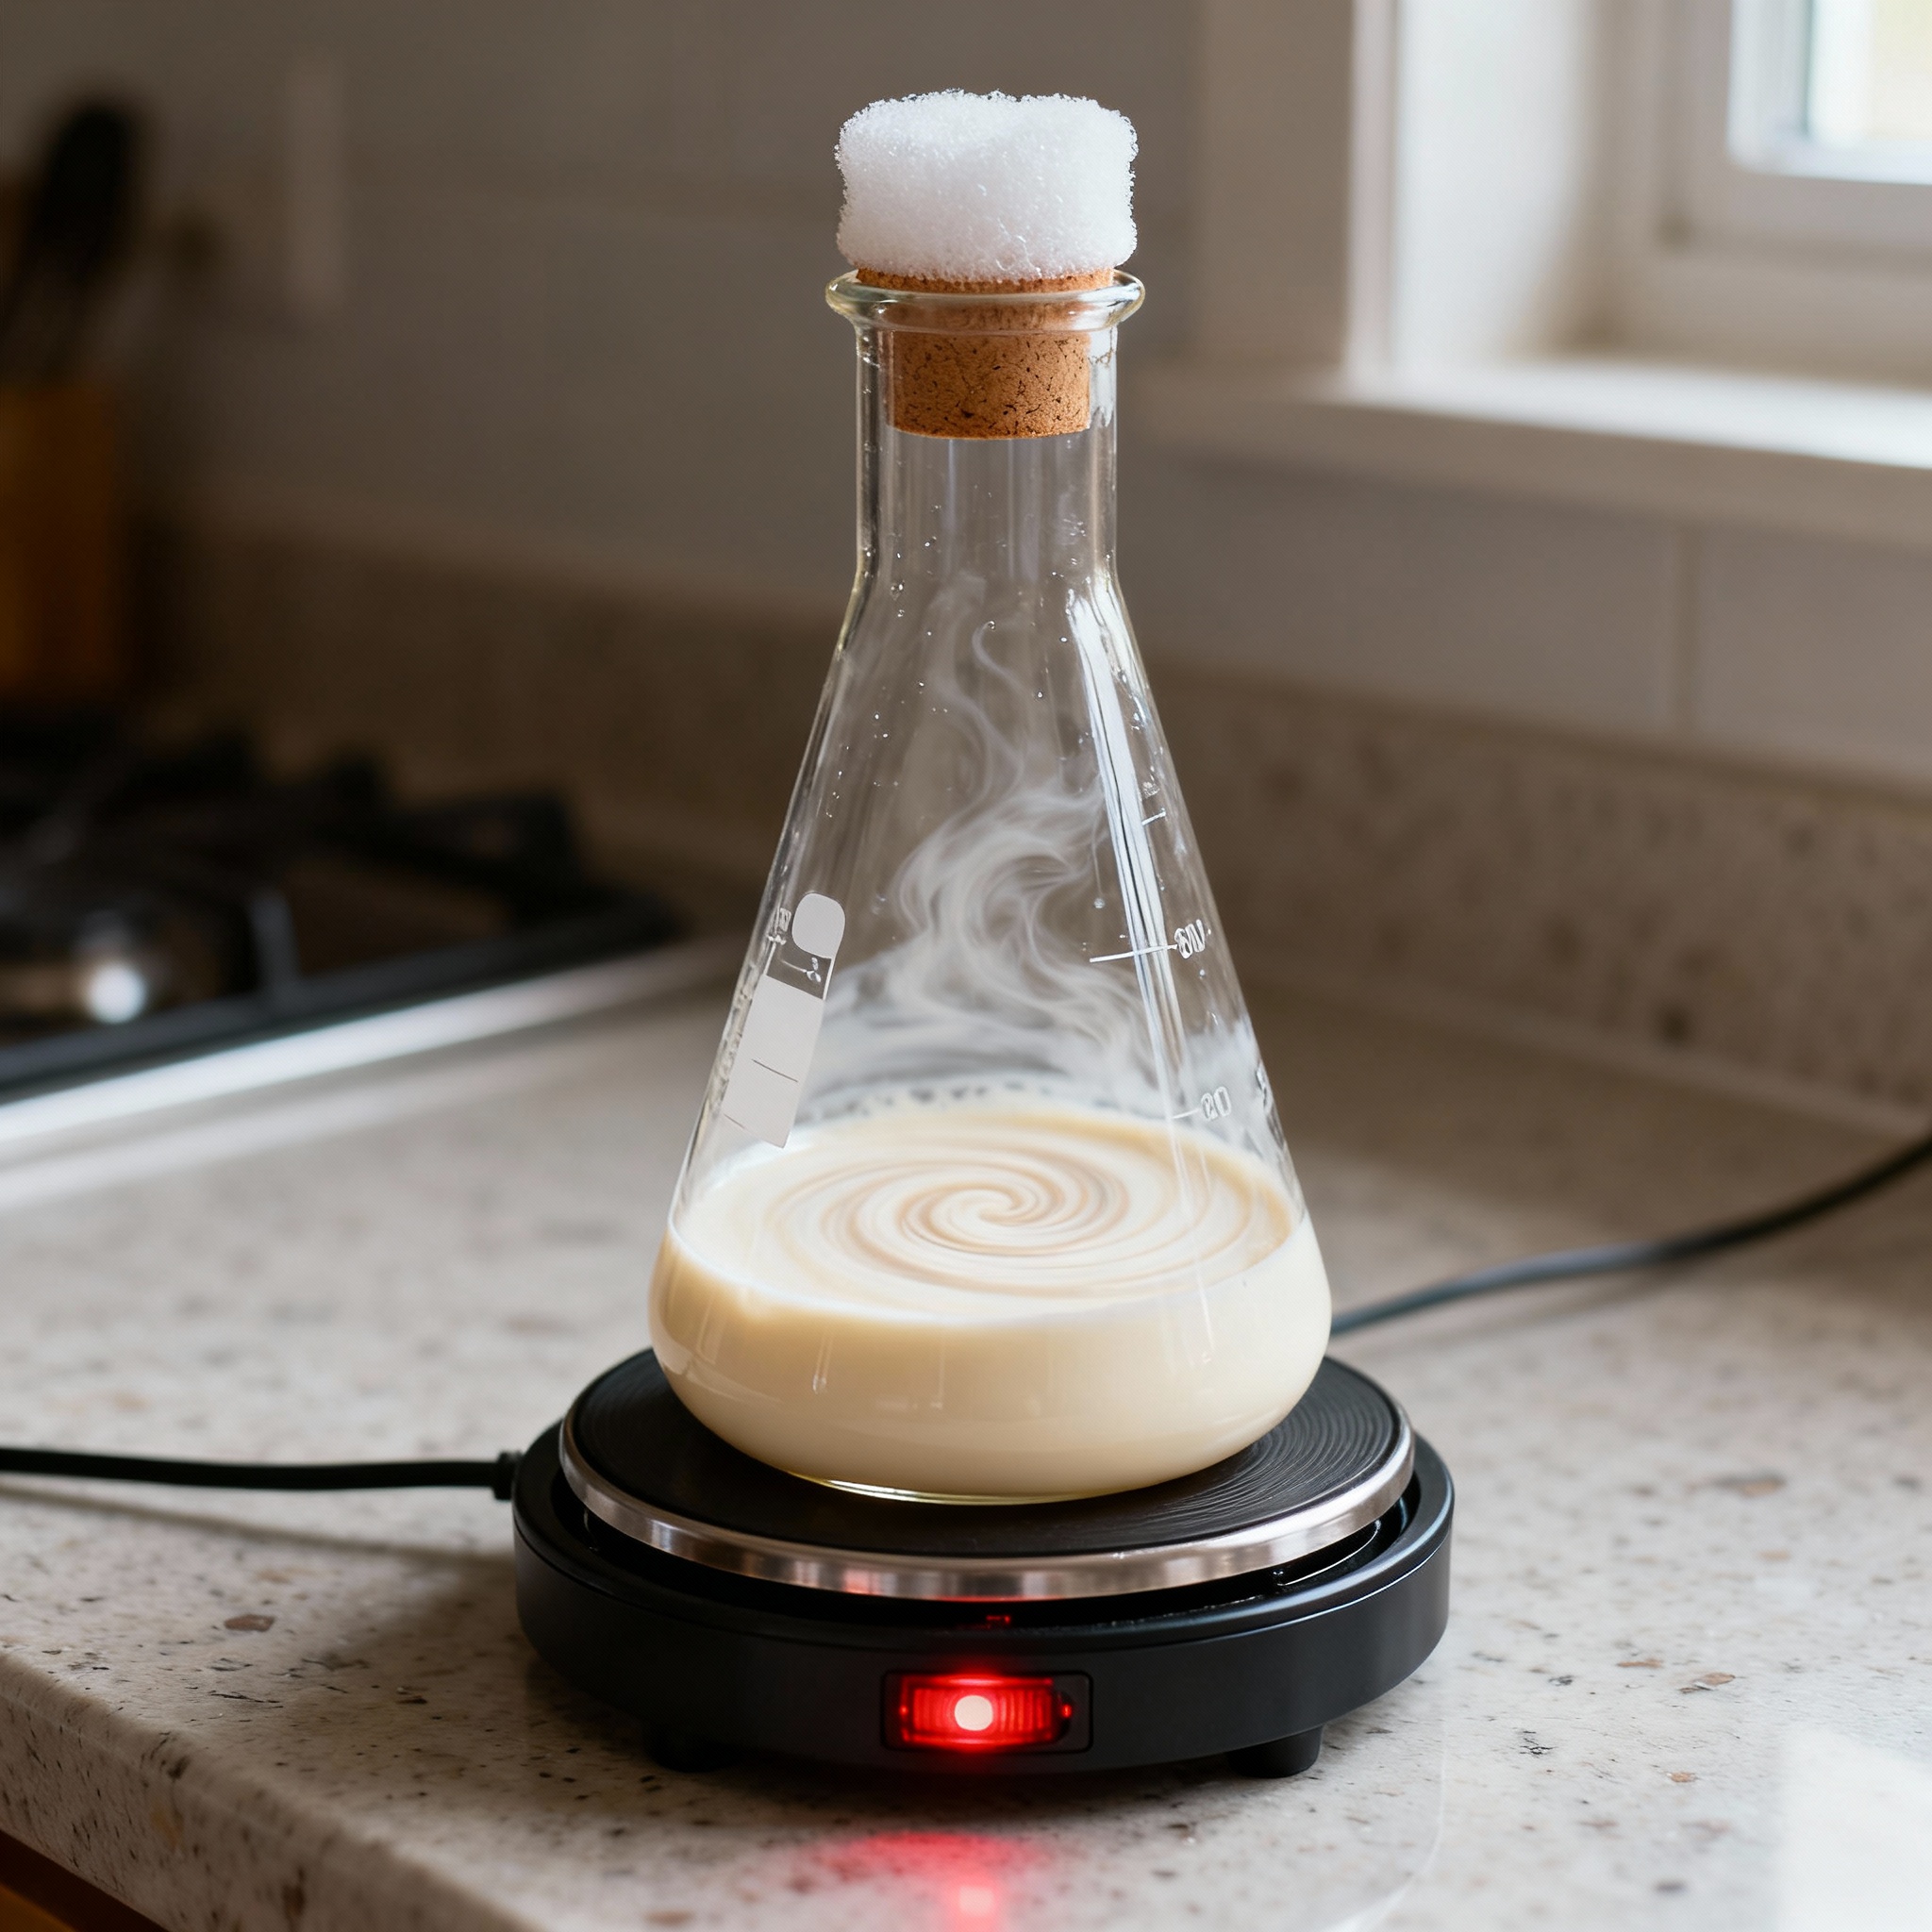
A starter allows you to grow your cell count before brew day. I use a two-liter Erlenmeyer flask, dry malt extract (DME), and a stir plate to keep the yeast suspended and oxygenated.
I boil 100 grams of DME in one liter of water, cool it, and pitch the yeast. After 24 to 48 hours on the stir plate, the thick white layer at the bottom represents a significantly increased army of cells.
Decant most of the spent starter liquid before pitching. You only need the yeast at the bottom; you don’t need to dump a liter of thin, oxidized “starter beer” into your fresh wort.
The Olive Oil Hack
Traditional brewing requires oxygenating wort to help yeast build strong cell membranes. However, yeast doesn’t actually need the oxygen itself; it needs the lipids that oxygen helps it synthesize.
If you provide these lipids directly, you can skip the aeration step entirely. A study in the Journal of the Institute of Brewing confirmed that a single drop of olive oil per liter provides the same performance as full oxygenation.
Yeast requires unsaturated fatty acids (UFA) and sterols for plasma membrane integrity. By adding olive oil, which is rich in oleic acid, you provide a direct UFA source that the yeast incorporates via an anaerobic pathway, bypassing the need for oxygen as a catalyst.
I add exactly five drops of olive oil to a five-gallon batch and swirl to emulsify. This has replaced my need for heavy carboy shaking or expensive oxygen tanks in the garage lab.
Add the olive oil to cooled wort right before pitching and swirl for thirty seconds. Do not add more than one drop per liter, or the excess oil will destroy your beer’s head retention.
Top Cropping
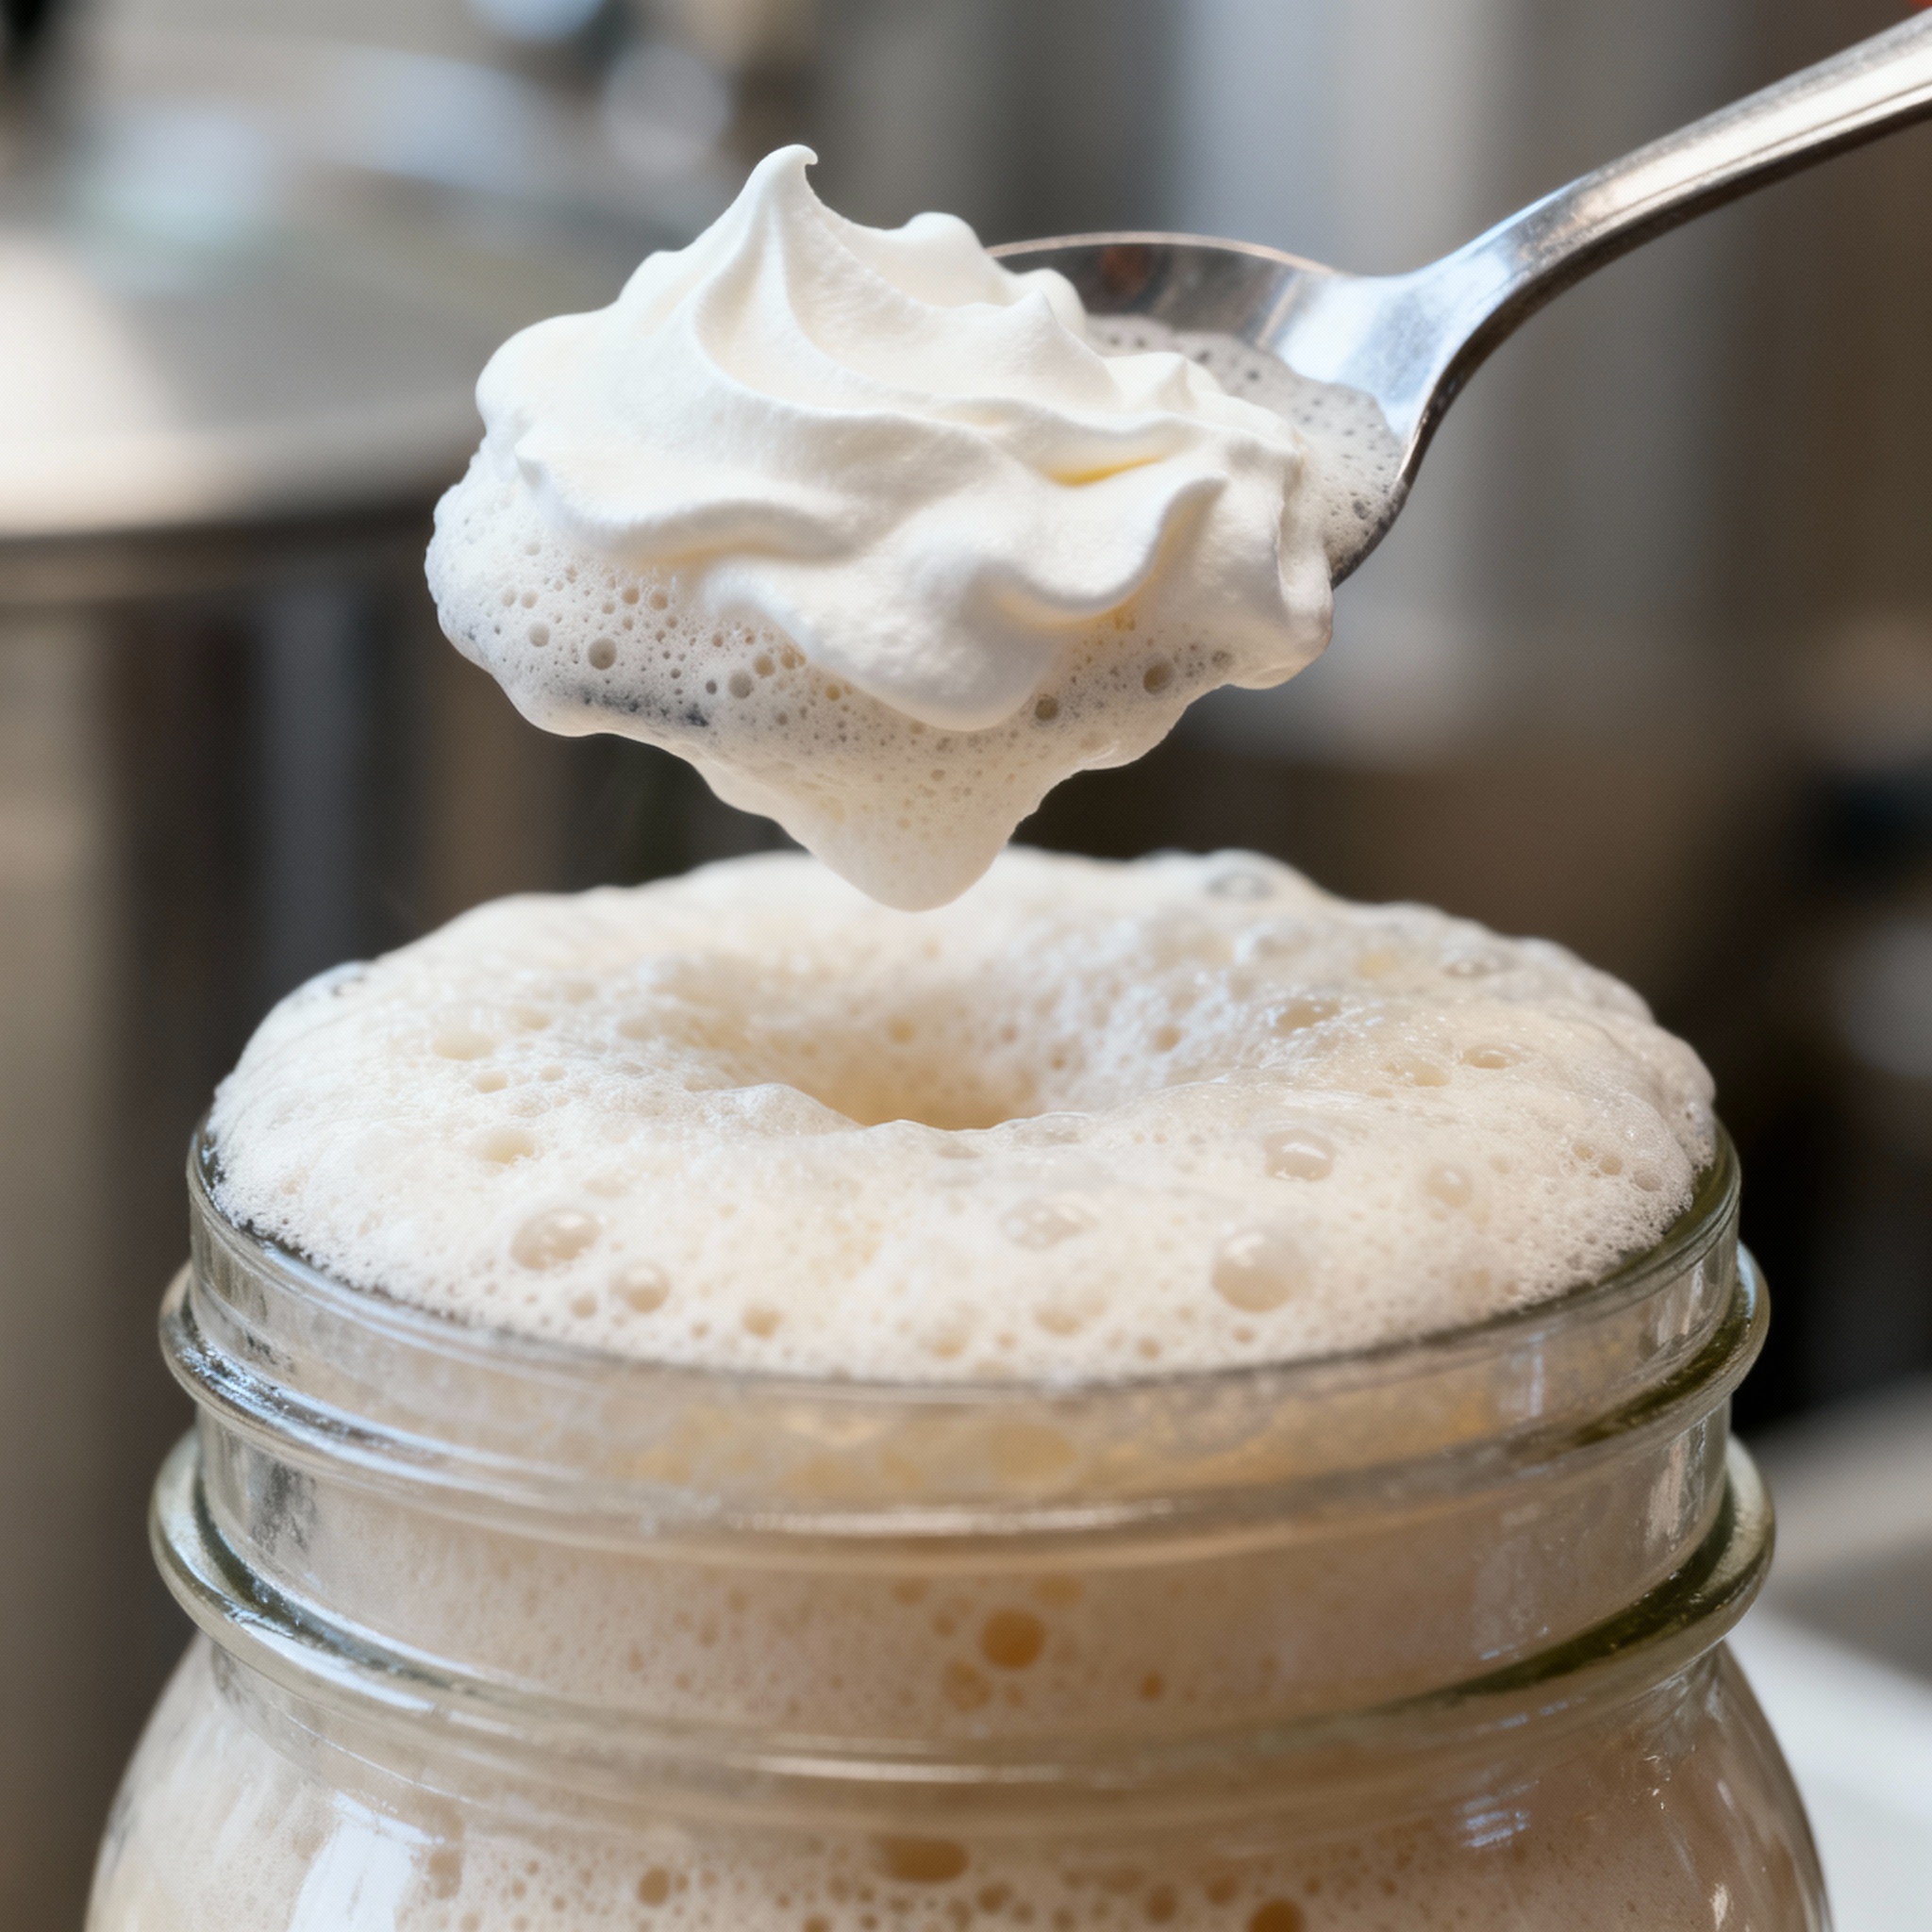
Top cropping is an old technique where you harvest the thick foam (krausen) during the first 48 hours of fermentation. This foam is packed with the youngest, healthiest yeast cells in the batch.
I use a sanitized spoon to scoop about half a cup of this creamy foam into a mason jar. This method yields cleaner yeast than bottom-harvesting because it avoids the hop resins and grain dust that settle at the bottom.
Traditional English breweries used this method for centuries to maintain consistent flavor profiles over dozens of generations. It works best in buckets or open fermenters where the krausen is easily accessible.
Top-crop on the second day of fermentation. On day one, the foam is mostly protein and hop residue; by day two, the yeast has taken over and the krausen will be bright white or cream.
Yeast Washing
If you cannot top-crop, you can harvest the “sludge” at the bottom of the fermenter after racking. Yeast washing separates the viable cells from the dead yeast and hop trub.
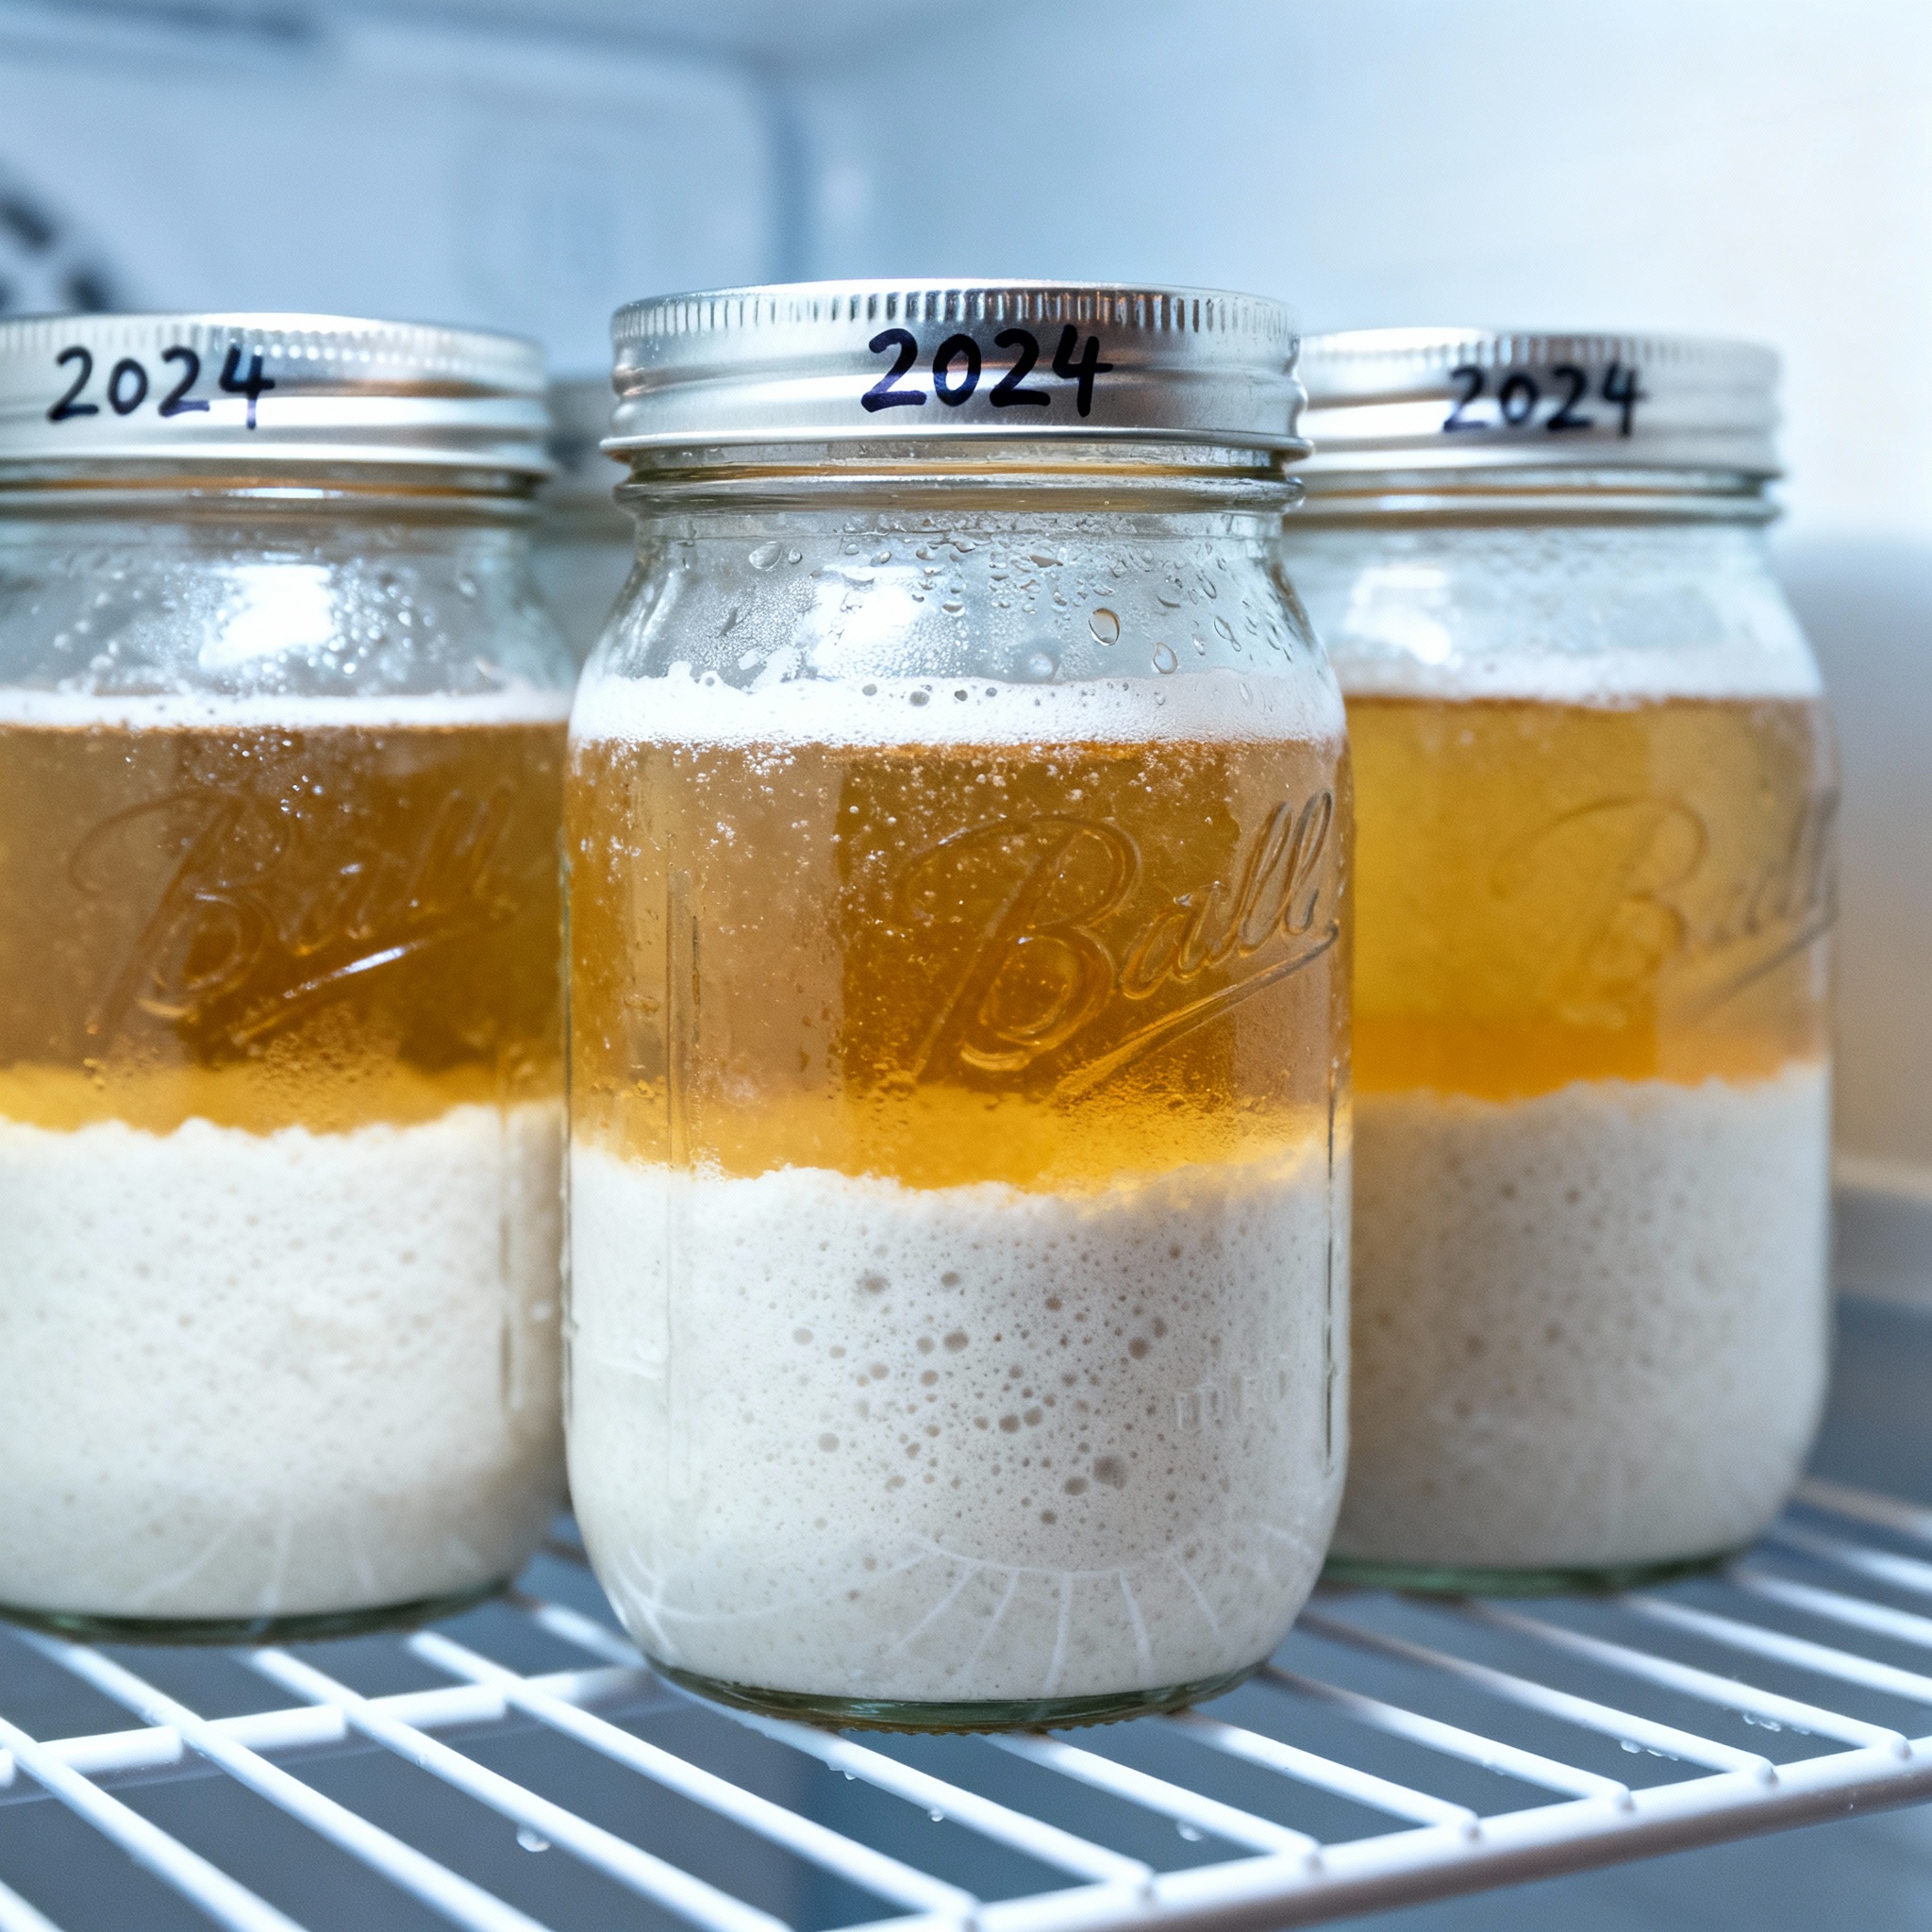
I mix the trub with boiled, cooled water in a sanitized jar and shake it to suspend the cells. After 20 minutes, the heavy debris sinks, leaving a middle layer of healthy, suspended yeast that can be poured into a fresh jar.
[Image showing the three layers of a yeast wash: trub, yeast slurry, and beer/water]
This creamy white slurry stays viable in the fridge for about two weeks. I try to use it within ten days to ensure I am not pitching yeast that has begun the process of autolysis.
Label your jars with the strain, generation number, and date. Mixing up a neutral lager strain with a spicy saison yeast can lead to a very confusing “surprise” batch.
Re-Pitching Slurry Kinetics
Determining the correct amount of slurry to re-pitch is the final step in successful management. Underpitching causes metabolic stress, while overpitching can result in a “thin” beer with muted character.
I assume a fresh, washed slurry contains roughly 1.5 billion cells per milliliter. For a standard 1.050 ale, I pitch about 130 milliliters of this slurry to hit the required 200 billion cell target.
Be mindful of genetic drift. After five or six generations, mutations can cause shifts in flocculation and ester production. I always start fresh from a original backup every few months to keep the flavor profile consistent.
If you are moving from a low-gravity beer to a high-gravity beer, use a lower generation. Fresh yeast handles the osmotic stress of barleywine handling much better than Gen 5 yeast.
Conclusion
Yeast management is the primary factor that separates “homebrew” from high-quality beer. By mastering starters, leveraging the olive oil hack, and harvesting your own slurry, you produce more predictable results and save significant money.
Start with one vial and see how many clean batches you can get out of it. The data you gather in your own brewery will eventually be more valuable than any textbook guideline.
References
- IBD. “Yeast Stress and Fermentation Performance.” Journal of the Institute of Brewing, 2012.
- Fix, George. Principles of Brewing Science. Brewers Publications, 1999.
- Palmer, John. How to Brew. Brewers Publications, 2006.
- White Labs. “Yeast Pitching Rate Guidelines.” Technical Documentation, 2024.
- ASBC. “Genetic Drift in Production Yeast Strains.” ASBC Journal, 2007.