The Backyard Hopyard: Trellises, Soil, and Harvest.
I planted my first hop rhizome in 2014 behind the garage.
I bought a Cascade variety from a homebrew supply shop, dug a hole, dropped it in, and forgot about it for three weeks because work got busy.
When I finally checked, the thing had already sent up five bines and was reaching for the gutter.
That’s when I realized hops are basically controlled invasive species.
They grow like weeds, but instead of being annoying, they produce little green cones full of alpha acids and essential oils that make beer taste like beer.
If you brew at home, you’ve probably thought about growing your own hops.
The math is tempting, as a single mature plant can yield one to two pounds of dried cones per year.
But here’s the truth: hops are not a “set it and forget it” crop.
They need vertical space, consistent water, and a little patience.
The first year, you’ll get almost nothing; the third year, you’ll be buried in cones and wondering what to do with them all.
This guide walks through the real logistics of setting up a backyard hopyard.
I’ll cover picking a rhizome that won’t die in your climate and building a cheap drying box out of scrap wood.
Rhizome Selection: Picking Varieties That Won’t Hate Your Climate
Hops are perennials, which means they come back every year from the same root system.
You plant them once as a rhizome (a chunk of root with dormant buds), and they’ll keep producing for 15 to 20 years.
But not all hop varieties are created equal; some will sulk and die if your summer isn’t long enough or your soil pH is off.
If you’re starting out, go with Cascade or Chinook.
Both are American varieties bred to tolerate a range of climates.
Cascade is an aroma hop with a grapefruit and floral profile, while Chinook is a piney, resinous dual-purpose hop.
I’ve grown Cascade in North Carolina (hot, humid summers) and it laughed at the heat.
Saaz, on the other hand, is a European noble hop from the Czech Republic that is prized for pilsners but very finicky.
It needs a long, cool growing season and doesn’t like humidity.
Unless you live in the Pacific Northwest, skip the noble hops for your first few years.
Other beginner-friendly varieties include Nugget, Centennial, and Willamette.
Check with your local university extension office to see what varieties perform well in your region.
Hops need around 15 hours of daylight to flower properly, so those in the Deep South might struggle with specific varieties.
Buy your rhizomes in early spring (March to April). Store them in the fridge wrapped in damp paper towels inside a plastic bag if you can’t plant them immediately, but don’t wait more than a week.
The Trellis: Why You Need 15 Feet of Vertical Height (Minimum)
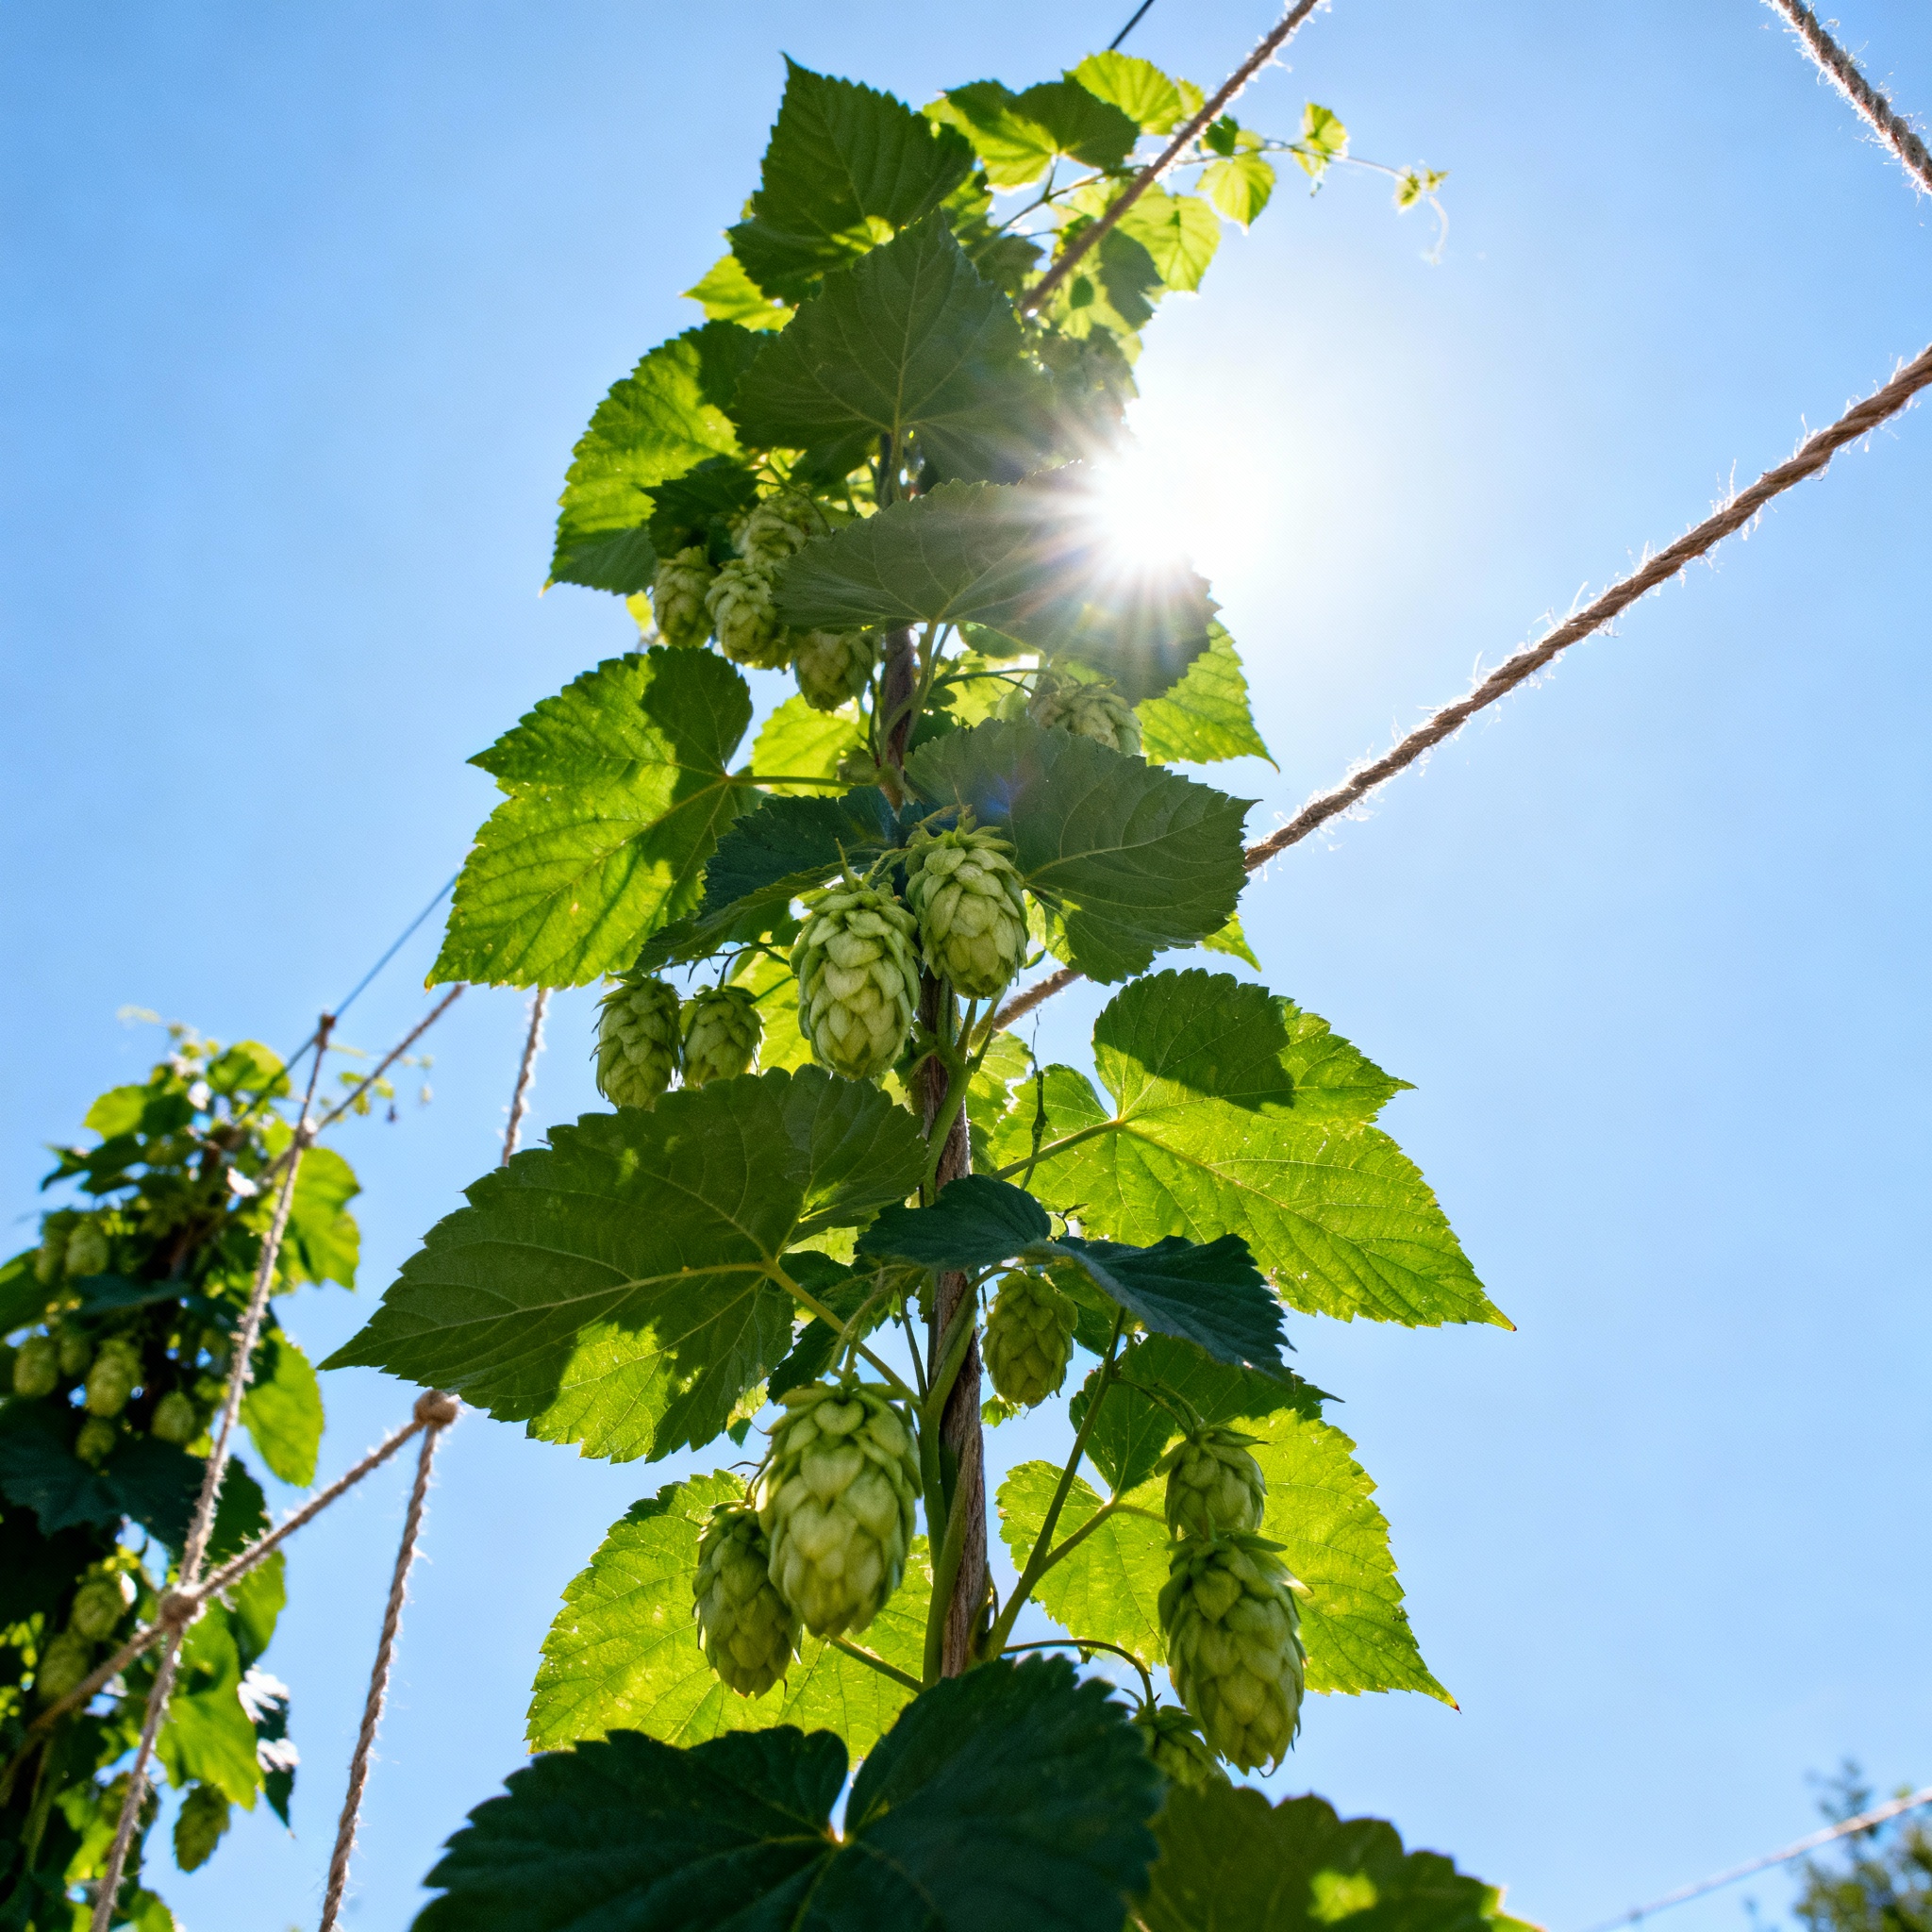
Hops are climbing plants, but they don’t have tendrils like grapes.
Instead, they grow bines that wrap clockwise around whatever vertical support you give them.
In your backyard, you need to replicate that vertical space, or the plant will run out of room and stop producing cones.
The minimum practical height is 15 feet.
I’ve seen people try to grow hops on six-foot fences, but the bines reach the top and start tangling into themselves.
When that happens, airflow drops, humidity builds up, and you get mildew or pest problems.
My current setup is a simple pole trellis using 16-foot tall 4x4 treated posts.
I ran a horizontal wire between the posts and hang individual lengths of jute twine down to the base of each plant.
Jute is biodegradable, so at the end of the season, I cut the twine and compost the whole thing.
Whatever structure you build, make sure it’s strong.
A mature hop plant is heavy; when fully loaded with cones and leaves, it can pull with 20 to 30 pounds of weight.
I’ve had a poorly anchored post lean over in a windstorm, and it was a total mess.

Run your twine at a slight angle (about 10 degrees) instead of straight vertical. This makes it easier for the bines to wrap without bunching up at the base.
First Year vs Second Year: The “Sleep, Creep, Leap” Growth Cycle
There’s an old saying about perennials: “First year they sleep, second year they creep, third year they leap.”
Hops follow this pattern exactly.
The first year is all about root development; the plant is putting energy underground, not into bines or cones.
During the first growing season, you’ll see thinner and shorter bines.
You might get a few small cones by late summer, but don’t count on them for a full batch.
Your job in year one is to keep the plant watered and ensure it doesn’t get eaten by deer.
Year three is when things get serious.
The crown is mature and can support a dozen or more vigorous bines.
In May and June, a healthy bine can put on six inches of growth per day.
This explosive growth requires water and nutrients.
Hops are heavy feeders, so I side-dress with compost in early spring and again in mid-summer.
I water deeply (one to two inches per week) during dry spells to sustain that growth.
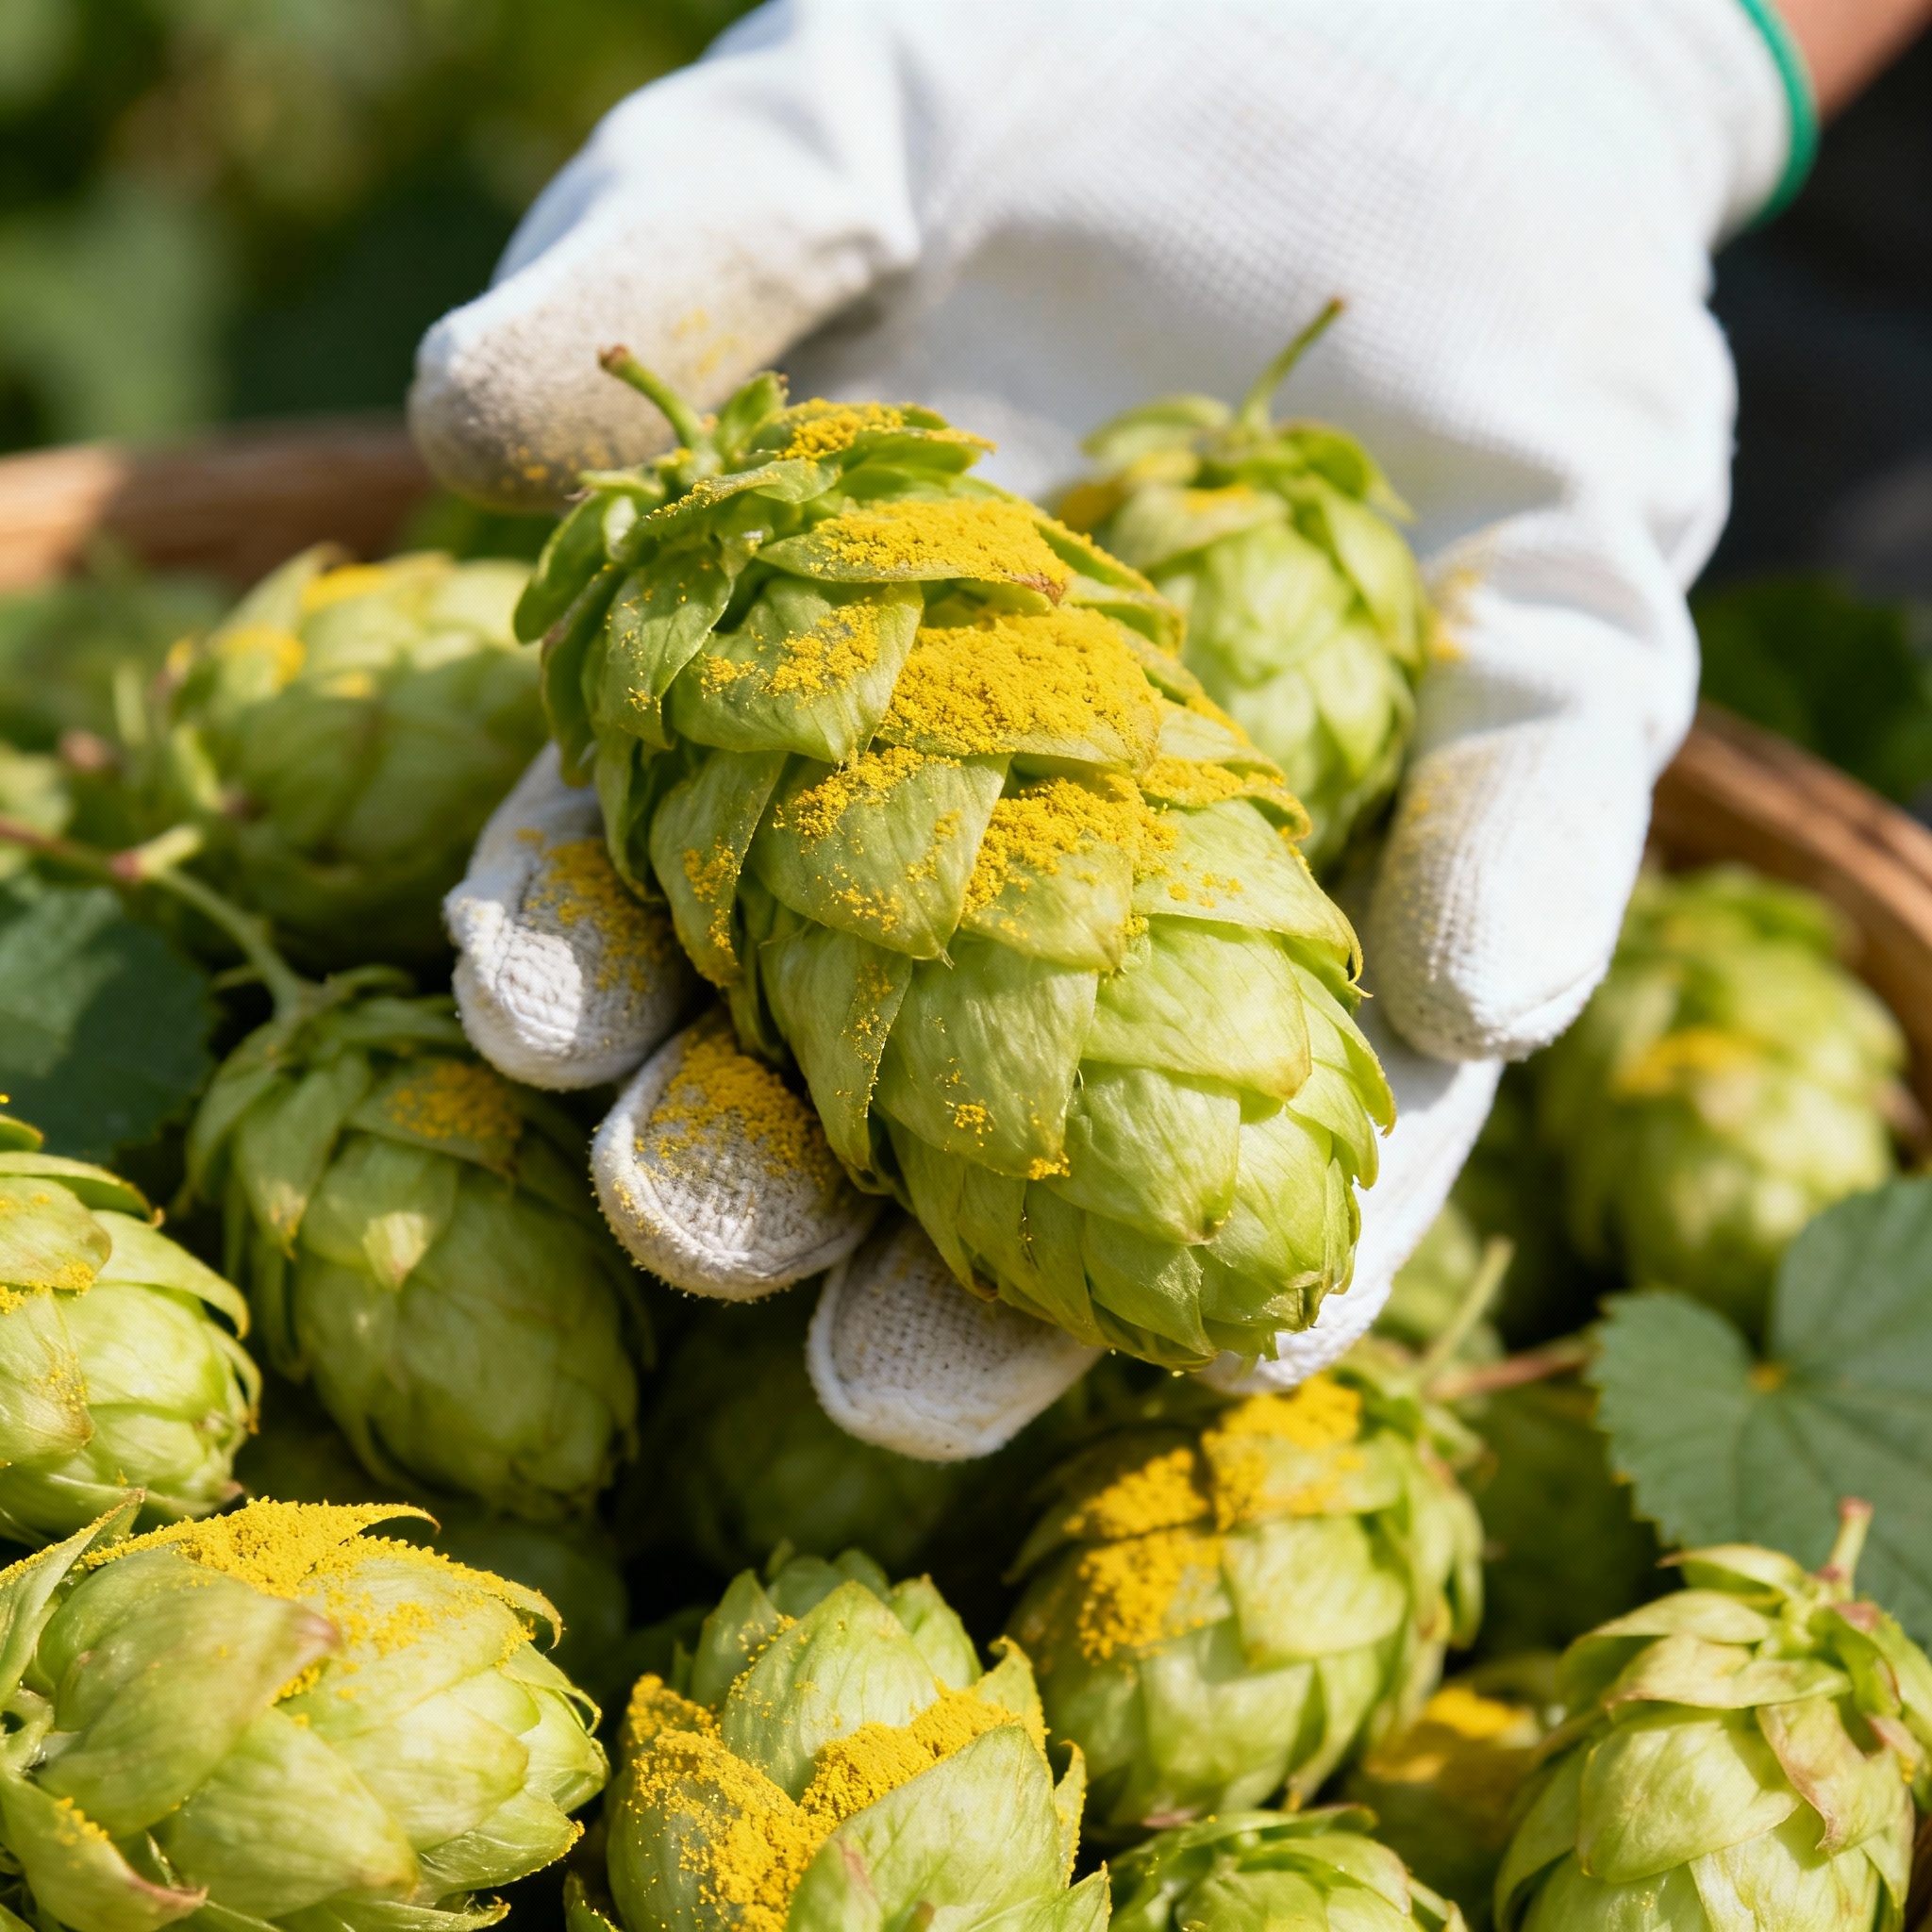
Lupulin is the yellow resinous dust found at the base of the hop bracteoles. It contains the alpha acids and essential oils (myrcene, humulene, caryophyllene) that provide bitterness and aroma. Proper nutrient management during the ‘Leap’ phase is critical for maximizing lupulin production.
When the first shoots emerge, choose the three or four strongest bines and train them clockwise onto your twine. Cut off the rest at ground level to focus the plant’s energy.
Pests: Aphids and Spider Mites
Hops are relatively pest-resistant, but aphids and spider mites are the two biggest problems.
Both are sap-sucking insects that weaken the plant.
If you catch an infestation early, it’s manageable, but if you ignore it, you’ll lose your harvest.
Aphids show up in late spring and cluster on the undersides of leaves.
They secrete sticky honeydew, which attracts ants and can lead to sooty mold.
Spider mites are worse and thrive in hot, dry conditions in late summer.
I don’t use chemical pesticides in my hopyard because I’m putting these hops in my beer.
For aphids, I release ladybugs that I order online.
One release of 1,500 ladybugs usually keeps the aphids in check for the rest of the season.
For spider mites, I spray the undersides of leaves with a mix of water and insecticidal soap.
Repeat every three to five days for two weeks to disrupt their life cycle.
The best defense is keeping the plants healthy and well-watered, as stressed plants attract pests.
Check your plants at least once a week during the growing season. Catching a pest problem when there are only a few aphids is way easier than dealing with thousands of them.
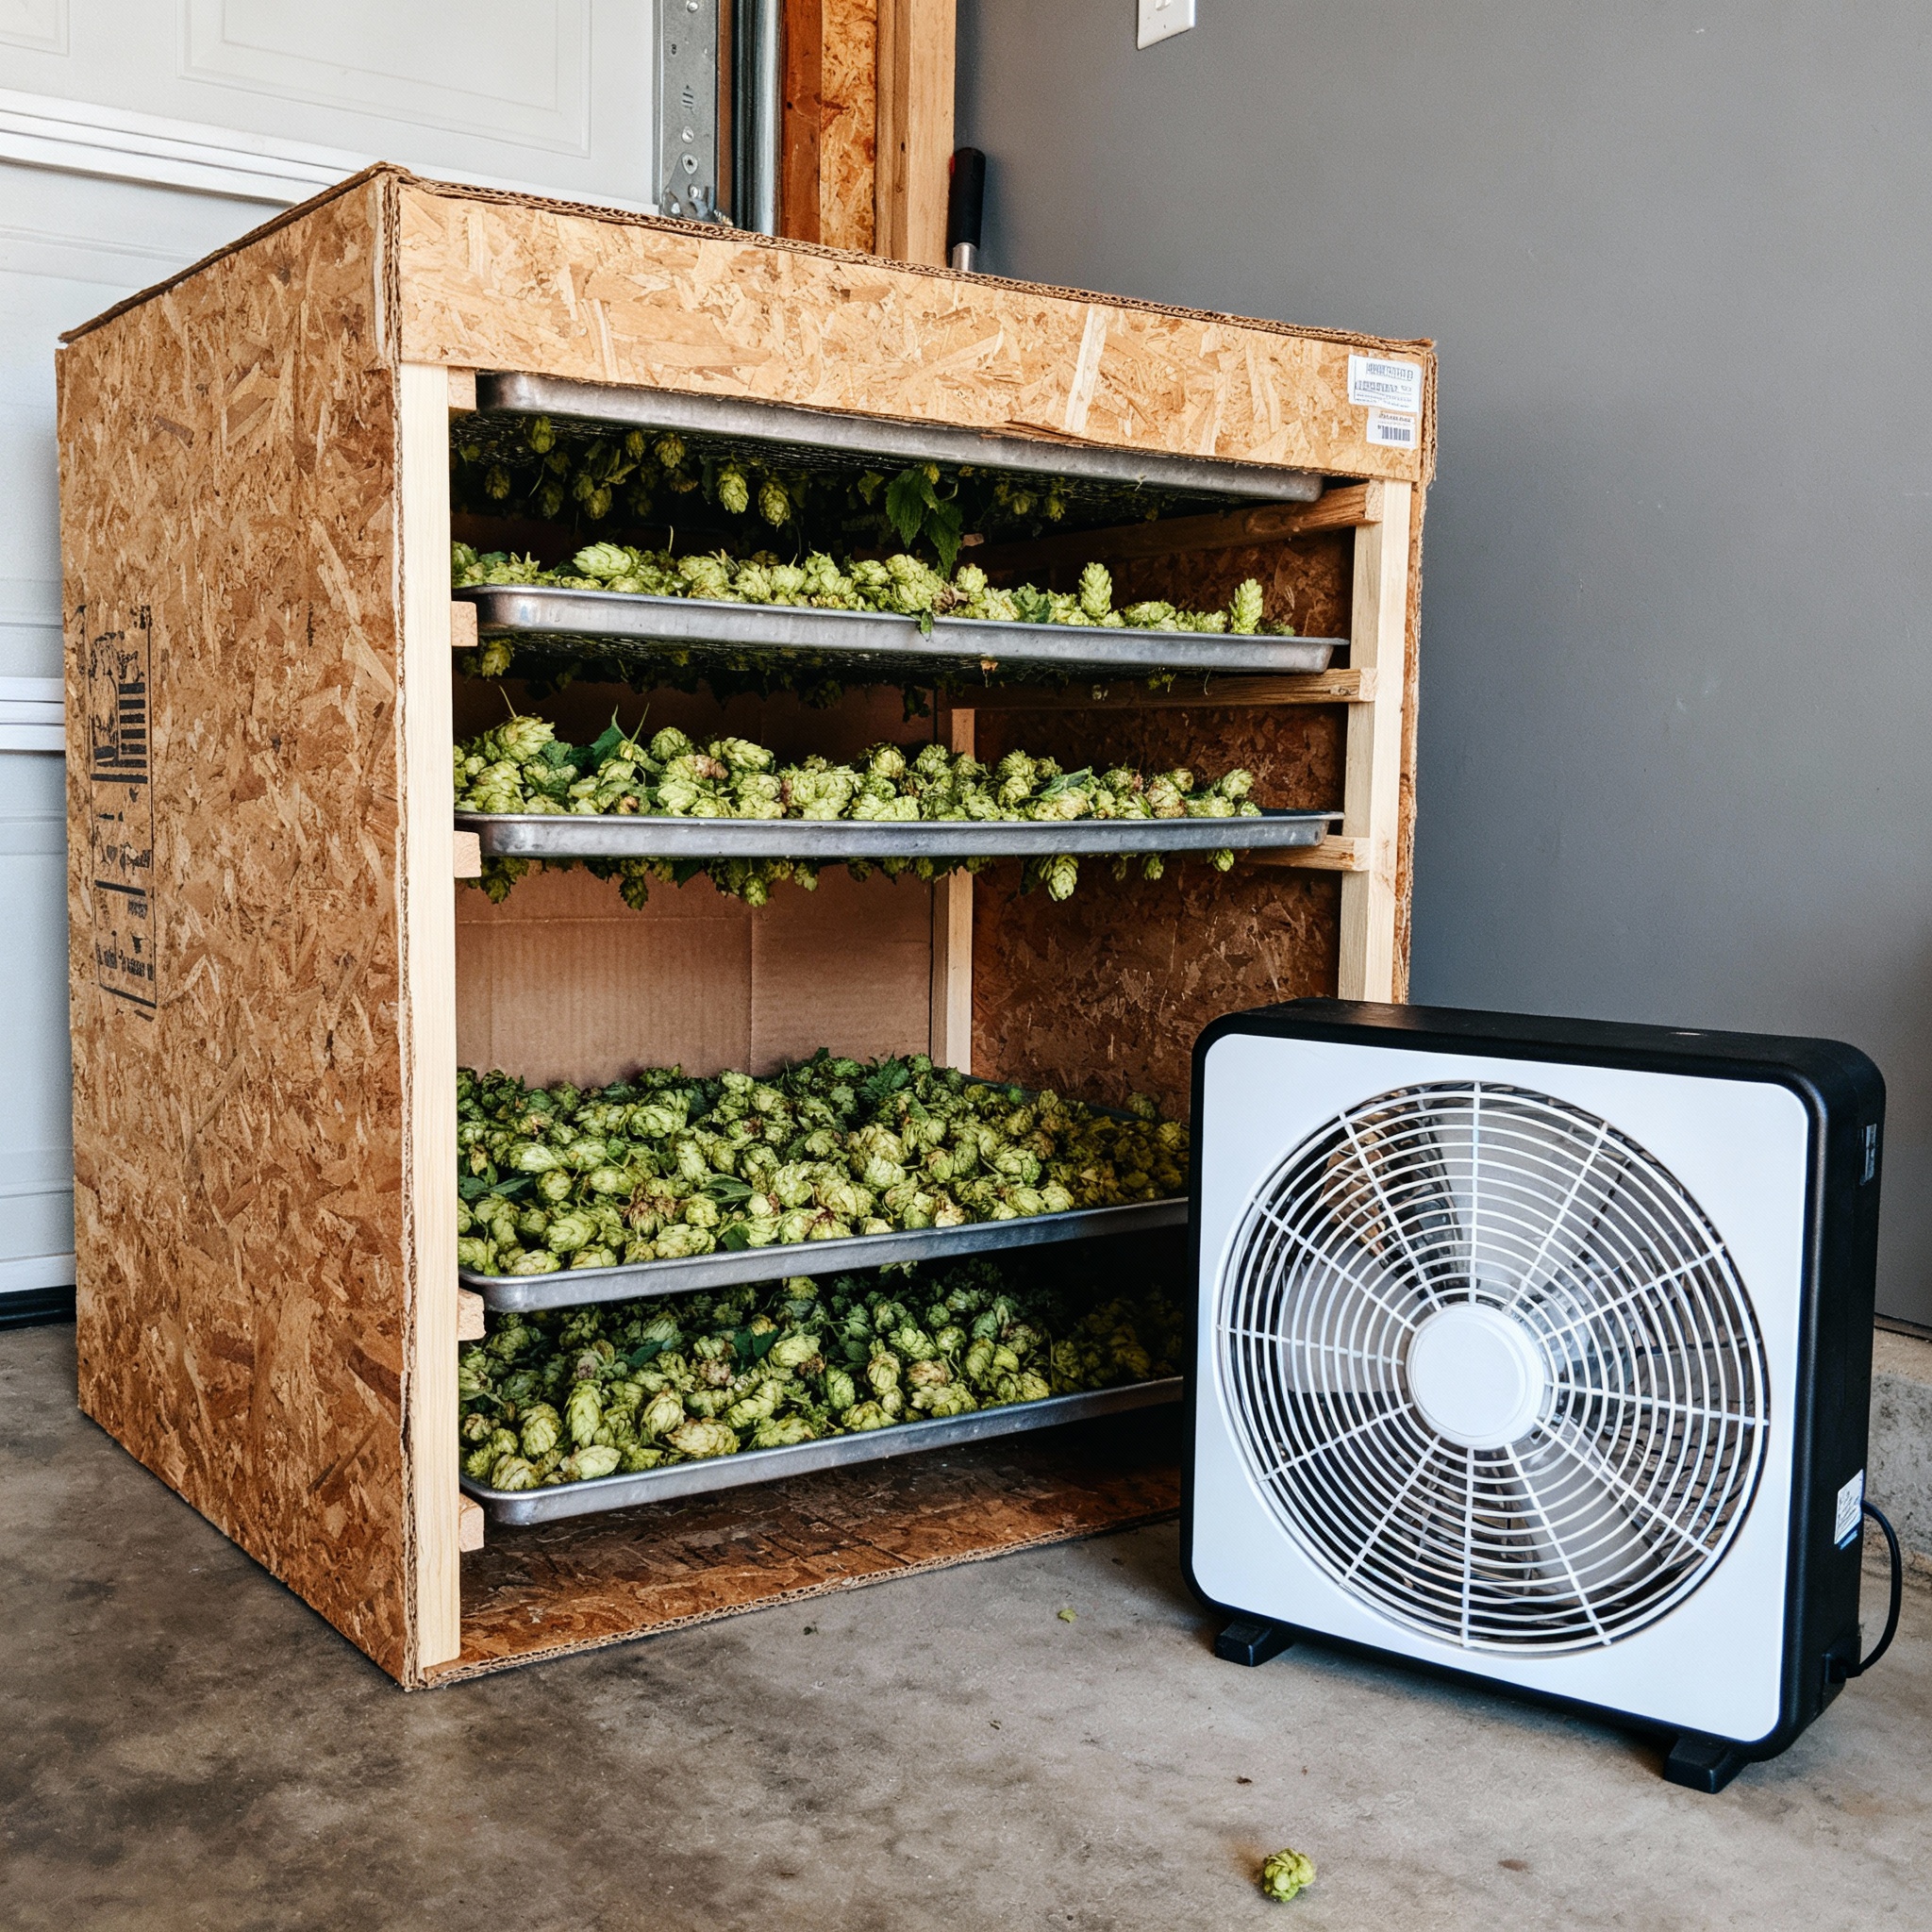
Drying: Building a Box Fan Oast to Preserve Your Harvest
Fresh hops are about 80 percent water.
If you pick them and toss them in a jar, they’ll mold in two days.
To store hops for brewing, you need to dry them down to around 8 to 10 percent moisture.
I built a wooden frame with a screen bottom that sits on top of a 20-inch box fan.
The fan runs continuously for 24 to 48 hours to move air through the cones.
Don’t use heat, as it drives off the volatile oils that give hops their flavor and aroma.
Spread the cones in a single layer on the screen.
Dry cones are papery, brittle, and spring back when you squeeze them.
When they’re fully dry, the central stem (the strig) will snap cleanly instead of bending.
Once they’re dry, I pack them into vacuum-seal bags and freeze them.
Frozen hops stay fresh for at least a year.
The box fan method is the most reliable and space-efficient setup I’ve found for a backyard grower.
Harvest cones when they’re dry to the touch, usually early to mid-morning. Don’t wait until every cone on the plant is ready, as hops ripen over a two-to-three-week window.
Conclusion
Growing your own hops is a labor of love that connects you directly to the agricultural roots of brewing.
While the initial investment in a 15-foot trellis and quality rhizomes may take years to break even financially, the technical knowledge gained is invaluable.
The satisfaction of using 100% homegrown Cascade or Chinook to bitter and dry-hop a batch is the ultimate reward for any homebrewer.
By managing soil nutrients, monitoring for common pests like spider mites, and mastering the low-temperature drying process, you ensure that your backyard harvest rivals commercial quality.
Start small, stay consistent with your training and pruning, and you will eventually be rewarded with a hopyard that leaps into production every summer.
Hop Variety Growing Reference
| Variety | Type | Alpha Acid % | Climate Notes | Difficulty |
|---|---|---|---|---|
| Cascade | Aroma | 4.5 - 7.0 | Tolerates heat and humidity | Easy |
| Chinook | Dual-Purpose | 12.0 - 14.0 | Vigorous, adaptable | Easy |
| Centennial | Dual-Purpose | 9.5 - 11.5 | Similar to Cascade, slightly hardier | Easy |
| Nugget | Bittering | 12.0 - 14.0 | High yield, pest-resistant | Easy |
| Saaz | Aroma (Noble) | 3.0 - 4.5 | Needs cool, long summers | Hard |
| Willamette | Aroma | 4.0 - 6.0 | Moderate vigor, good for mild climates | Moderate |
References
- Great Lakes Hops. “Commercial Hop Cultivars and Rhizome Selection.”
- University Extension. “Growing Hops in the Home Garden.” State University Publication.
- Palmer, J. How to Brew. Brewers Publications, 2017.
- USDA Agriculture. “Hop Breeding and Genetics Research Program.”