Wet Hop Brewing: Harvest Ale Techniques
I almost missed it last year. The text came at 2 p.m. on a Tuesday from a grower in Yakima: “Cascade is coming off tomorrow. You want a bag?”
I was three hours into a data merge for work, still in my pajamas, and had nothing cleaned. No carboy sanitized and no yeast starter going. But wet hops wait for no one.
I said yes, cleared my calendar, and spent the next 18 hours brewing the best beer I’ve made all year. Wet hop brewing is not like cracking a packet of Citra pellets; it is a knife fight with the harvest calendar.
You have maybe 24 to 48 hours from the moment those cones leave the bine before they start composting in the bag. The payoff is a beer that smells like standing in a hop field at dawn when the lupulin is still sticky on your fingers.
The Weight Ratio
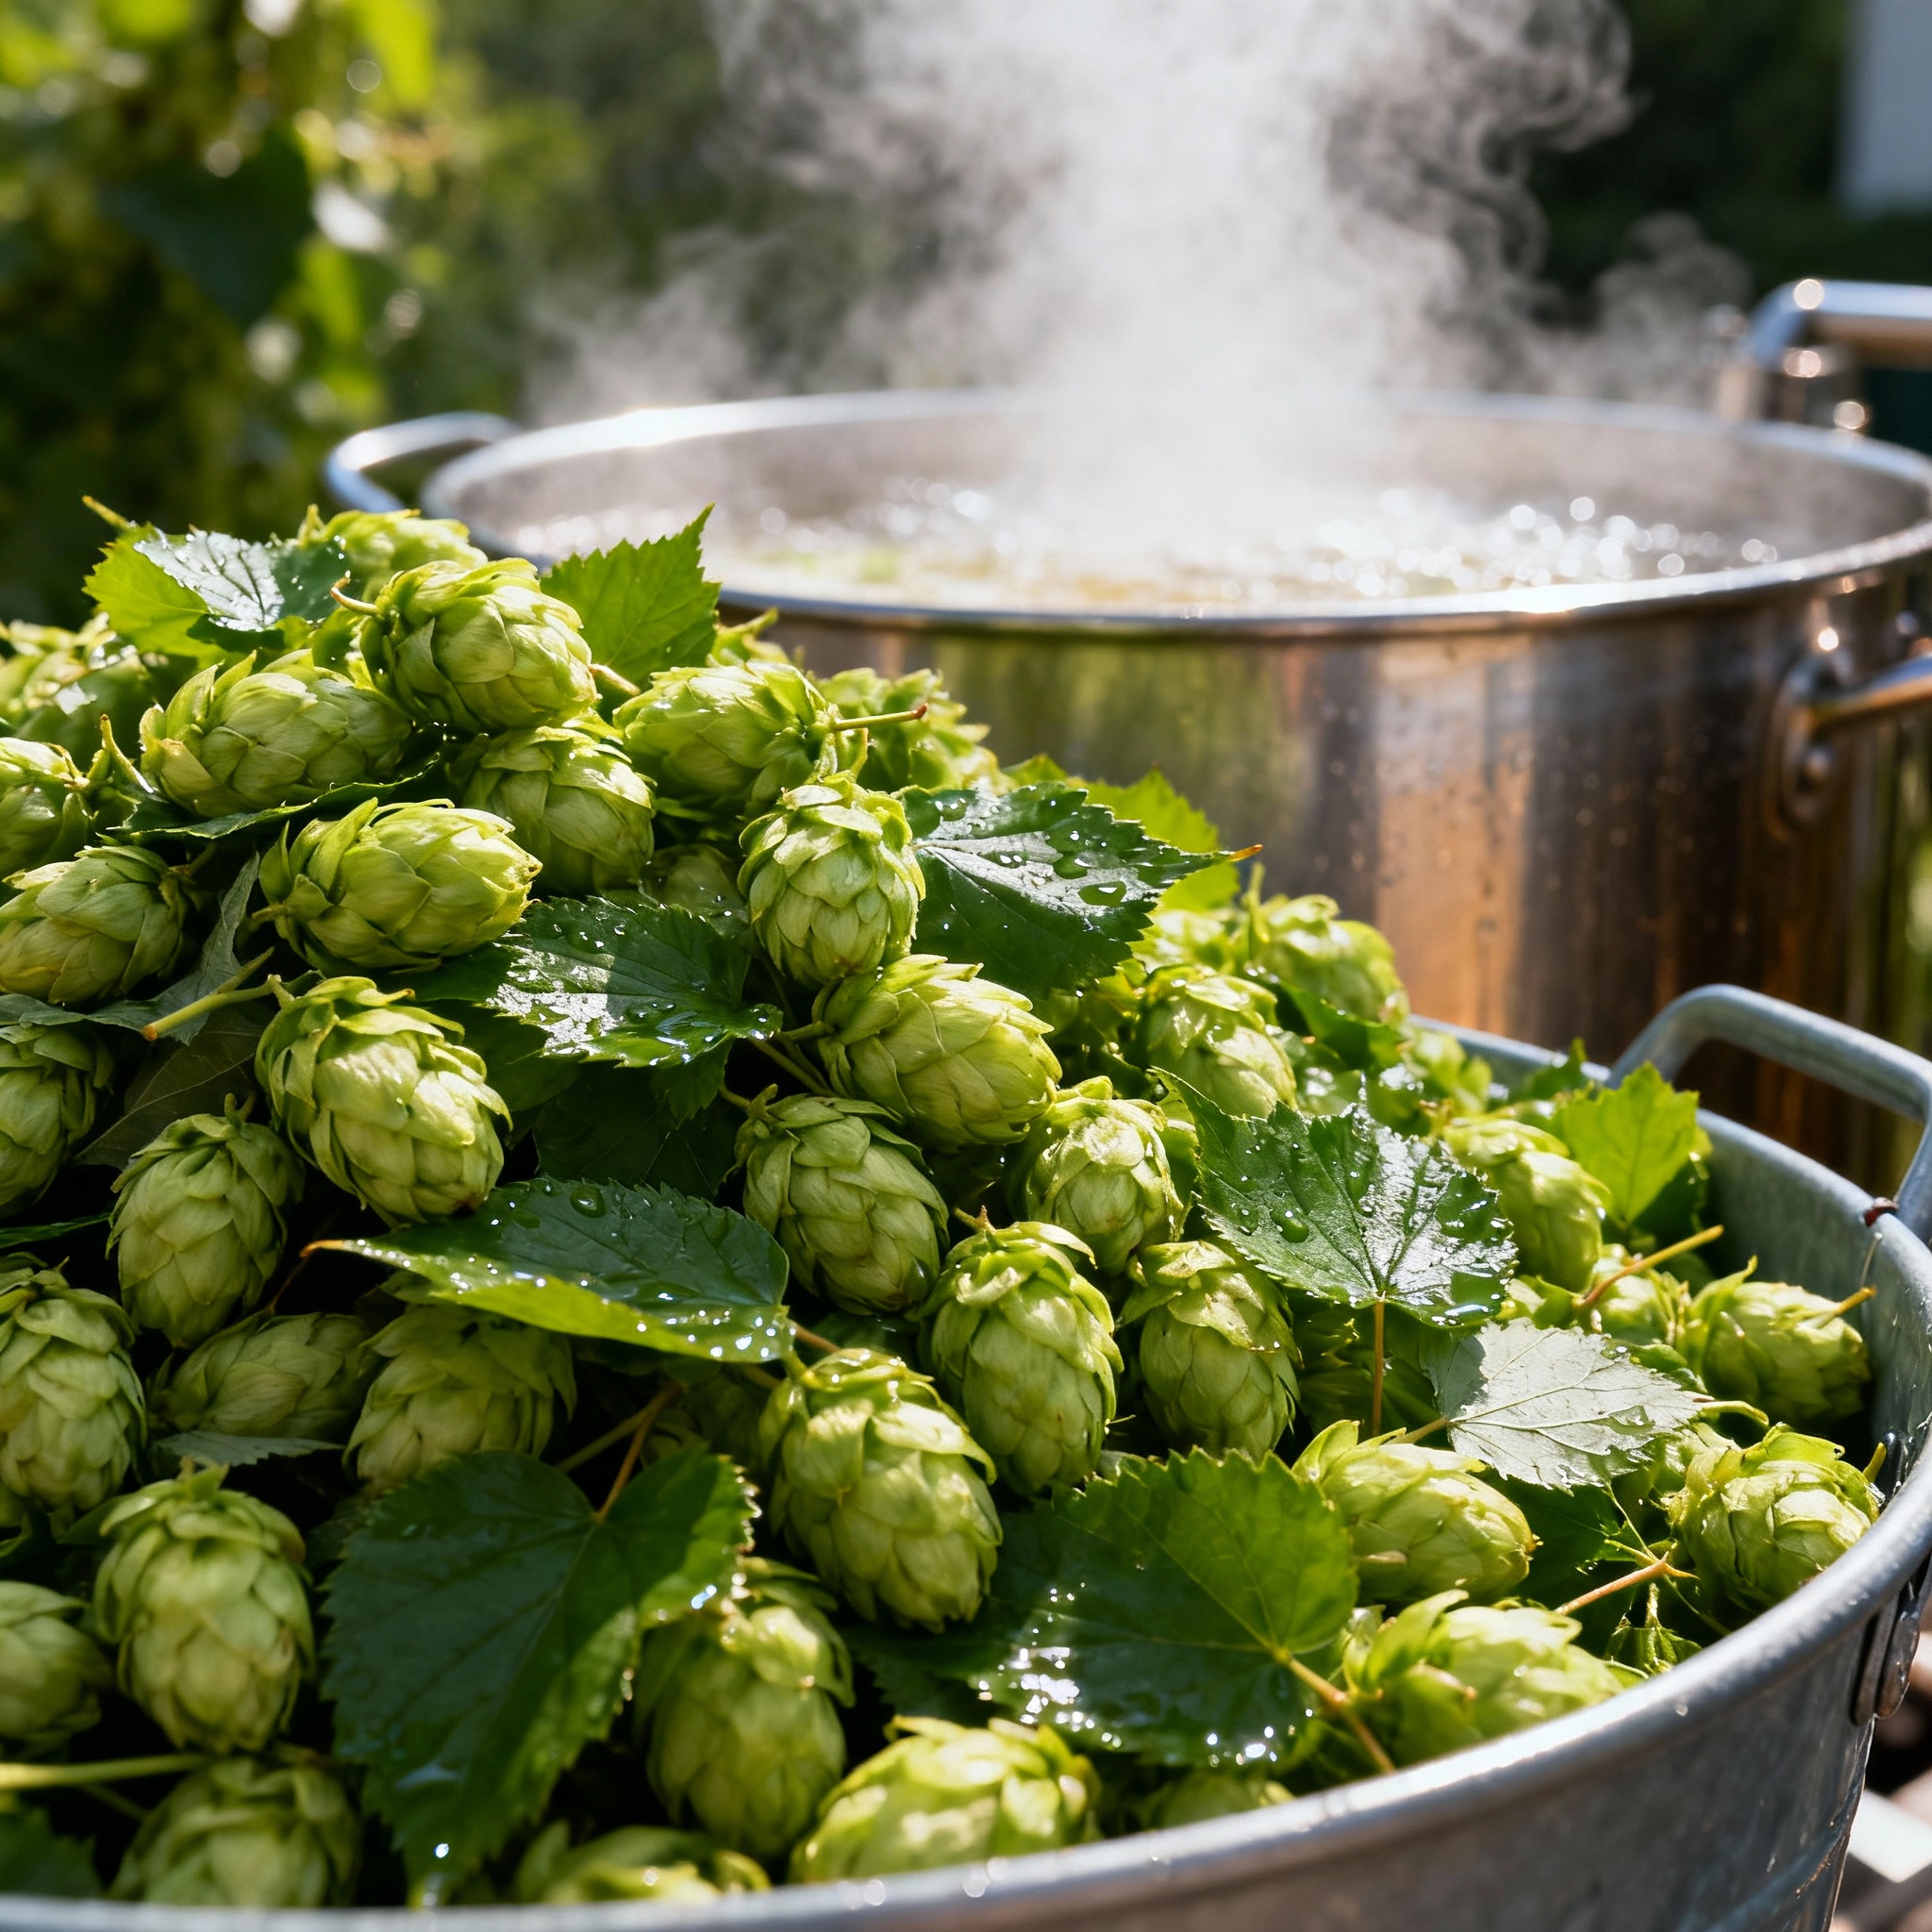
Wet hops are not dry hops that got rained on; they are a completely different ingredient. When a hop cone comes off the bine, it is about 80% water by weight.
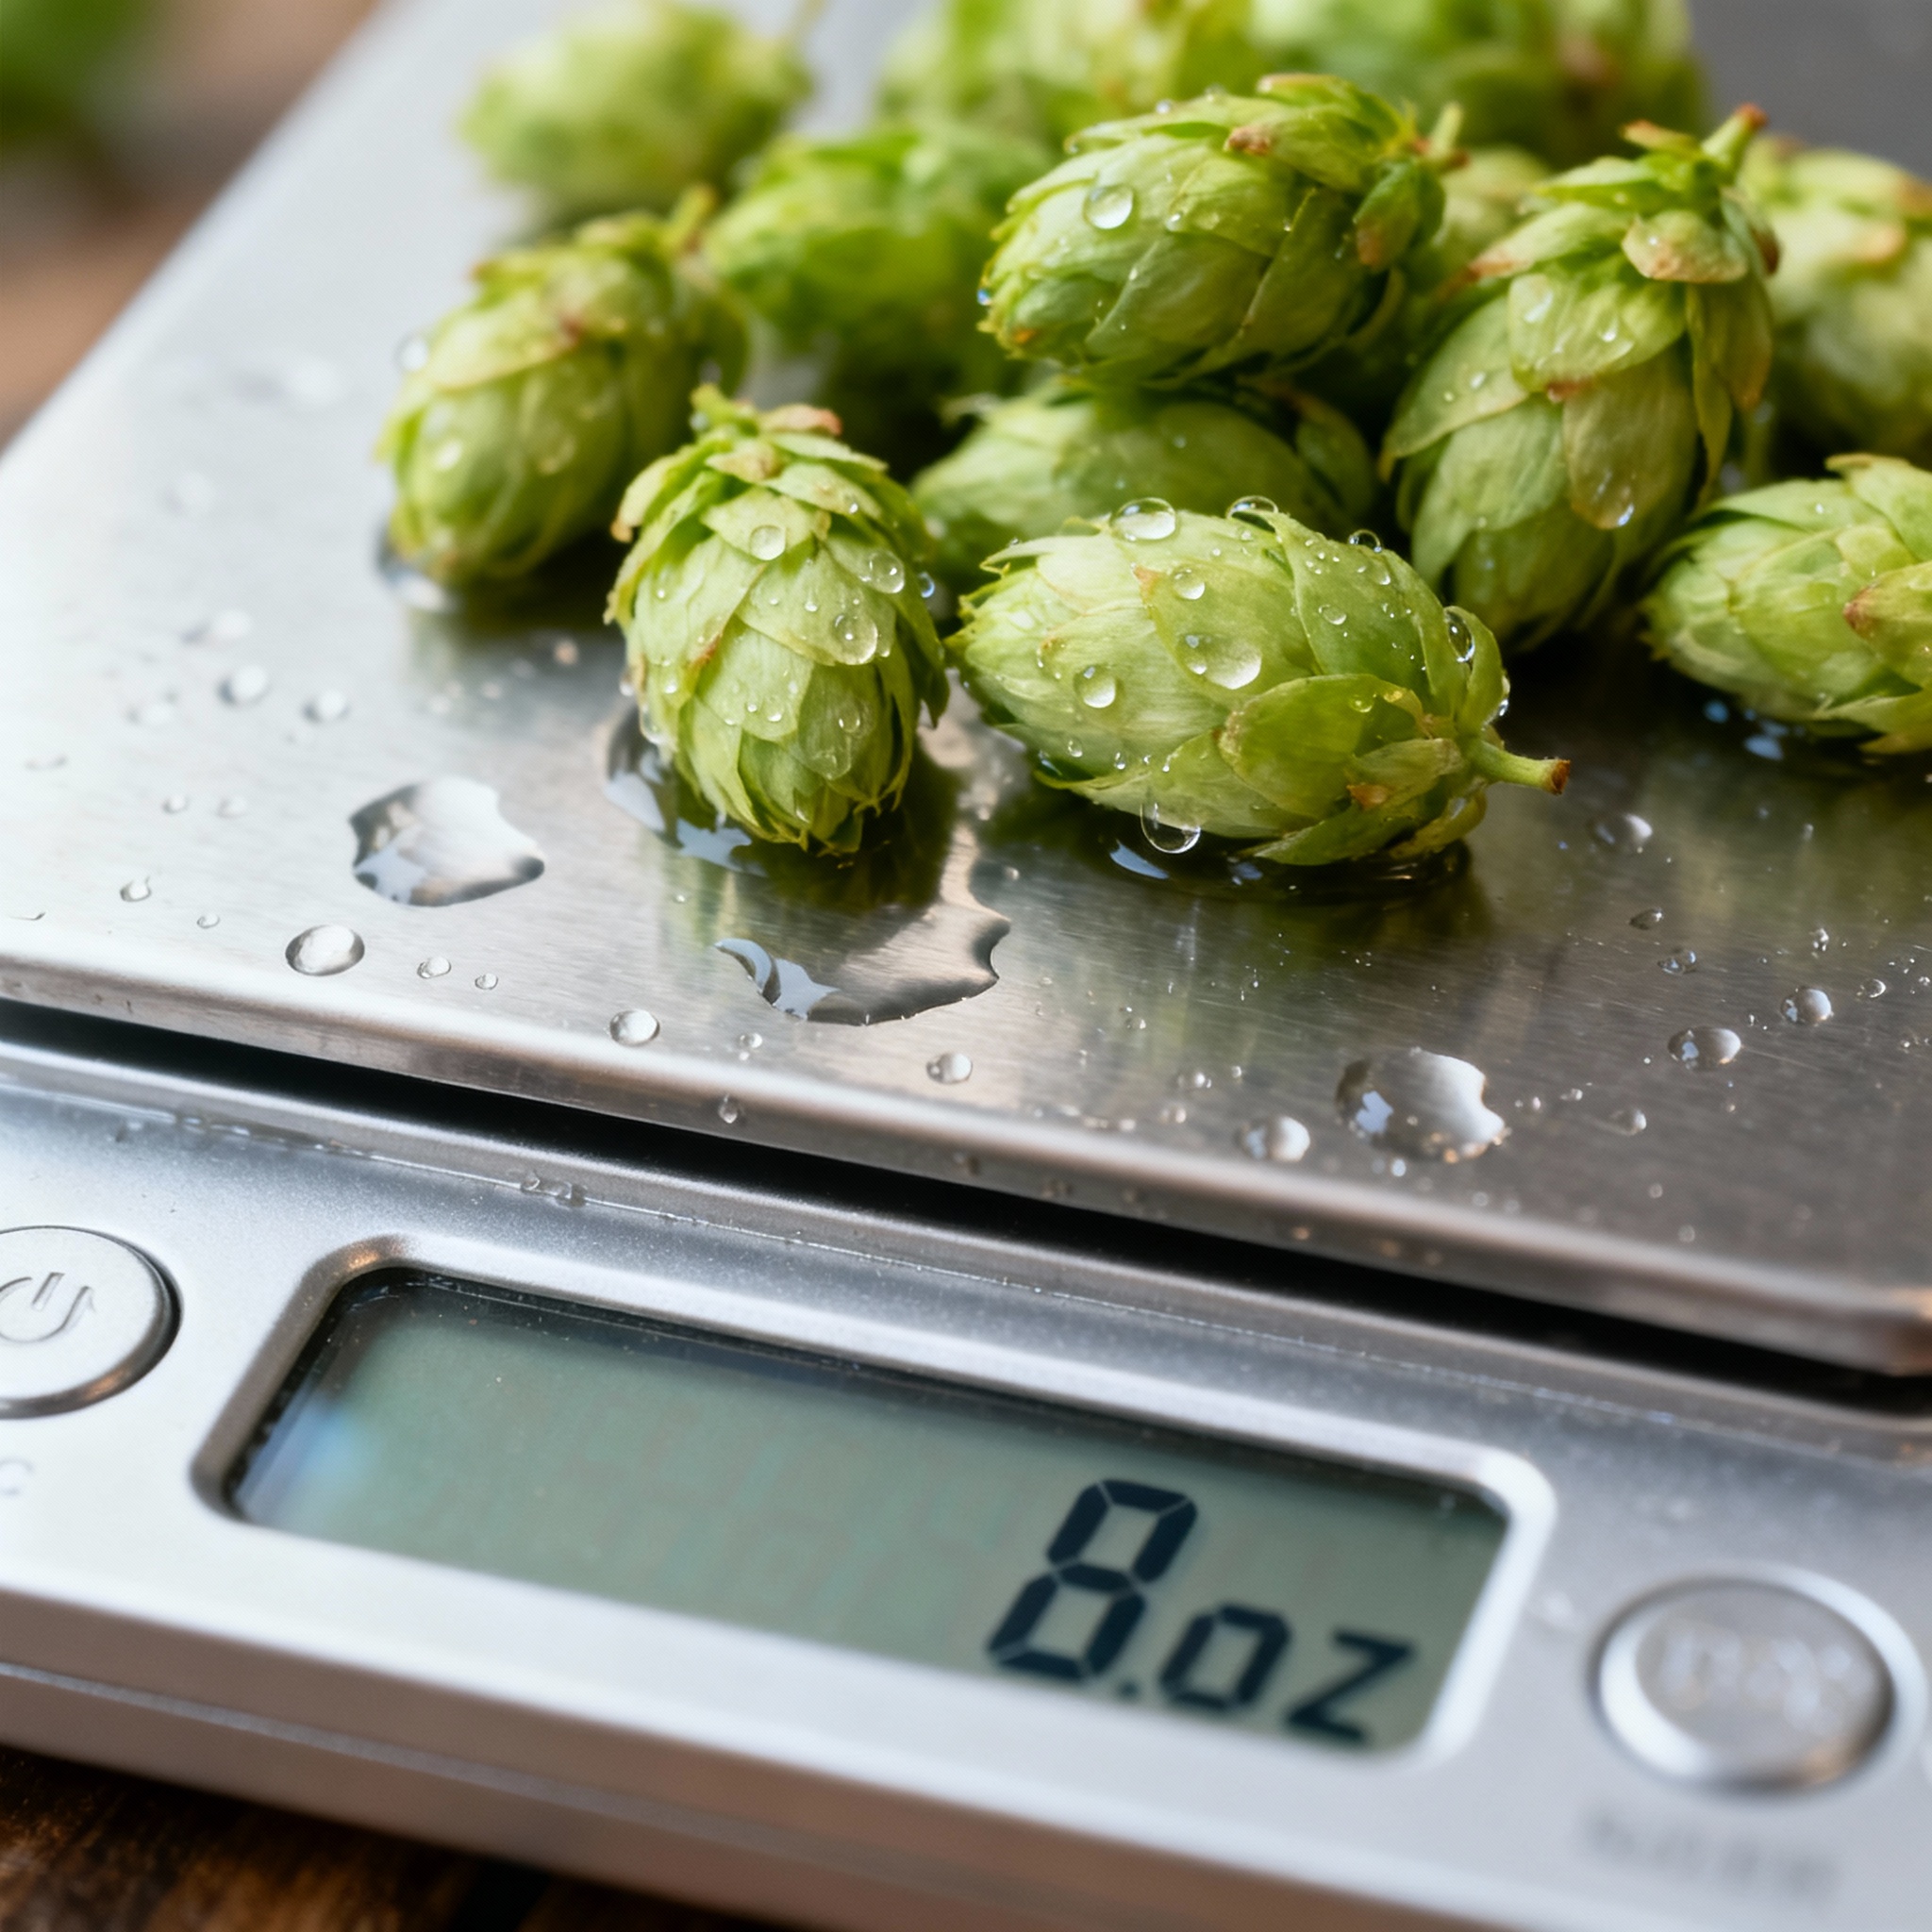
This means if a recipe calls for 2 ounces of dry Centennial at flameout, you need 10 to 12 ounces of wet Centennial to hit the same alpha acid contribution. I use a 5x multiplier as my floor and a 6x multiplier to be safe.
Because wet hops have not been kilned, the lupulin glands are not concentrated. You are working with a diluted product where the moisture mass significantly offsets the alpha acid percentage by weight compared to processed pellets.
I now add an extra half-pound to my late additions just to cover the gap. Wet hops have not been kilned, so the lupulin glands have not been concentrated by moisture loss.
If you are buying wet hops from a farm or a homebrew shop, ask when they were picked. If the answer is “yesterday,” you’re golden; if the answer is “I think last week,” walk away as you are buying compost.
Chlorophyll Notes
This is where wet hop brewing gets weird. Dry hops have been kilned at low heat, which breaks down a lot of the green vegetative matter, but wet hops have not.
You are throwing whole plant material, stems, and leaves into your wort. This introduces chlorophyll and the risk of a beer that tastes like you mowed the lawn and then drank the clippings.
I learned this the hard way in 2021 with a batch that tasted like “yard work.” The trick is to treat wet hops like fresh herbs: pull off any leaves or large stem fragments before you add them to the kettle.
I avoid using wet hops for long boil additions. Boiling vegetative matter for 60 minutes extracts tannins and grassy flavors you do not want.
If you do get a grassy note in the finished beer, do not panic. It often fades; I have had wet hop ales that tasted like a salad bar at two weeks but transformed into tropical fruit at six weeks.
Mash Hopping
Mash hopping with wet hops is mostly theater. You are not getting a massive flavor contribution or significant bitterness.
The enzymes in the mash break down some of the hop acids before they even have a chance to isomerize. What you do get is a mash tun that smells incredible and a very slight earthy note in the finished beer.
After you dough in, scatter a handful of wet hops across the top of the grain bed. Let them sit for the full mash. When you sparge, they will float up and make a mess, but the sensory experience of opening that lid is genuinely special.
If you mash hop, do not stir the hops into the grain bed. Let them float, as stirring them in releases more chlorophyll and makes your wort look like swamp water.
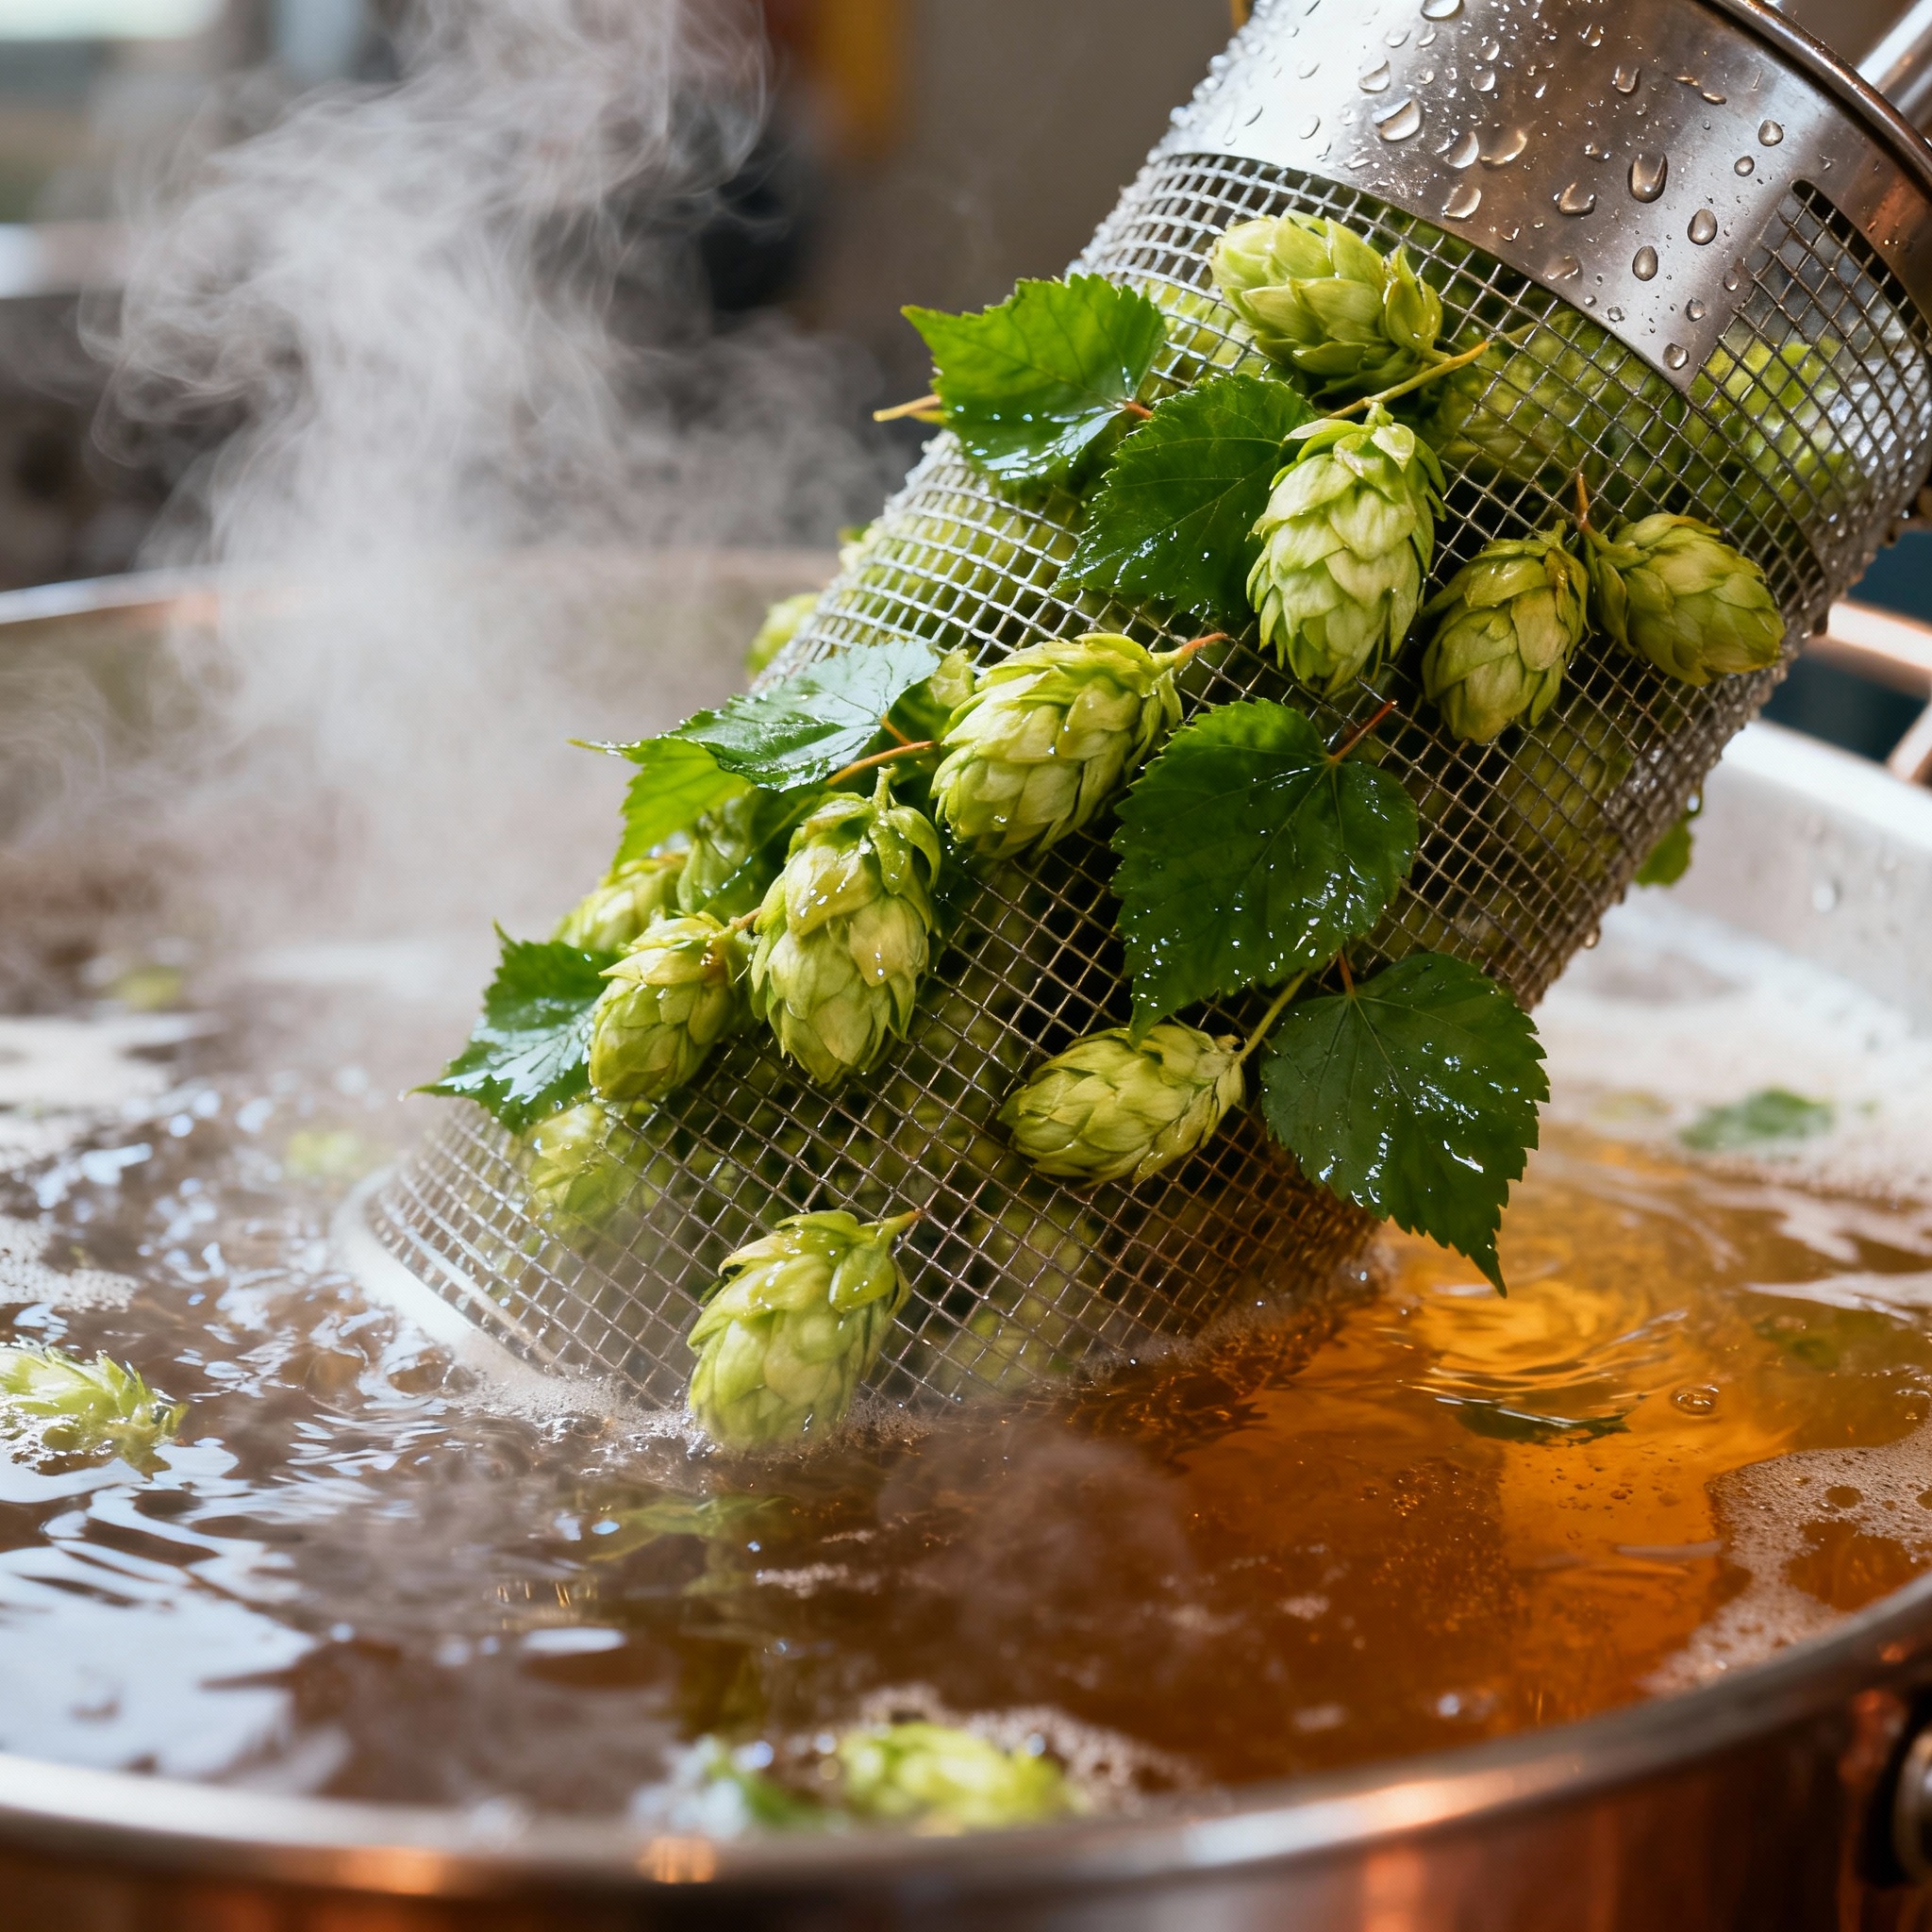
The Spider Clog
Whole wet hop cones are bulky. If you are adding two pounds of wet hops to a five-gallon batch, you are adding roughly the volume of a regulation football to your kettle.
When you start the whirlpool, those cones turn into a wet blanket that covers your pickup tube and clogs your pump. I call this the “spider clog” because the hops spread out and grab onto everything.
I transfer slowly and use a funnel with a strainer at the fermenter to catch any hop debris. I would rather lose a half-gallon of wort to hop absorption than lose the aroma by using a restrictive hop spider.
If you have a pump, do not run wet hops through it. You will spend the next hour disassembling the impeller; transfer by gravity or siphon if you can.
Salvage via Drying
If your brew day gets cancelled but the hops are already in hand, you must dry them. The goal is to remove moisture before the hops oxidize or mold using airflow and low heat.
I use a large window screen propped up on sawhorses with a box fan on low. In about 36 to 48 hours, they are dry enough to vacuum seal and freeze.
If you use a food dehydrator, keep the temperature below 140°F. Any hotter and you start breaking down the alpha acids and essential oils, leaving you with hops that smell like hay.
Do not dry wet hops in direct sunlight. UV light breaks down hop oils faster than heat does; keep them in the shade with good airflow.
Conclusion
Wet hop brewing is not convenient or repeatable. However, it is the closest you will get to tasting what hops actually are before they are processed and shipped.
The first time you crack open a wet hop pale ale and smell that burst of fresh resin, you will understand why people chase this every September.
If you miss the harvest window this year, mark your calendar for the next. Wet hop season does not wait, and neither should you.
References
- University of Vermont Extension. “Growing Hops in Vermont.” 2018.
- Hop Growers of America. “Harvest and Drying Best Practices.” 2022.
- Dr. Alex Mercer. “Personal brewing logs and experimentation.” 2019-present.