Brewhouse Efficiency: Crushing Grain, Sparging, and Hitting Numbers.
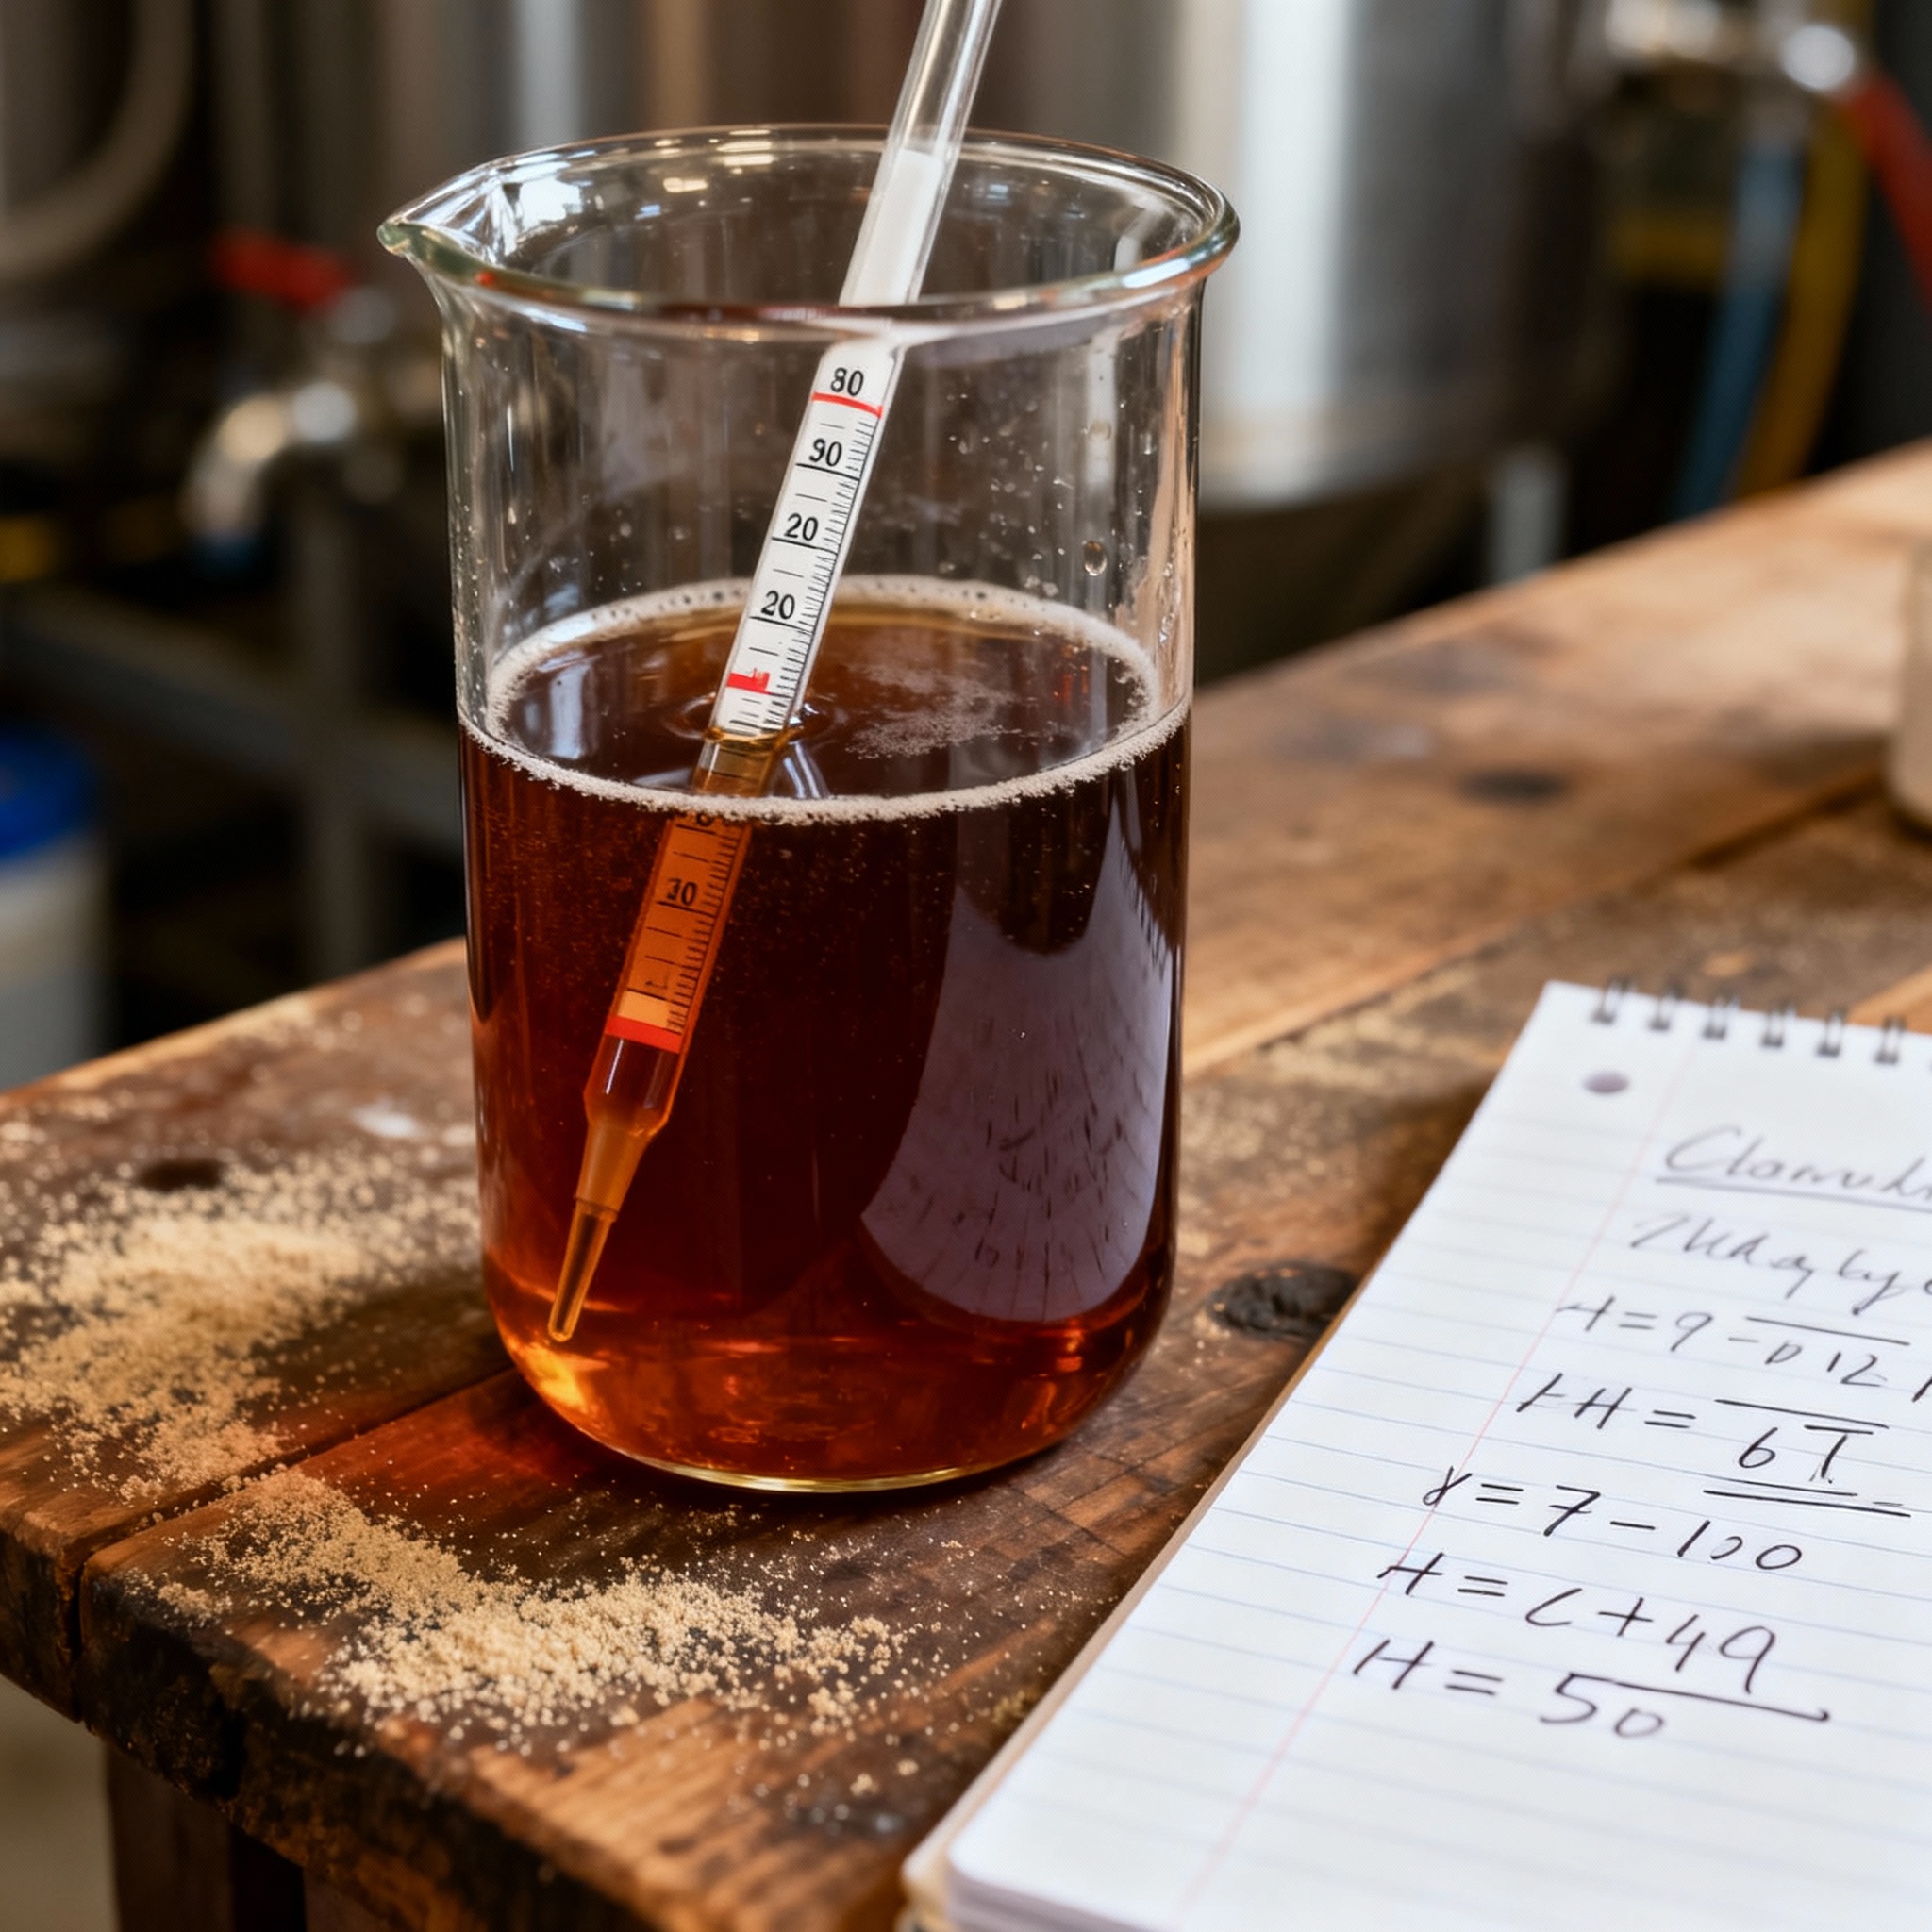
I was 14 batches into my brewing journey when I realized I had been donating about 20% of my grain’s potential to the compost bin. The recipe calculator said I should hit 1.062 original gravity, but I measured 1.048 instead.
That’s not a rounding error. That’s a completely different beer.
The frustrating part wasn’t just missing the target; it was not knowing where the sugar went. I wondered if I crushed the grain wrong or left sugar in the mash bed.
I started tracking everything in a spreadsheet because I couldn’t fix what I couldn’t measure. I learned that brewhouse efficiency is the difference between spending money on a thin beer or a beer that tastes right.
This guide is about closing that gap. We aren’t doing this to brag about numbers on a forum, but to stop wasting money and actually hit the beer you planned to brew.
Where Did the Sugar Go?
Brewhouse efficiency is the percentage of potential sugar you actually extract from the grain and get into your fermenter. If the grain could theoretically give you 100 points of gravity and you only measure 75 points, you’re running at 75% efficiency.
Most homebrew recipes assume you’ll hit somewhere between 70% and 75% efficiency. Commercial breweries with dialed-in systems might hit 85% or higher.
I’ve seen new brewers come in at 50% and have no idea why their beer tastes watery. Once I started measuring each loss point separately, I could actually fix the problems instead of just adding more grain.
Before you change anything, brew the same recipe twice with the same process and measure your efficiency both times. If the numbers are wildly different, your process isn’t consistent enough to optimize yet.
The Crush: How Fine Is Too Fine?
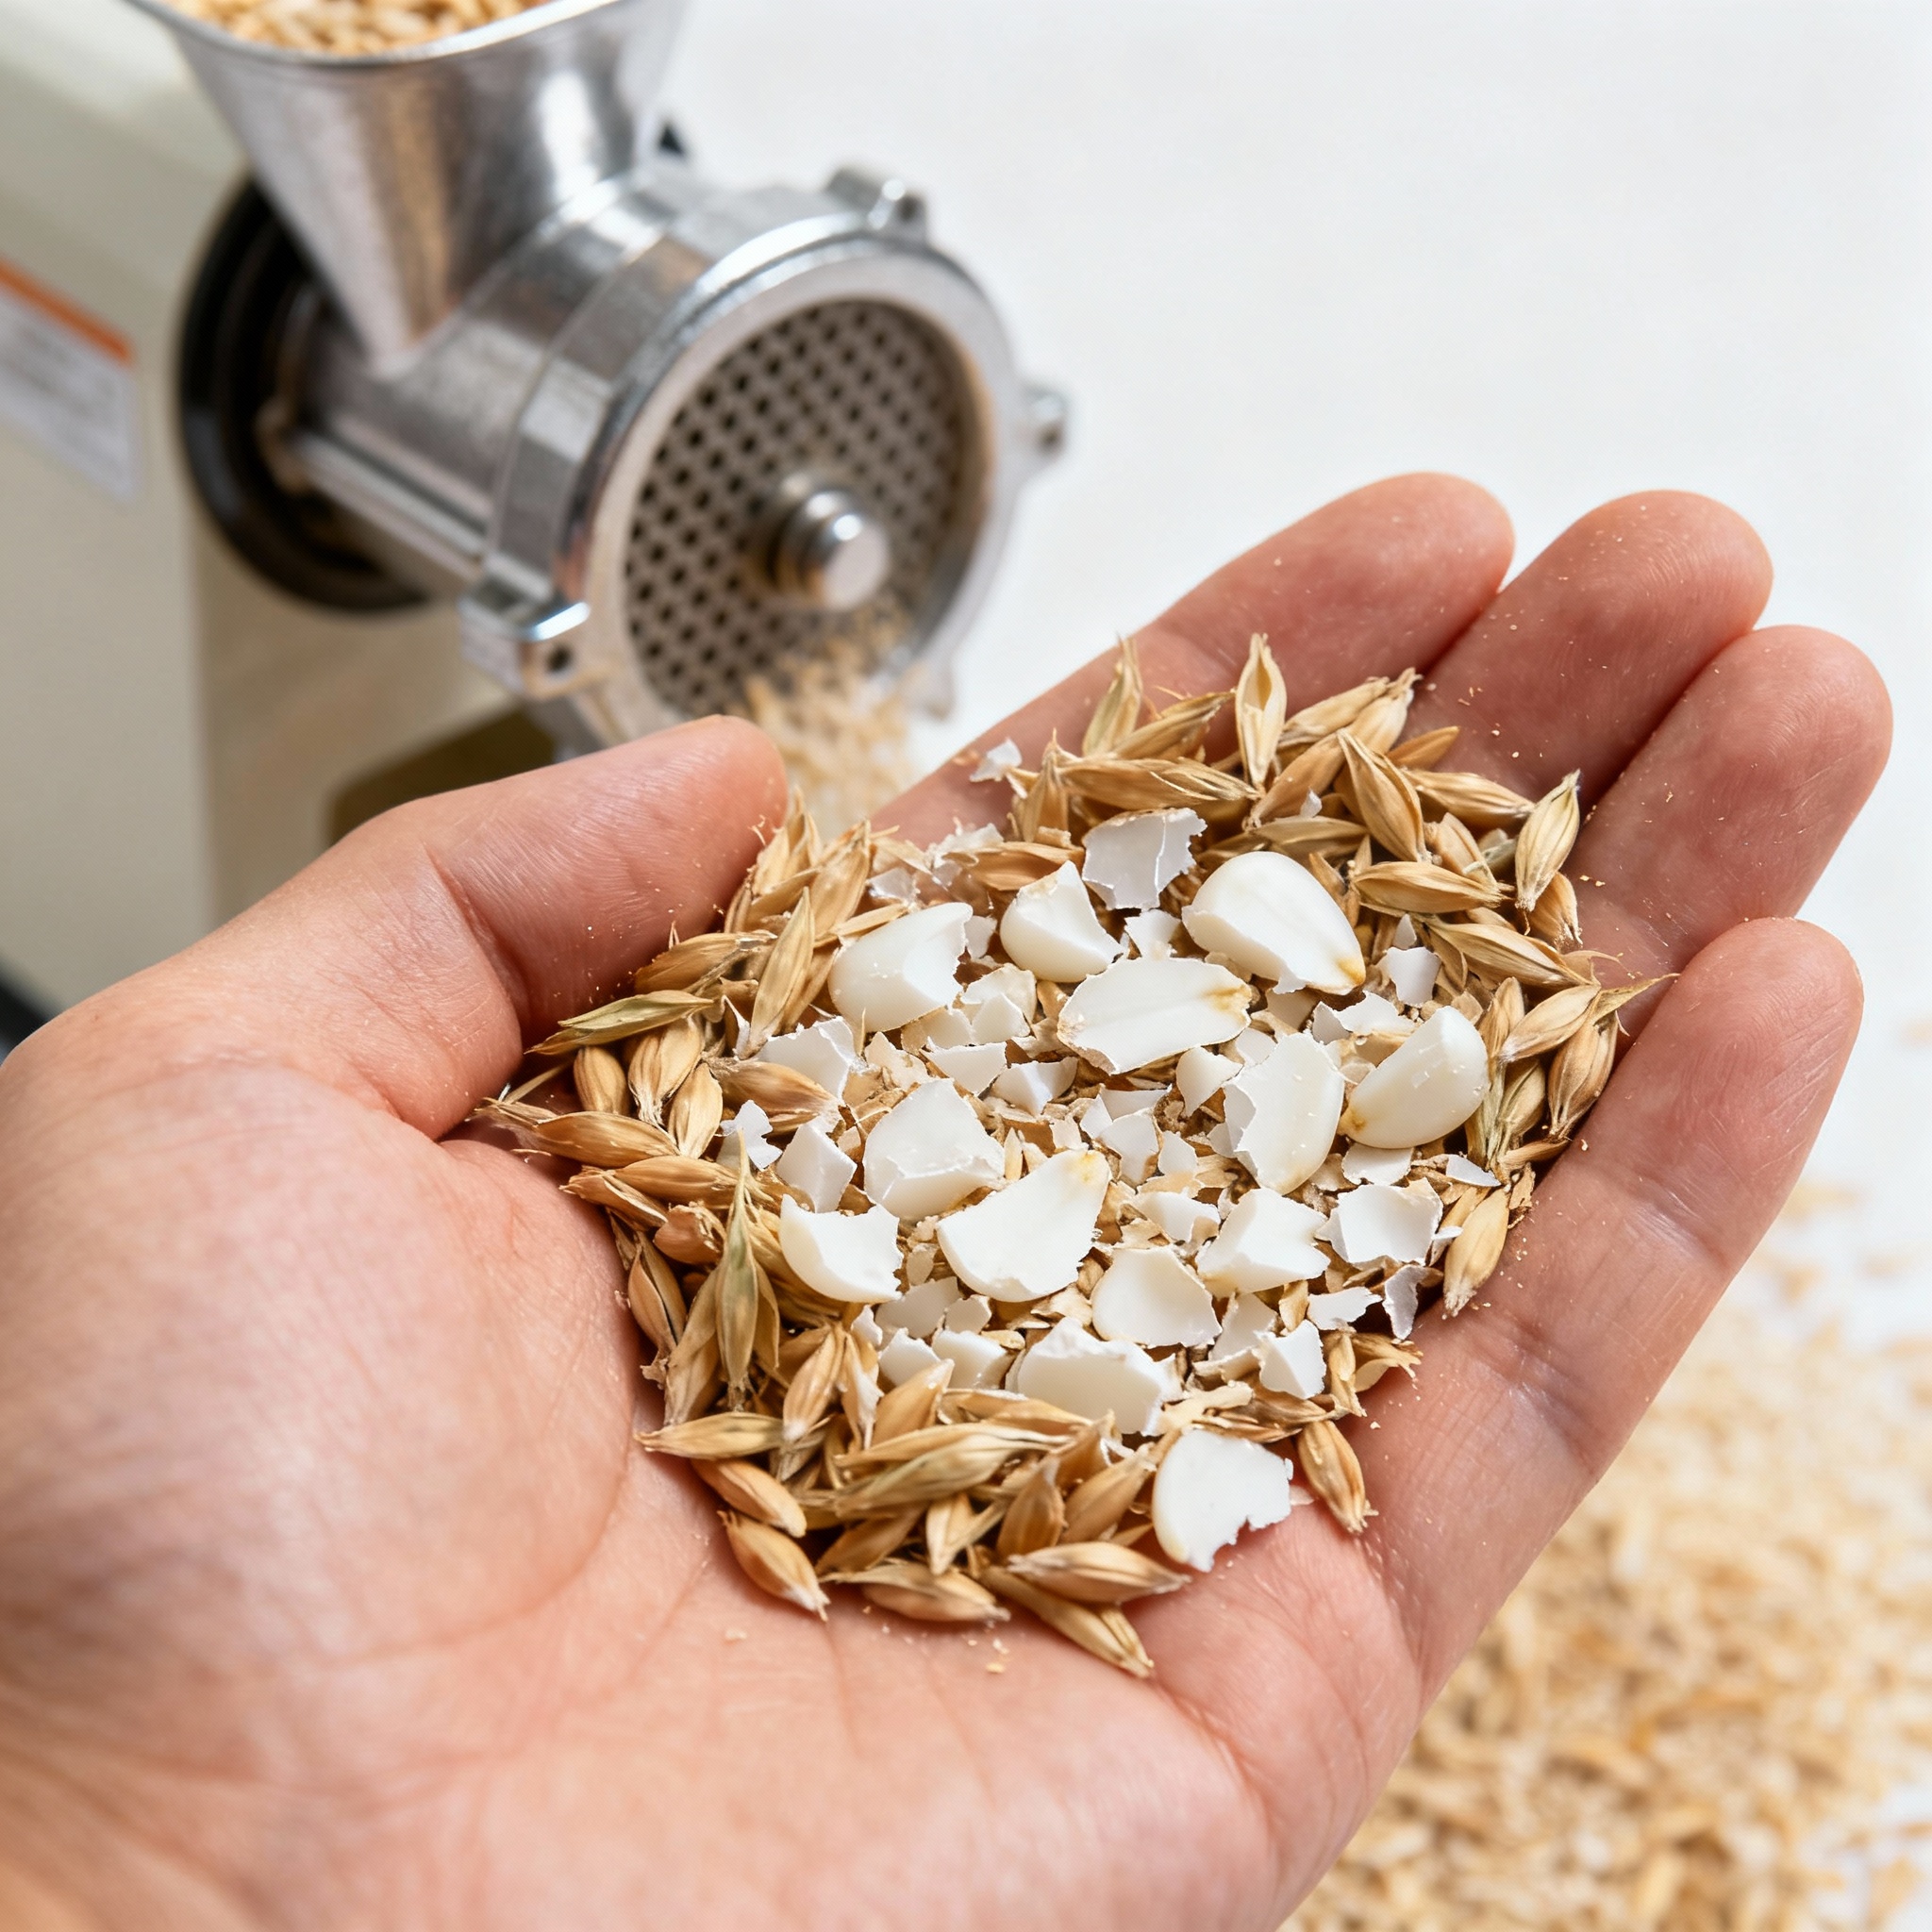
The grain mill gap is the space between the rollers that crack your grain open. This might be the most overlooked variable in homebrewing.
I used to think “crushed is crushed” until I borrowed a tight mill and gained 8 efficiency points on the same recipe. If you’re doing Brew in a Bag (BIAB), you want a finer crush because you’re not worried about a stuck sparge.
There is no grain bed to clog in a bag setup. You can set your mill gap around 0.025 inches to provide more surface area for the enzymes.
If you’re using a traditional mash tun with a false bottom, you need to be more careful. If you go too fine, you’ll create a layer of flour that blocks water flow entirely.
For mash tuns, start around 0.035 inches. You want the grain cracked open with the husk mostly intact to act as a natural filter.
I shimmed my hand-crank mill gap with precision feeler gauges from an auto parts store to get it where I wanted. It’s tedious but it works.
The difference was worth about 6 efficiency points for me, which pays for the mill after a dozen batches. Check your crush visually to ensure the starchy endosperm is exposed.
Crush a small sample and do a “float test.” Drop a handful in a glass of water; whole kernels float while properly crushed grain sinks. If half your sample is floating, tighten the gap.
Conversion Efficiency vs Lauter Efficiency
Brewhouse efficiency is actually two separate efficiencies multiplied together. Conversion efficiency is whether the enzymes turned the starch into sugar during the mash.
Lauter efficiency is whether you rinsed that sugar out of the grain afterward. You can have perfect conversion and terrible lautering, or vice versa.
Conversion efficiency is mostly about time, temperature, and pH. If you hold your mash between 148°F and 158°F for 60 minutes, the enzymes should do their job.
Pull a small sample of wort at the end of the mash and add one drop of iodine. If it stays amber, the starch is converted; if it turns blue or black, you’ve still got unconverted starch.
If your iodine test passes but your efficiency is still low, the sugar is there but you’re leaving it in the grain. I didn’t figure this out until I started weighing my spent grain.
If the grain coming out of my mash tun is soaking wet and heavy, I left sugar behind. Spent grain should feel damp but not dripping.
I keep a notebook with these numbers for every batch because patterns emerge over time. If conversion is always low, I focus on mash temperature or pH.
If lauter is always low, I focus on my sparging technique. This allows me to isolate the exact step that is failing.
Sparging Methods: Trade-Offs
Sparging is rinsing the sugar out of the grain bed. Fly sparging is where you continuously sprinkle hot water over the grain bed while you drain wort from the bottom.
This gives you the highest efficiency because you’re constantly rinsing with fresh water. The downside is it’s slow and requires you to control flow rates carefully.
Batch sparging is simpler. You drain all the wort, add a batch of hot sparge water, stir it in, and drain again.
This is way easier to manage, though you give up maybe 3 to 5 efficiency points compared to fly sparging. I switched to batch sparging because I can walk away instead of watching a valve.
No sparge is where you use a thicker mash and skip rinsing entirely. Your efficiency tanks to maybe 60%, but the beer often has more body and improved malt flavor.
For batch sparging, heat your sparge water to 170°F, not boiling. If the water is too hot, you risk extracting tannins from the grain husks, which makes your beer astringent.
Volume Measurement: The Overlooked Step
You can’t calculate efficiency if you don’t know how much wort you collected. I’ve watched people estimate volumes by looking at the kettle and guessing, but that leads to mystery beer.
I took a day and calibrated my kettle with a measuring cup and a paint pen. I marked the level every gallon from 1 to 8, and it has saved me from dozens of miscalculations.
Wort expands when it’s hot. If you measure 6 gallons at 200°F and then cool it to 68°F, you’ll have closer to 5.8 gallons.
For every 1 gallon at 212°F, you’ll have about 0.96 gallons at 68°F. If you measure 6.5 gallons pre-boil at 200°F, multiply by 0.96 to get your adjusted cold volume.
Post-boil, I let the wort cool to at least 150°F before I measure so the thermal expansion is less of a factor. If your volume is off by 10%, your gravity reading is essentially meaningless.
I also account for losses to trub and dead space in the kettle. Knowing these losses lets me plan my water additions accurately instead of guessing.
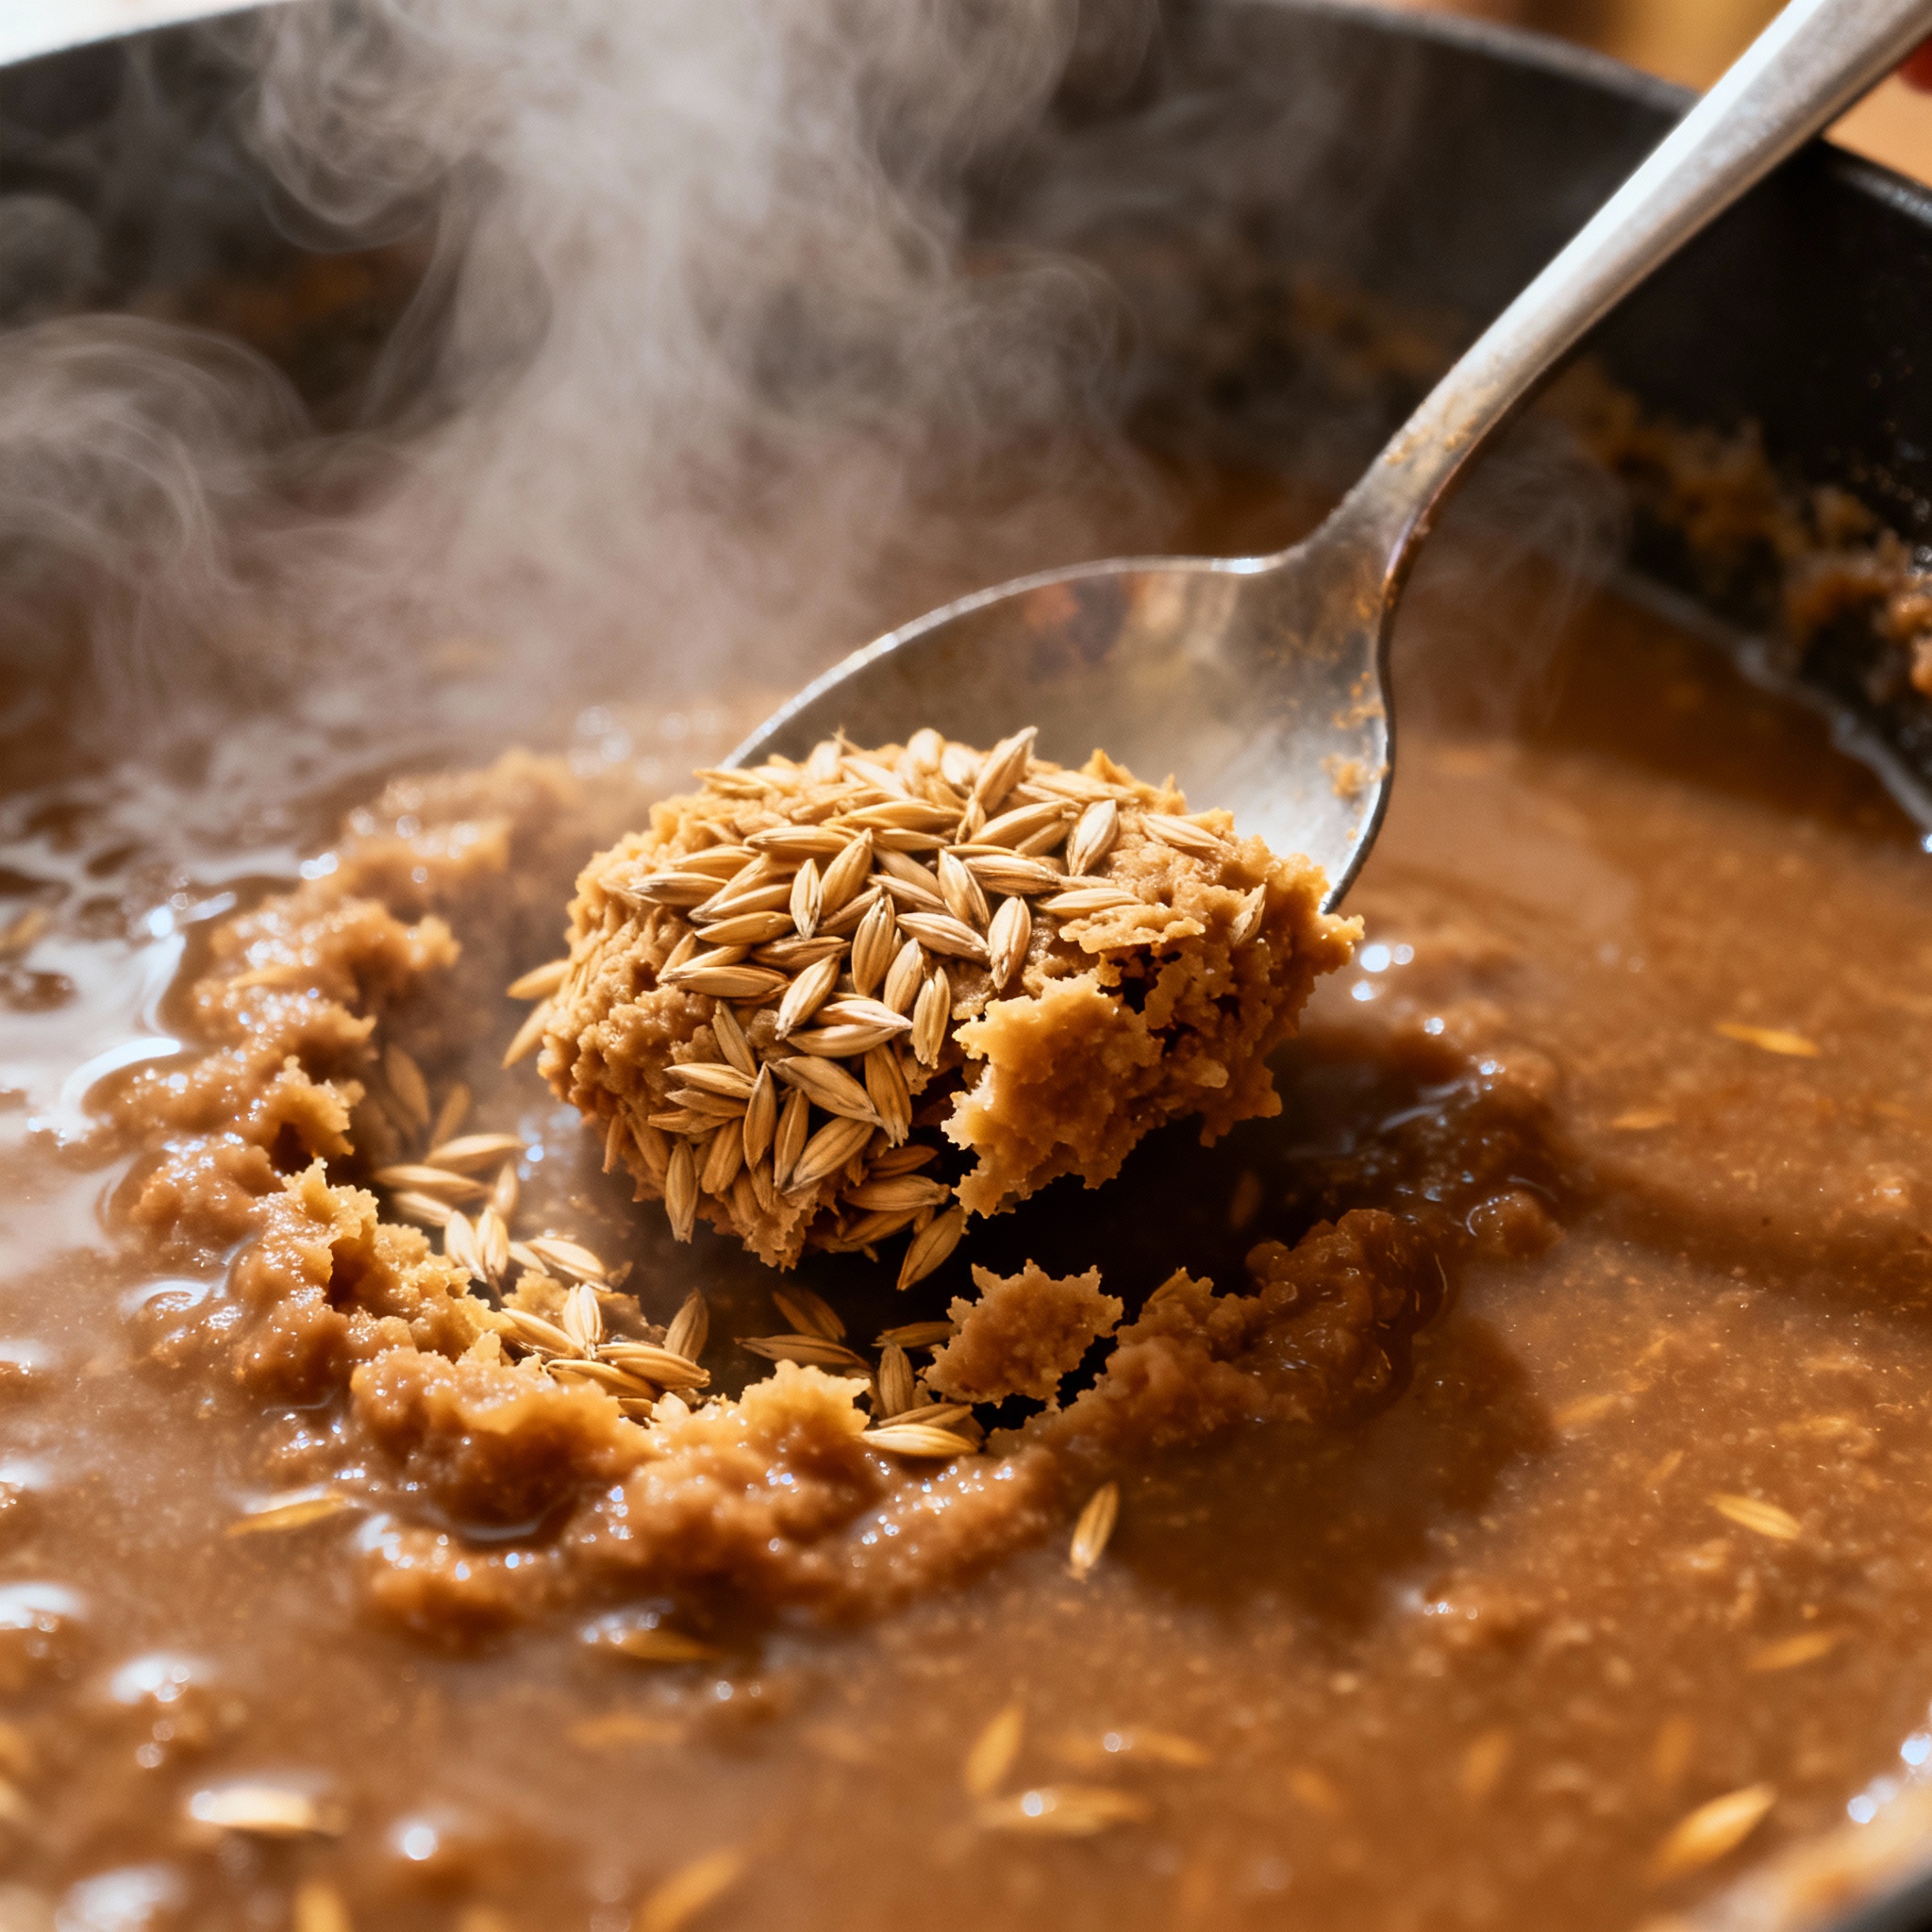
Dough Balls: The Hidden Killer
Dough balls are clumps of dry flour surrounded by wet grain that never fully hydrate. They are invisible unless you dig through the mash with your hand.
Those are unconverted starches you paid for that never turned into sugar. They form when you dump all your grain into the water at once without enough stirring.
The fix is to add the grain slowly while stirring constantly. I pour grain in a steady stream with one hand and stir with a mash paddle with the other.
After you drain your mash tun, cut open a few clumps of spent grain. If you see white dry powder inside, you had dough balls and need to adjust your mixing next time.
If you’re doing BIAB, dough balls are even more common because the bag restricts flow. Lift the bag and squeeze it gently a few times during the mash to redistribute the water.
Hitting Your Numbers Every Time
Efficiency is about consistency, not about hitting a high number to impress friends. If you know you get 72% every time, you can formulate recipes that account for that perfectly.
I track four numbers for every batch: crush gap, mash temperature, total water used, and final efficiency. This allows me to predict my results within 2 percentage points.
The biggest efficiency gain I made was from eliminating variables. I picked a crush setting and a sparging method and stuck with them long enough to see a pattern.
If you want to push your efficiency higher, change only one thing at a time. Tighten your crush gap slightly and brew twice to see if it helped.
Make small moves and measure the results carefully. That’s how you stop wasting grain and start hitting the gravity you actually planned to brew.
Efficiency Reference Table
| Variable | Target Range | Impact on Efficiency |
|---|---|---|
| Mill Gap (BIAB) | 0.020” - 0.030” | High |
| Mill Gap (Mash Tun) | 0.030” - 0.040” | Medium-High |
| Mash Temperature | 148°F - 158°F | Medium |
| Mash pH | 5.2 - 5.6 | Medium |
| Sparge Water Temp | 168°F - 172°F | Medium |
References
- Palmer, J., & Kaminski, C. (2013). Water: A Comprehensive Guide. Brewers Publications.
- Fix, G. (1999). Principles of Brewing Science. Brewers Publications.
- Troester, K. (2009). “The Effect of Mashing on Brewing Efficiency.” Braukaiser.com.
- Hierarchical Brewing Research. (2016). “Lauter Efficiency and Sparging Methods.”
- Daniels, R. (1996). Designing Great Beers. Brewers Publications.