The Cider House Rules: Pressing, Fermenting, and Sweetening
Last October, I left a five-gallon carboy of cider in my garage for three weeks. When I came back from a work trip, I popped the airlock and took a sniff.
It smelled like a tire fire mixed with gym socks. My neighbor, who was helping me move some equipment, asked if something had died in there.
That batch taught me more about cider than any book ever could. Apples are not grapes, and if you treat them like grapes, you get rocket fuel that smells like rhino farts.
Most people think making cider is simple. Juice plus yeast equals alcohol, right?
Technically yes, but the gap between “technically drinkable” and “actually good” is massive. Apples have less sugar than grapes, fewer nutrients, and a pH that makes yeast cranky.
If you ignore these facts, your cider will finish bone dry, taste like nail polish remover, and smell like sulfur compounds that could strip paint.
I have been making cider for six years now, and I have ruined at least twenty batches. I have made cider that tasted like cardboard, cider that carbonated so hard it exploded in my closet, and cider that was so astringent it made my teeth feel fuzzy.
But I have also made batches that tasted like autumn in a glass, and I want to help you skip the disasters and get to the good stuff faster.
Juice Selection: Pressing Fresh vs. Store-Bought
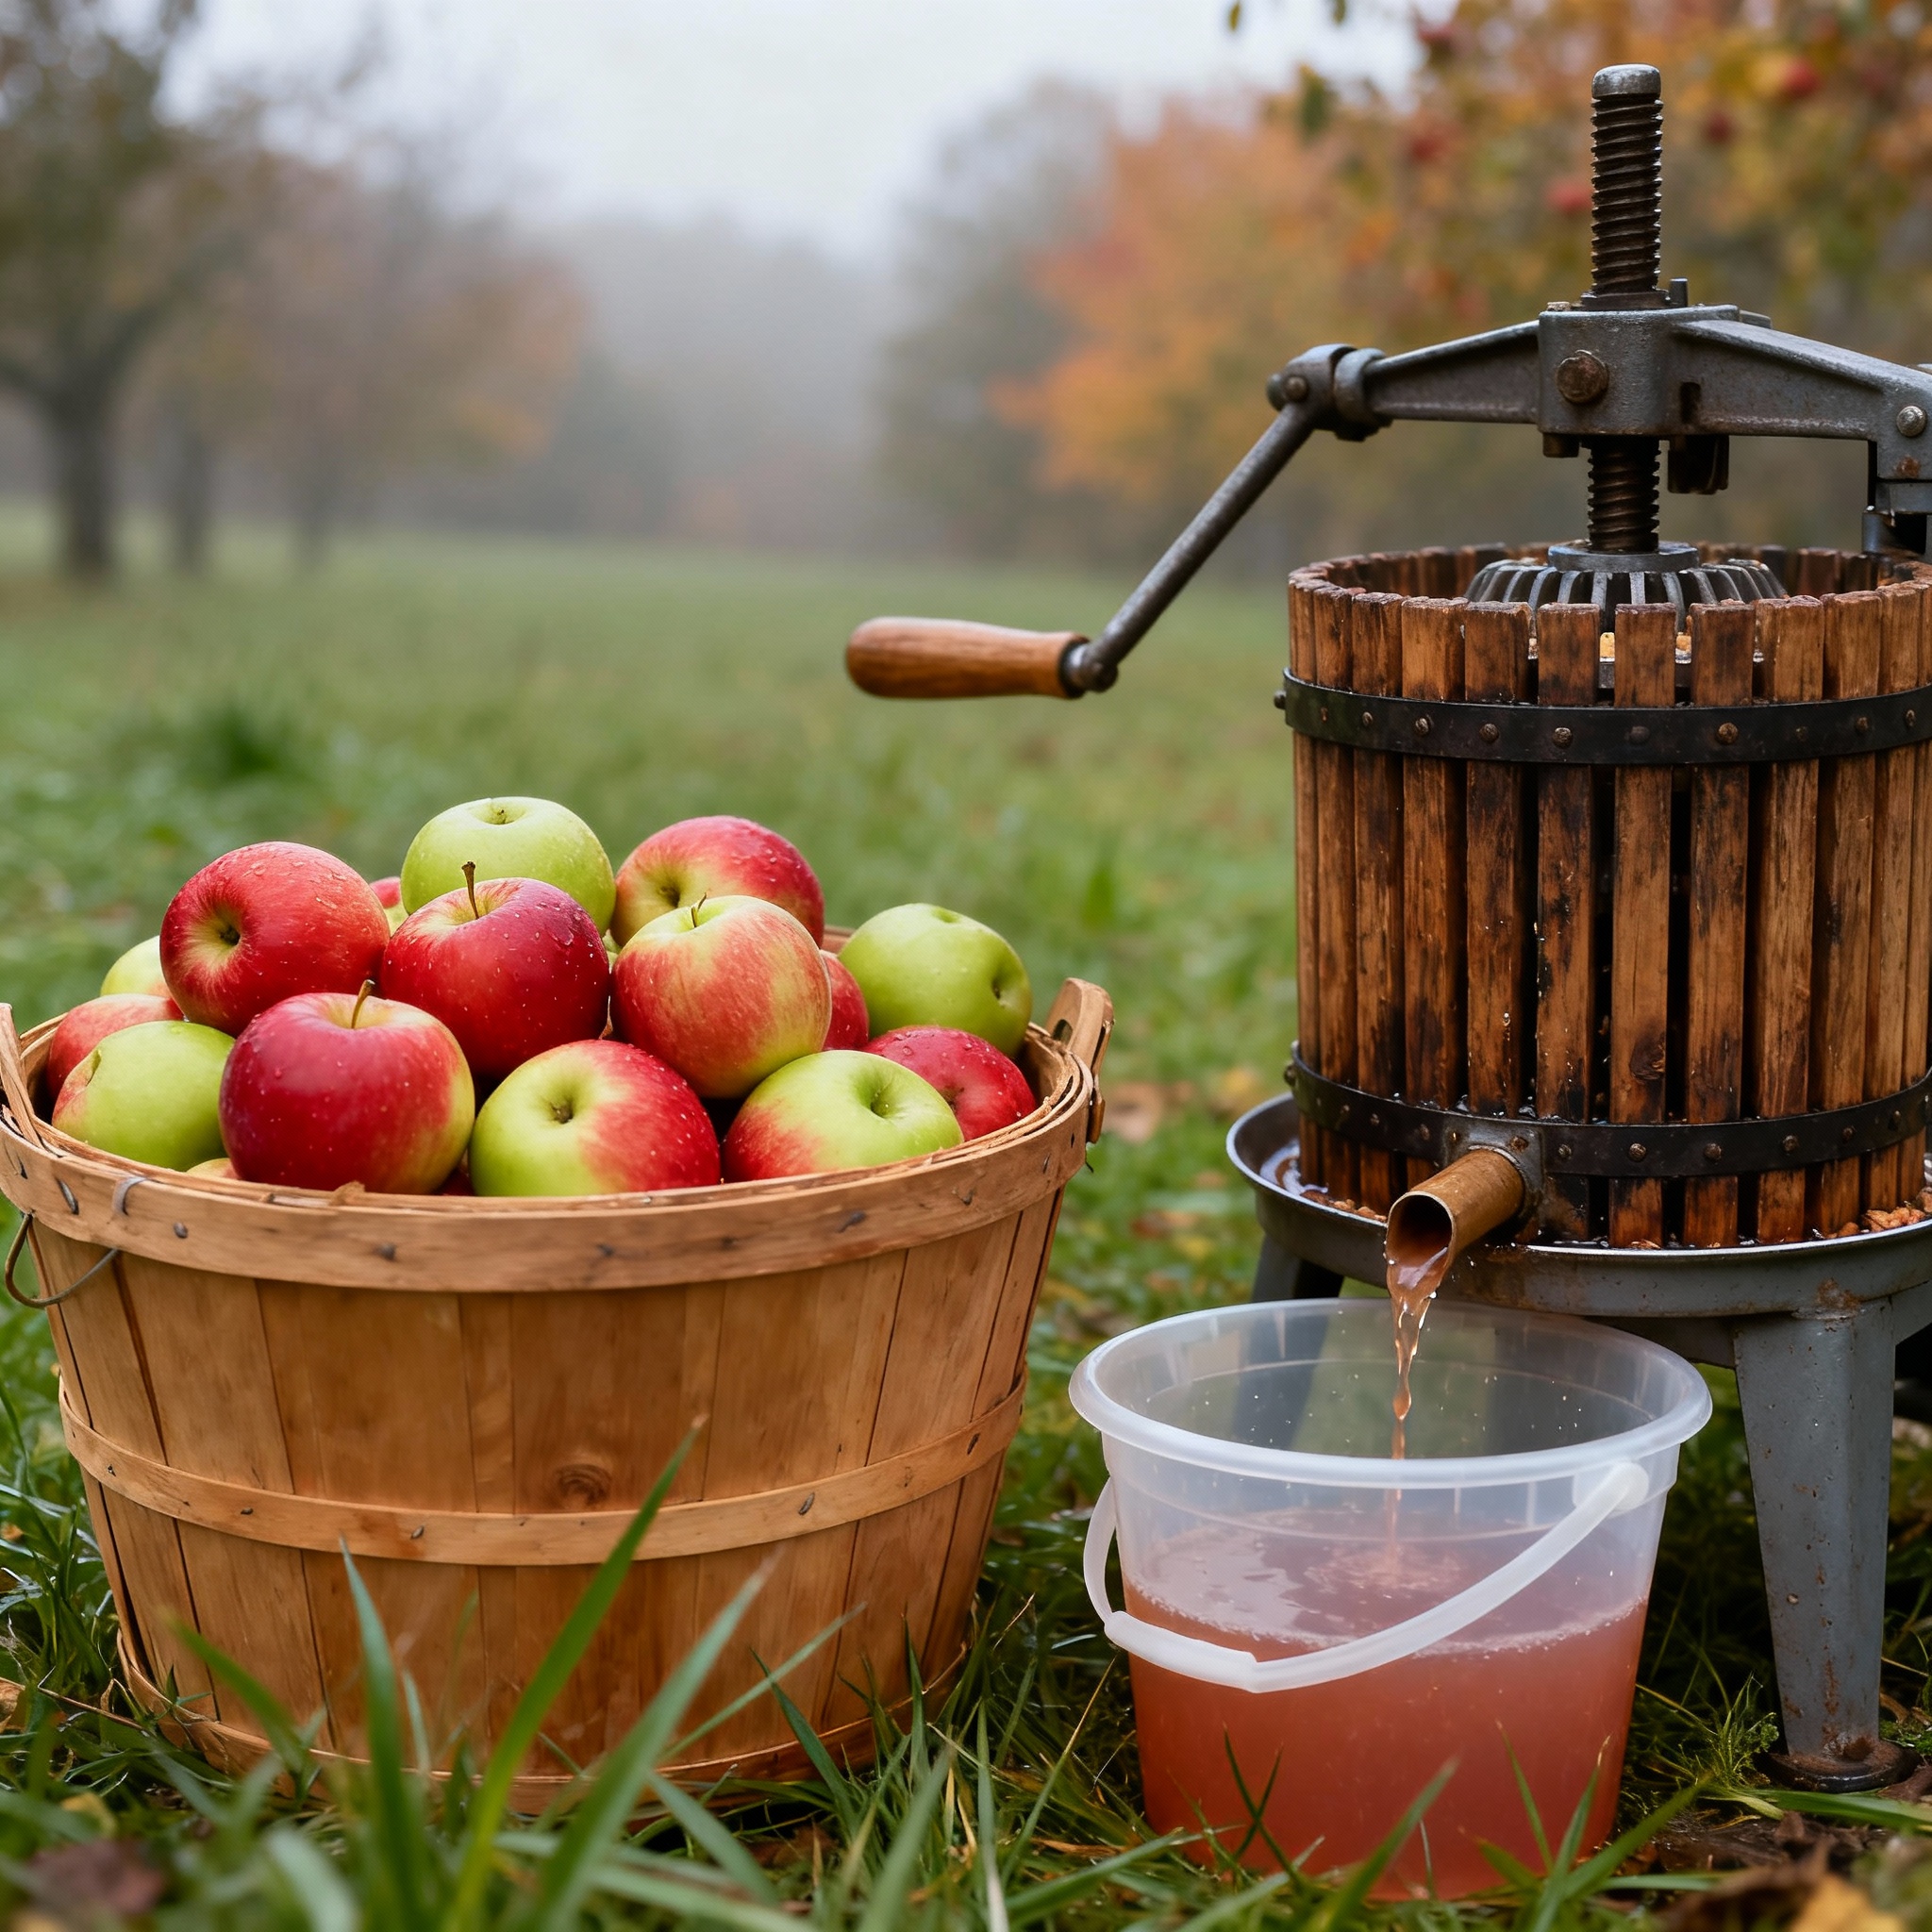
The first decision is whether to press your own apples or buy juice from the store. I have done both, and each path has trade-offs.
Pressing your own apples gives you total control. You can blend varieties to get the tannin, acid, and sugar balance you want.
A good cider blend uses three types of apples: something sweet for sugar, something tart for acidity, and something with tannins like a crabapple. The classic ratio is roughly 60 percent sweet, 20 percent tart, and 20 percent tannic.
The problem with pressing your own apples is equipment. A decent bladder press costs around four hundred dollars, and I do not own one yet.
If you do not have access to a press, you can chop apples in a food processor and then squeeze the pulp through a mesh bag. It works, but your hands will hurt, and you will get maybe 60 percent of the juice you would get from a real press.
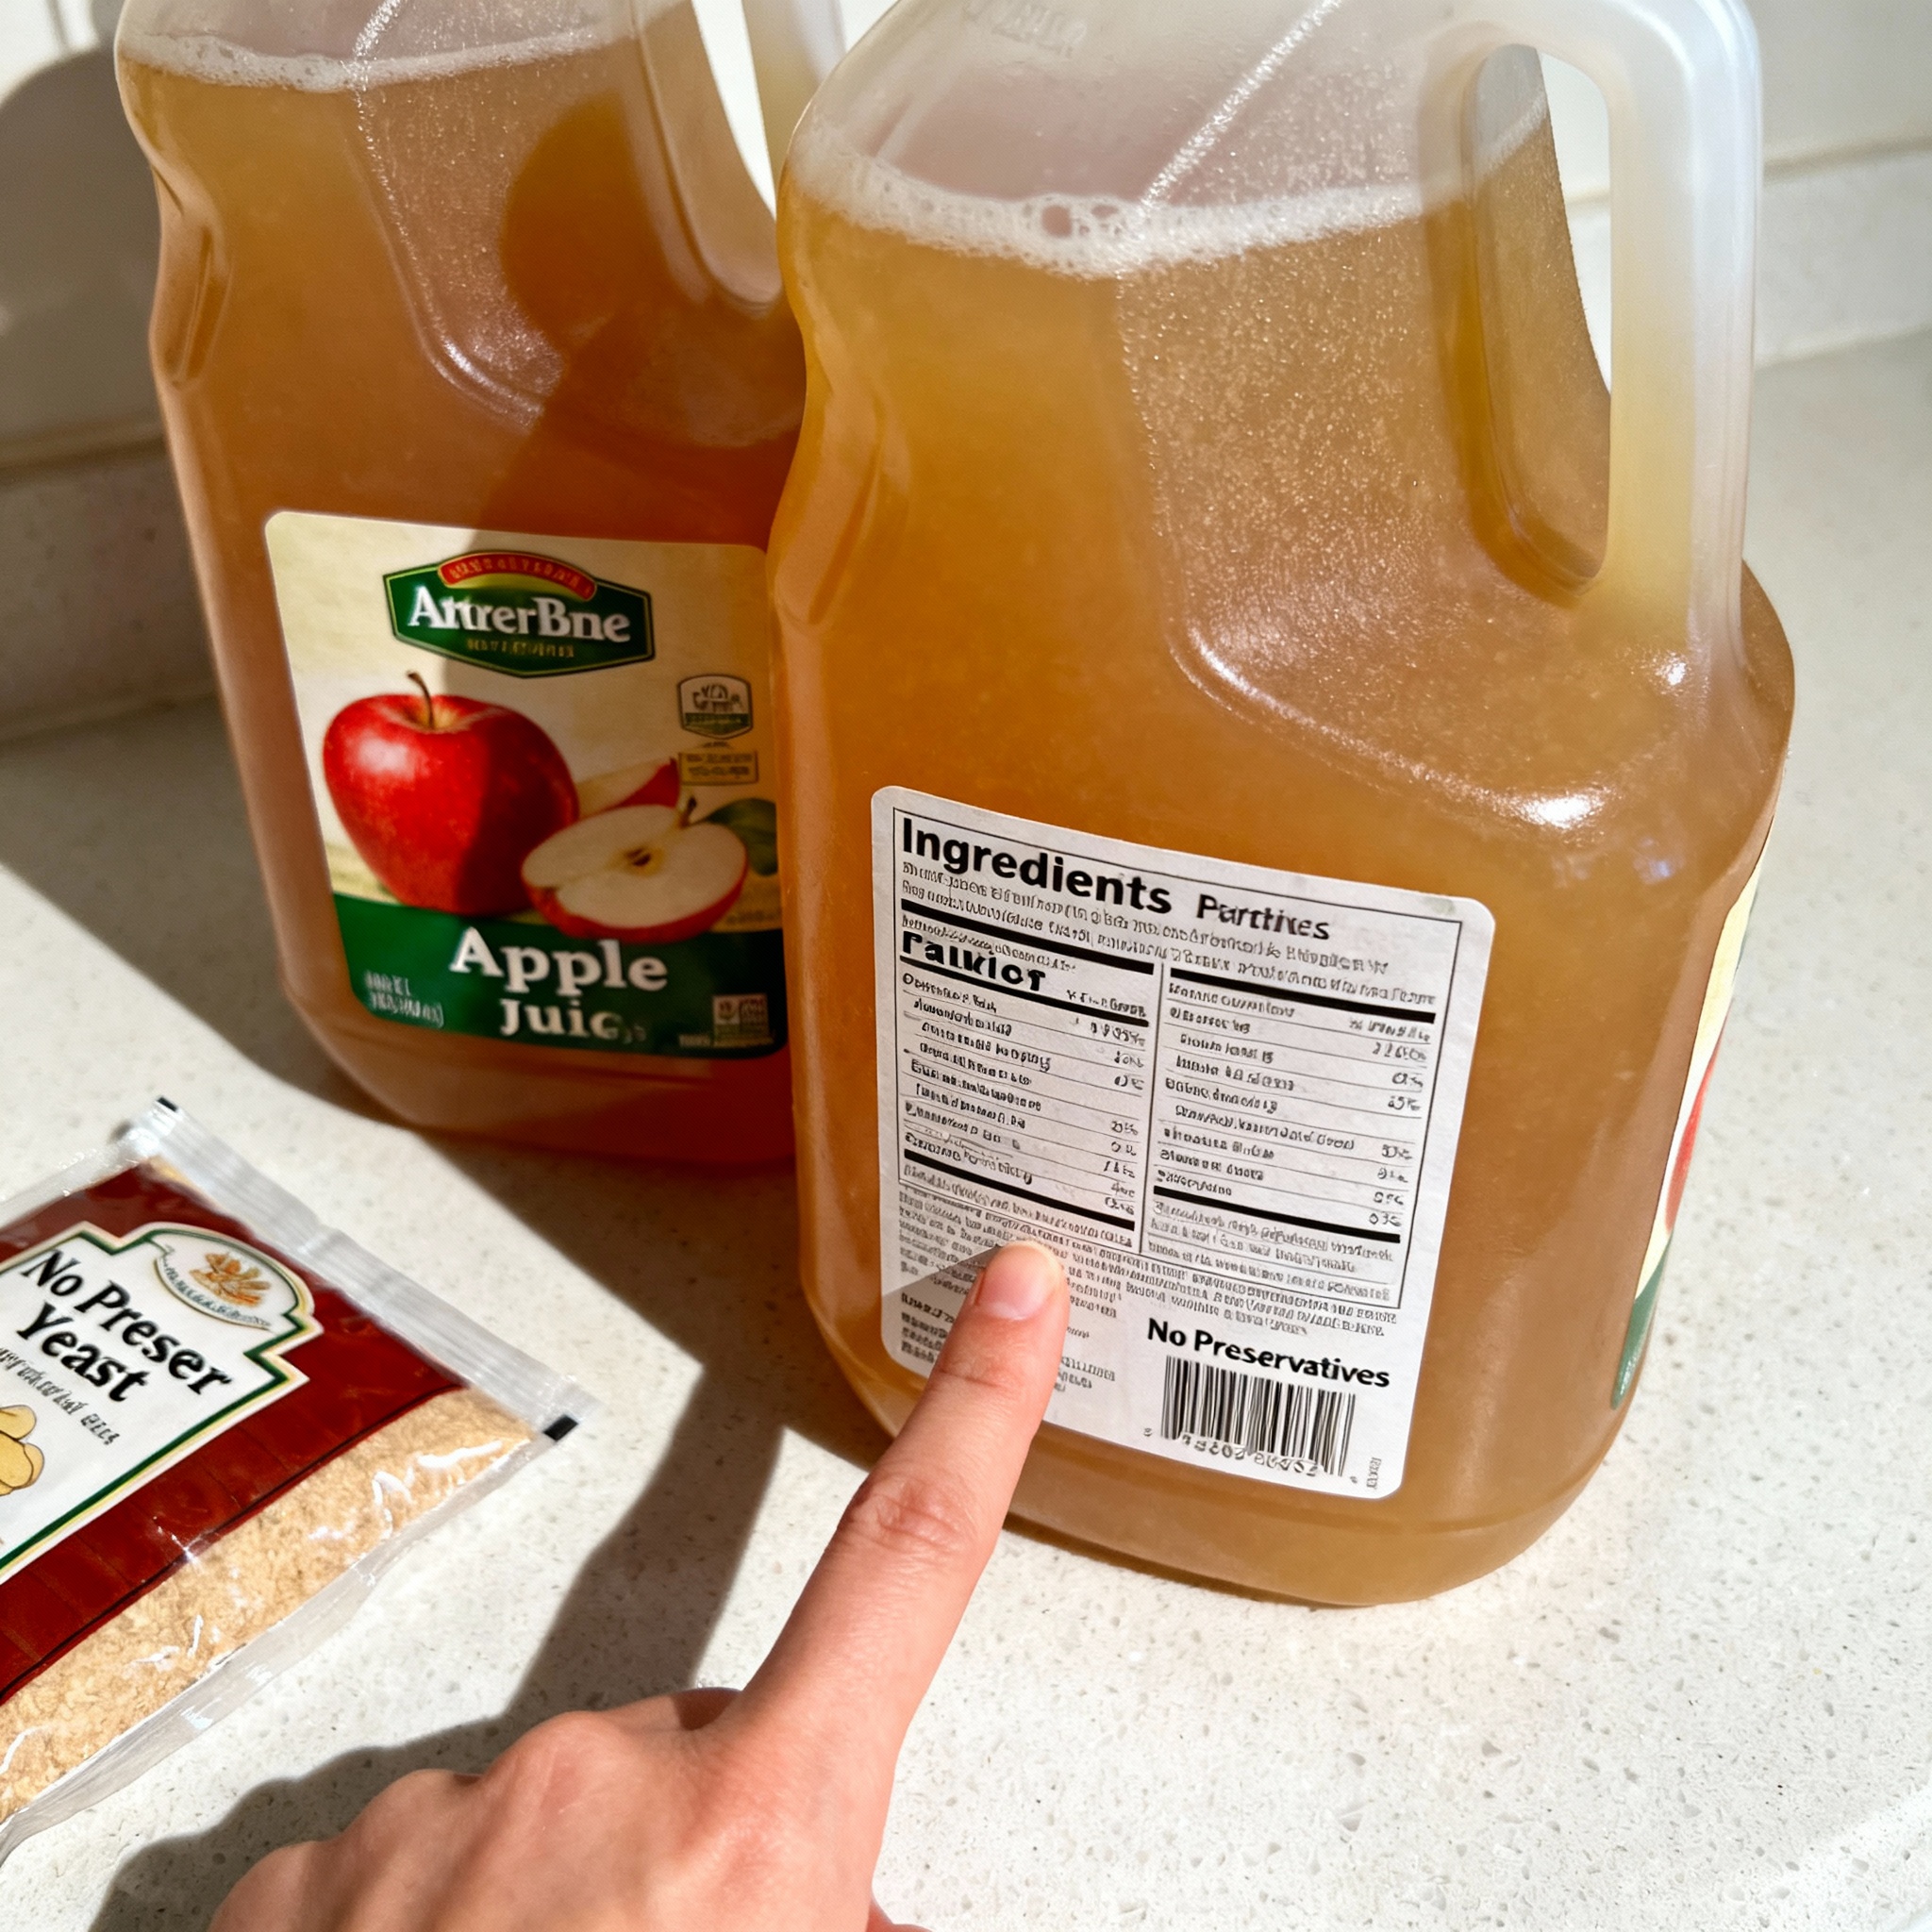
Store-bought juice is easier, but you have to read labels like your life depends on it. If you see potassium sorbate or sodium benzoate on the label, put it back.
These are preservatives that prevent fermentation. I made this mistake once and the specific gravity did not budge for a week.
If you are buying juice, go in late September or early October. Orchards press their best apples early in the season, and the juice is sweeter and fresher.
Yeast Selection: Flavor Profiles
Yeast choice determines whether your cider tastes like a drink or like regret. Champagne yeast is the most common choice, but it strips out all the apple character.
It makes cider that is dry, thin, and tastes like alcoholic water with a faint memory of apples. Ale yeast is the opposite; it leaves residual sweetness, adds fruity esters, and gives the cider more body.
I have had good results with Safale S-04. It ferments slower than champagne yeast and stops around 1.005 to 1.010, leaving a little sweetness behind.
Cider-specific strains like Mangrove Jack M02 and Lalvin 71B are the middle ground. M02 ferments cleaner than ale yeast but keeps more apple flavor than champagne yeast.
Lalvin 71B is capable of metabolizing up to 30% of the malic acid in the juice during fermentation. This “de-acidification” process results in a rounder, softer mouthfeel that is less abrasive than cider fermented with standard champagne strains.
If you are using ale yeast or a cider strain, rehydrate it in warm water (95 to 105 degrees Fahrenheit) for fifteen minutes before pitching to give the yeast a better start.
Nutrients: Avoiding the Sulfur Bomb
This is the section that most guides skip, and it is the reason so many batches smell terrible. Apples are naturally low in nitrogen, which yeast needs to build cell walls.
If the yeast runs out of nitrogen, it gets stressed and starts producing hydrogen sulfide (), which smells like rotten eggs or “rhino farts.” The smell is so bad it will clear a room. (See off-flavors for more).
The fix is adding yeast nutrient. Diammonium phosphate (DAP) is cheap and effective, but it can create harsh fusel alcohols if over-used.
I prefer complex blends like Fermaid-O, which contains vitamins and minerals. I add nutrients in two stages: once at pitch and once when the gravity drops to around 1.040.
Yeast Assimilable Nitrogen (YAN) is critical for fermentation health. Apple juice typically only has 30-50 mg/L of YAN, whereas most cider fermentations require 150-200 mg/L to avoid sulfur stress.
If you are using champagne yeast, you can get away with less nutrient because it is more tolerant of nitrogen deficiency. Ale yeast and cider strains need the full dose.
Back Sweetening: Locking in the Sugar
Most cider finishes bone dry. If you want sweetness, you have to add it back after fermentation.
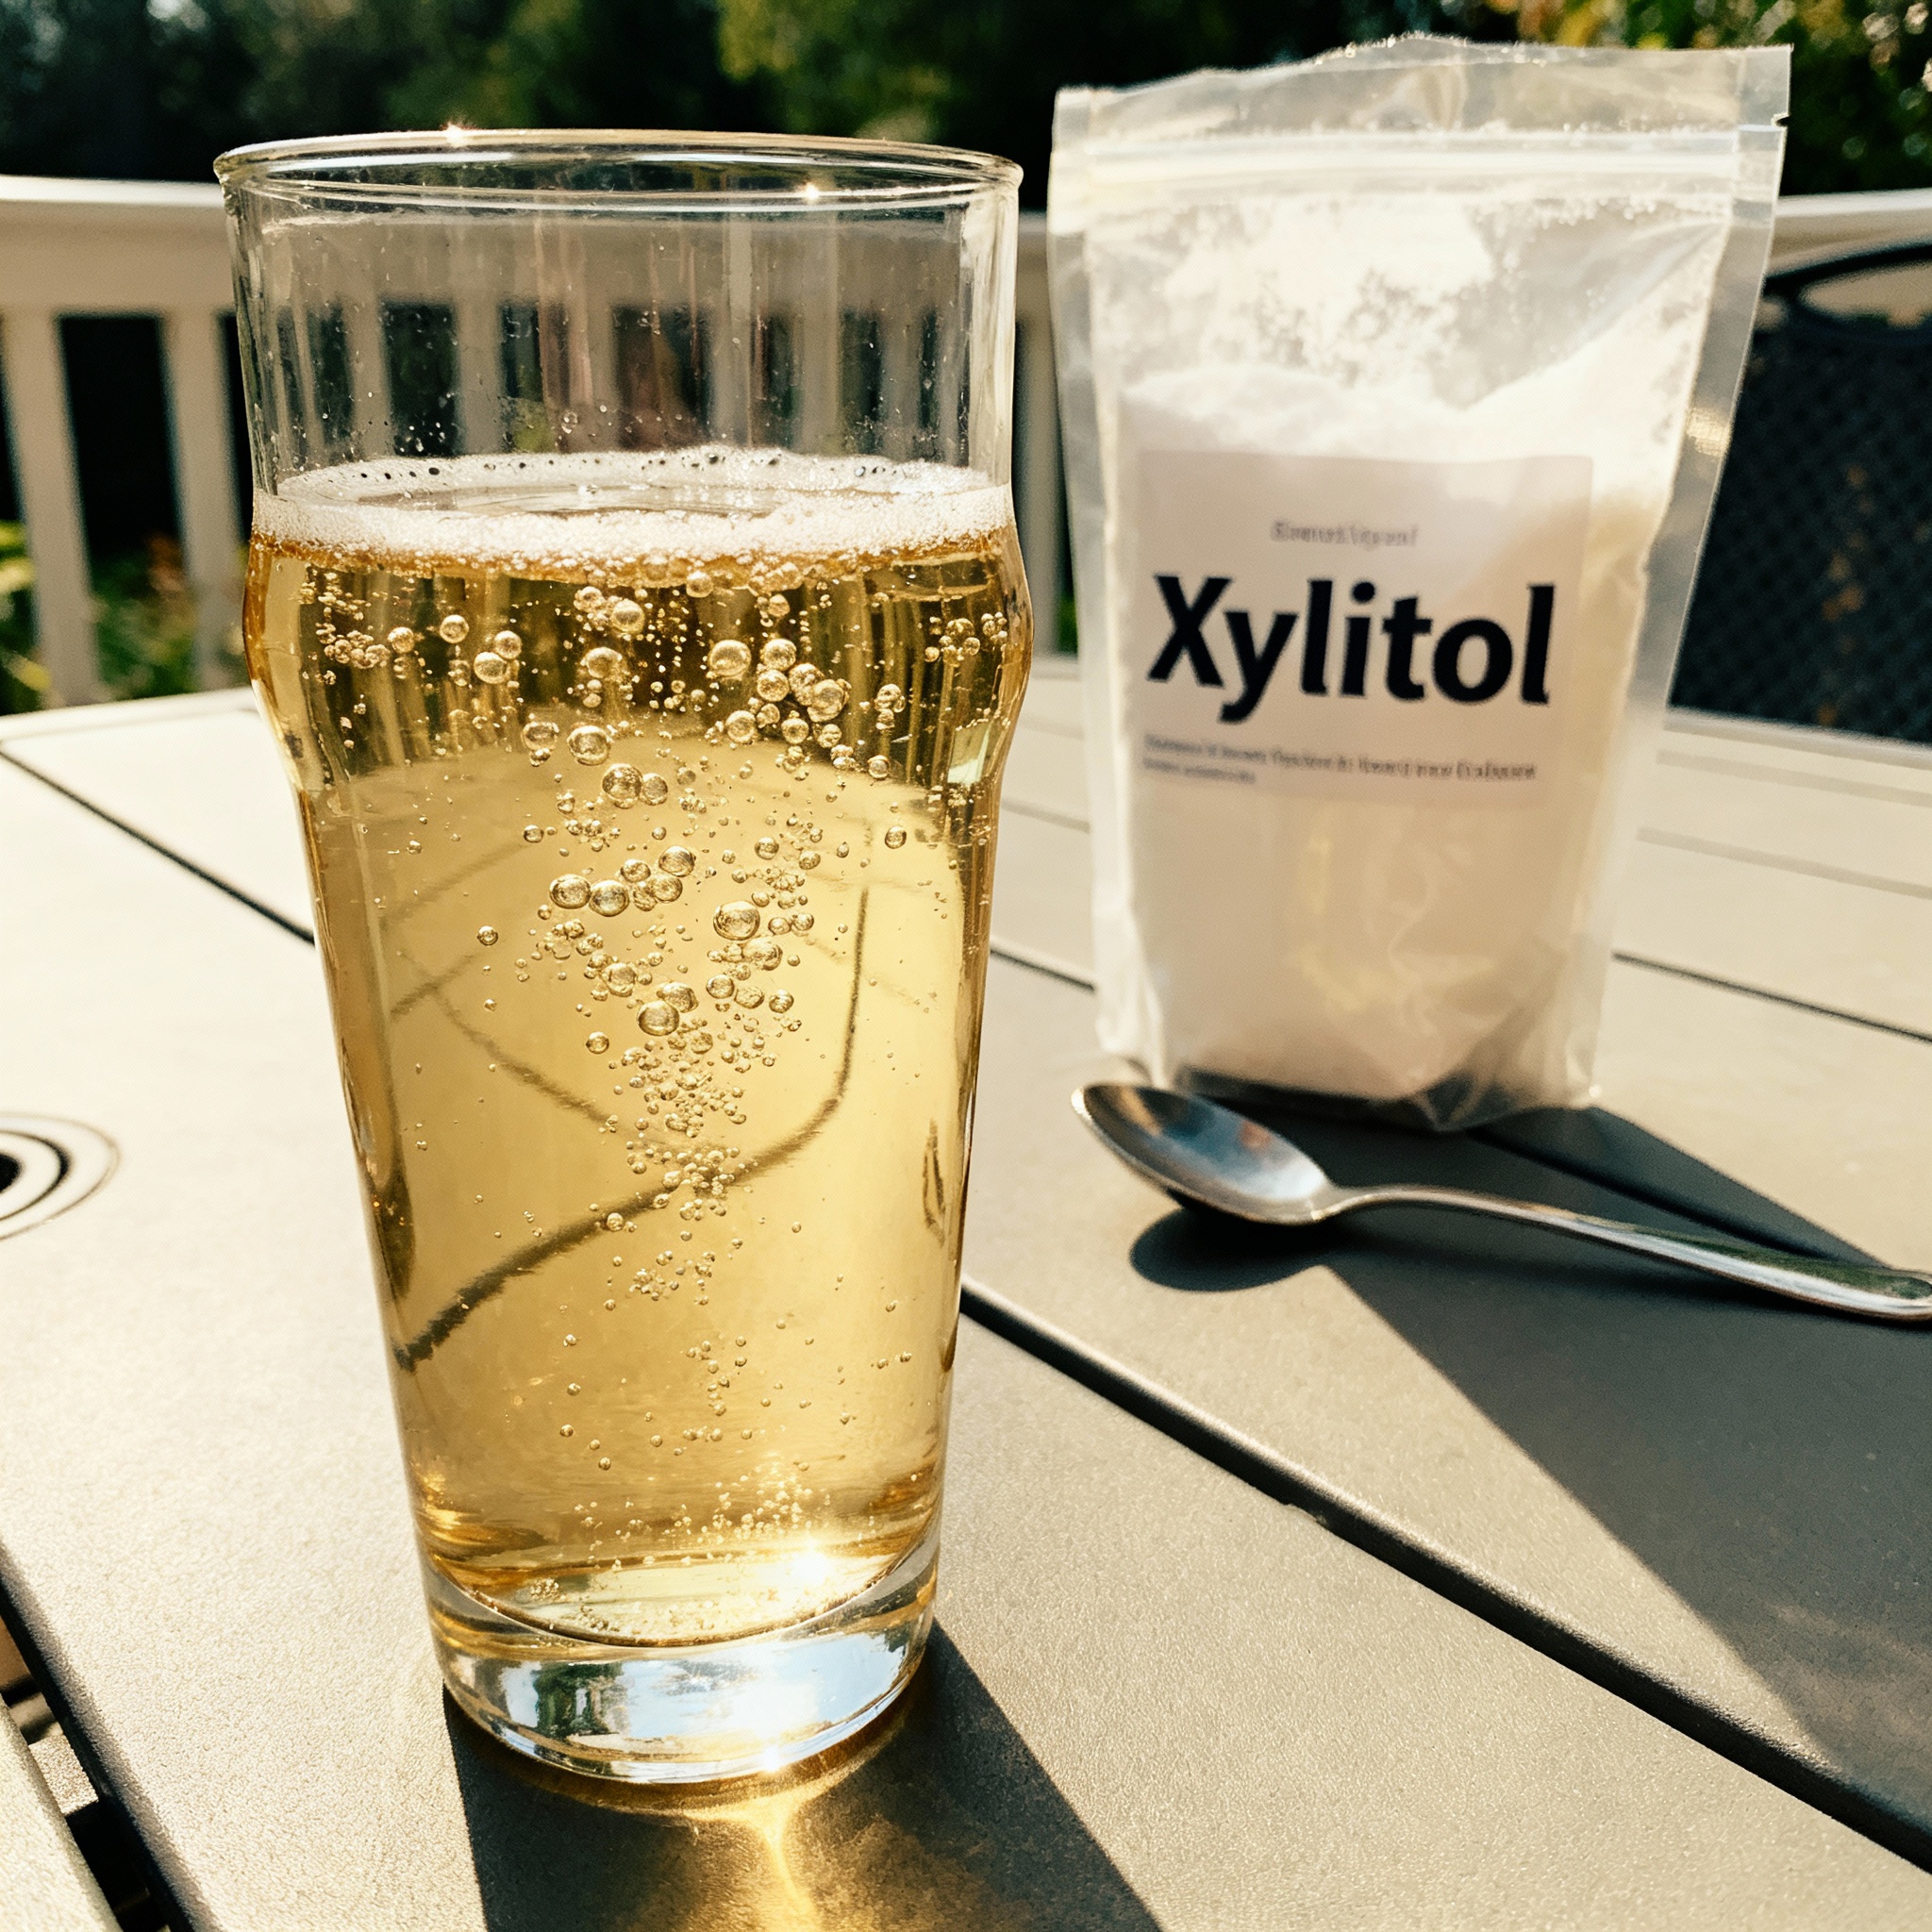
The simplest method is adding a non-fermentable sweetener like Xylitol. It tastes sweet, but yeast cannot digest it, so it won’t restart fermentation in the bottle.
Lactose is another option that adds a creamy, smooth sweetness. Because it doesn’t dissolve well in cold liquid, you have to heat a small amount of cider to dissolve it first.
If you want to use real sugar, you have to stop the yeast first via chemical stabilization or pasteurization. Chemical stabilization uses potassium sorbate and metabisulfite to stun the cells.
Pasteurization involve bottling with sugar and then heating the bottles in a water bath to 160 degrees Fahrenheit for ten minutes. This is effective but carries the risk of bottles exploding if you heat them too fast.
If you are using xylitol, dissolve it in a small amount of warm cider first before mixing it into the batch. It dissolves faster and distributes more evenly.
Graff: The Malt-Cider Hybrid
Graff is a blend of beer wort and apple juice that tastes like the best parts of both. You brew a small batch of wort using pale malt and boil it with a tiny amount of hops.
After cooling, you mix it with apple juice and ferment. The malt adds body and bready flavors, while the wort provides nutrients that keep the yeast healthy without extra additions.
I made my first graff using two pounds of Maris Otter and four gallons of juice. It finished with a nice apple-bread flavor and a hint of caramel.
Hops should be low-alpha European varieties like Saaz to avoid overpowering the fruit. Graff carbonates beautifully and pours with a white head that looks like a traditional wheat beer.
If you want a darker, richer graff, use Munich malt or add a quarter pound of caramel malt. It gives the cider a deeper amber color and toffee-like sweetness.
Conclusion
Making good cider requires paying attention to a few things that beer and wine makers often take for granted. Apples have less sugar, fewer nutrients, and a lower pH.
If you ignore these differences, you end up with cider that smells like a chemical spill. Use juice without preservatives, pick a yeast that matches your goal, and never skip the nutrients.
Cider improves significantly with time, and a batch that tastes harsh at two weeks can be incredible at three months. Take notes, measure your gravity, and learn from the batches that don’t go as planned.
Making cider that does not taste like rocket fuel is possible. It just takes planning, patience, and a willingness to learn from the “rhino farts.”
References
- University of Minnesota Extension. “Making Apple Cider.”
- Cornell Cooperative Extension. “Cider Production and Orchard Management.”
- Peckham, Annie. The Cider Maker’s Handbook. Voyageur Press, 2015.
- Proulx, Annie & Nichols, Lew. Cider: Making, Using & Enjoying. Storey Publishing, 2003.
- Jolicoeur, Claude. The New Cider Maker’s Handbook. Chelsea Green Publishing, 2013.