Going Electric: All-In-One Systems vs. DIY Elements
I killed my first batch of beer on a propane burner in my driveway at 11 p.m. on a Tuesday. The neighbors called to ask if I was okay because they heard the roar of the burner and saw steam billowing over the fence.
That was the night I realized I needed to move indoors. Propane doesn’t belong in a garage unless you want to explain to your insurance company why the ceiling is charred.
Electric brewing solved that problem with no open flame and no carbon monoxide. But the switch is not as simple as plugging in a kettle.
You need to understand voltage, heating elements, grounding, and ventilation. Get it wrong and you either wait three hours for water to boil or you trip a breaker every time you turn the system on.
Voltage Matters: 120V vs 240V
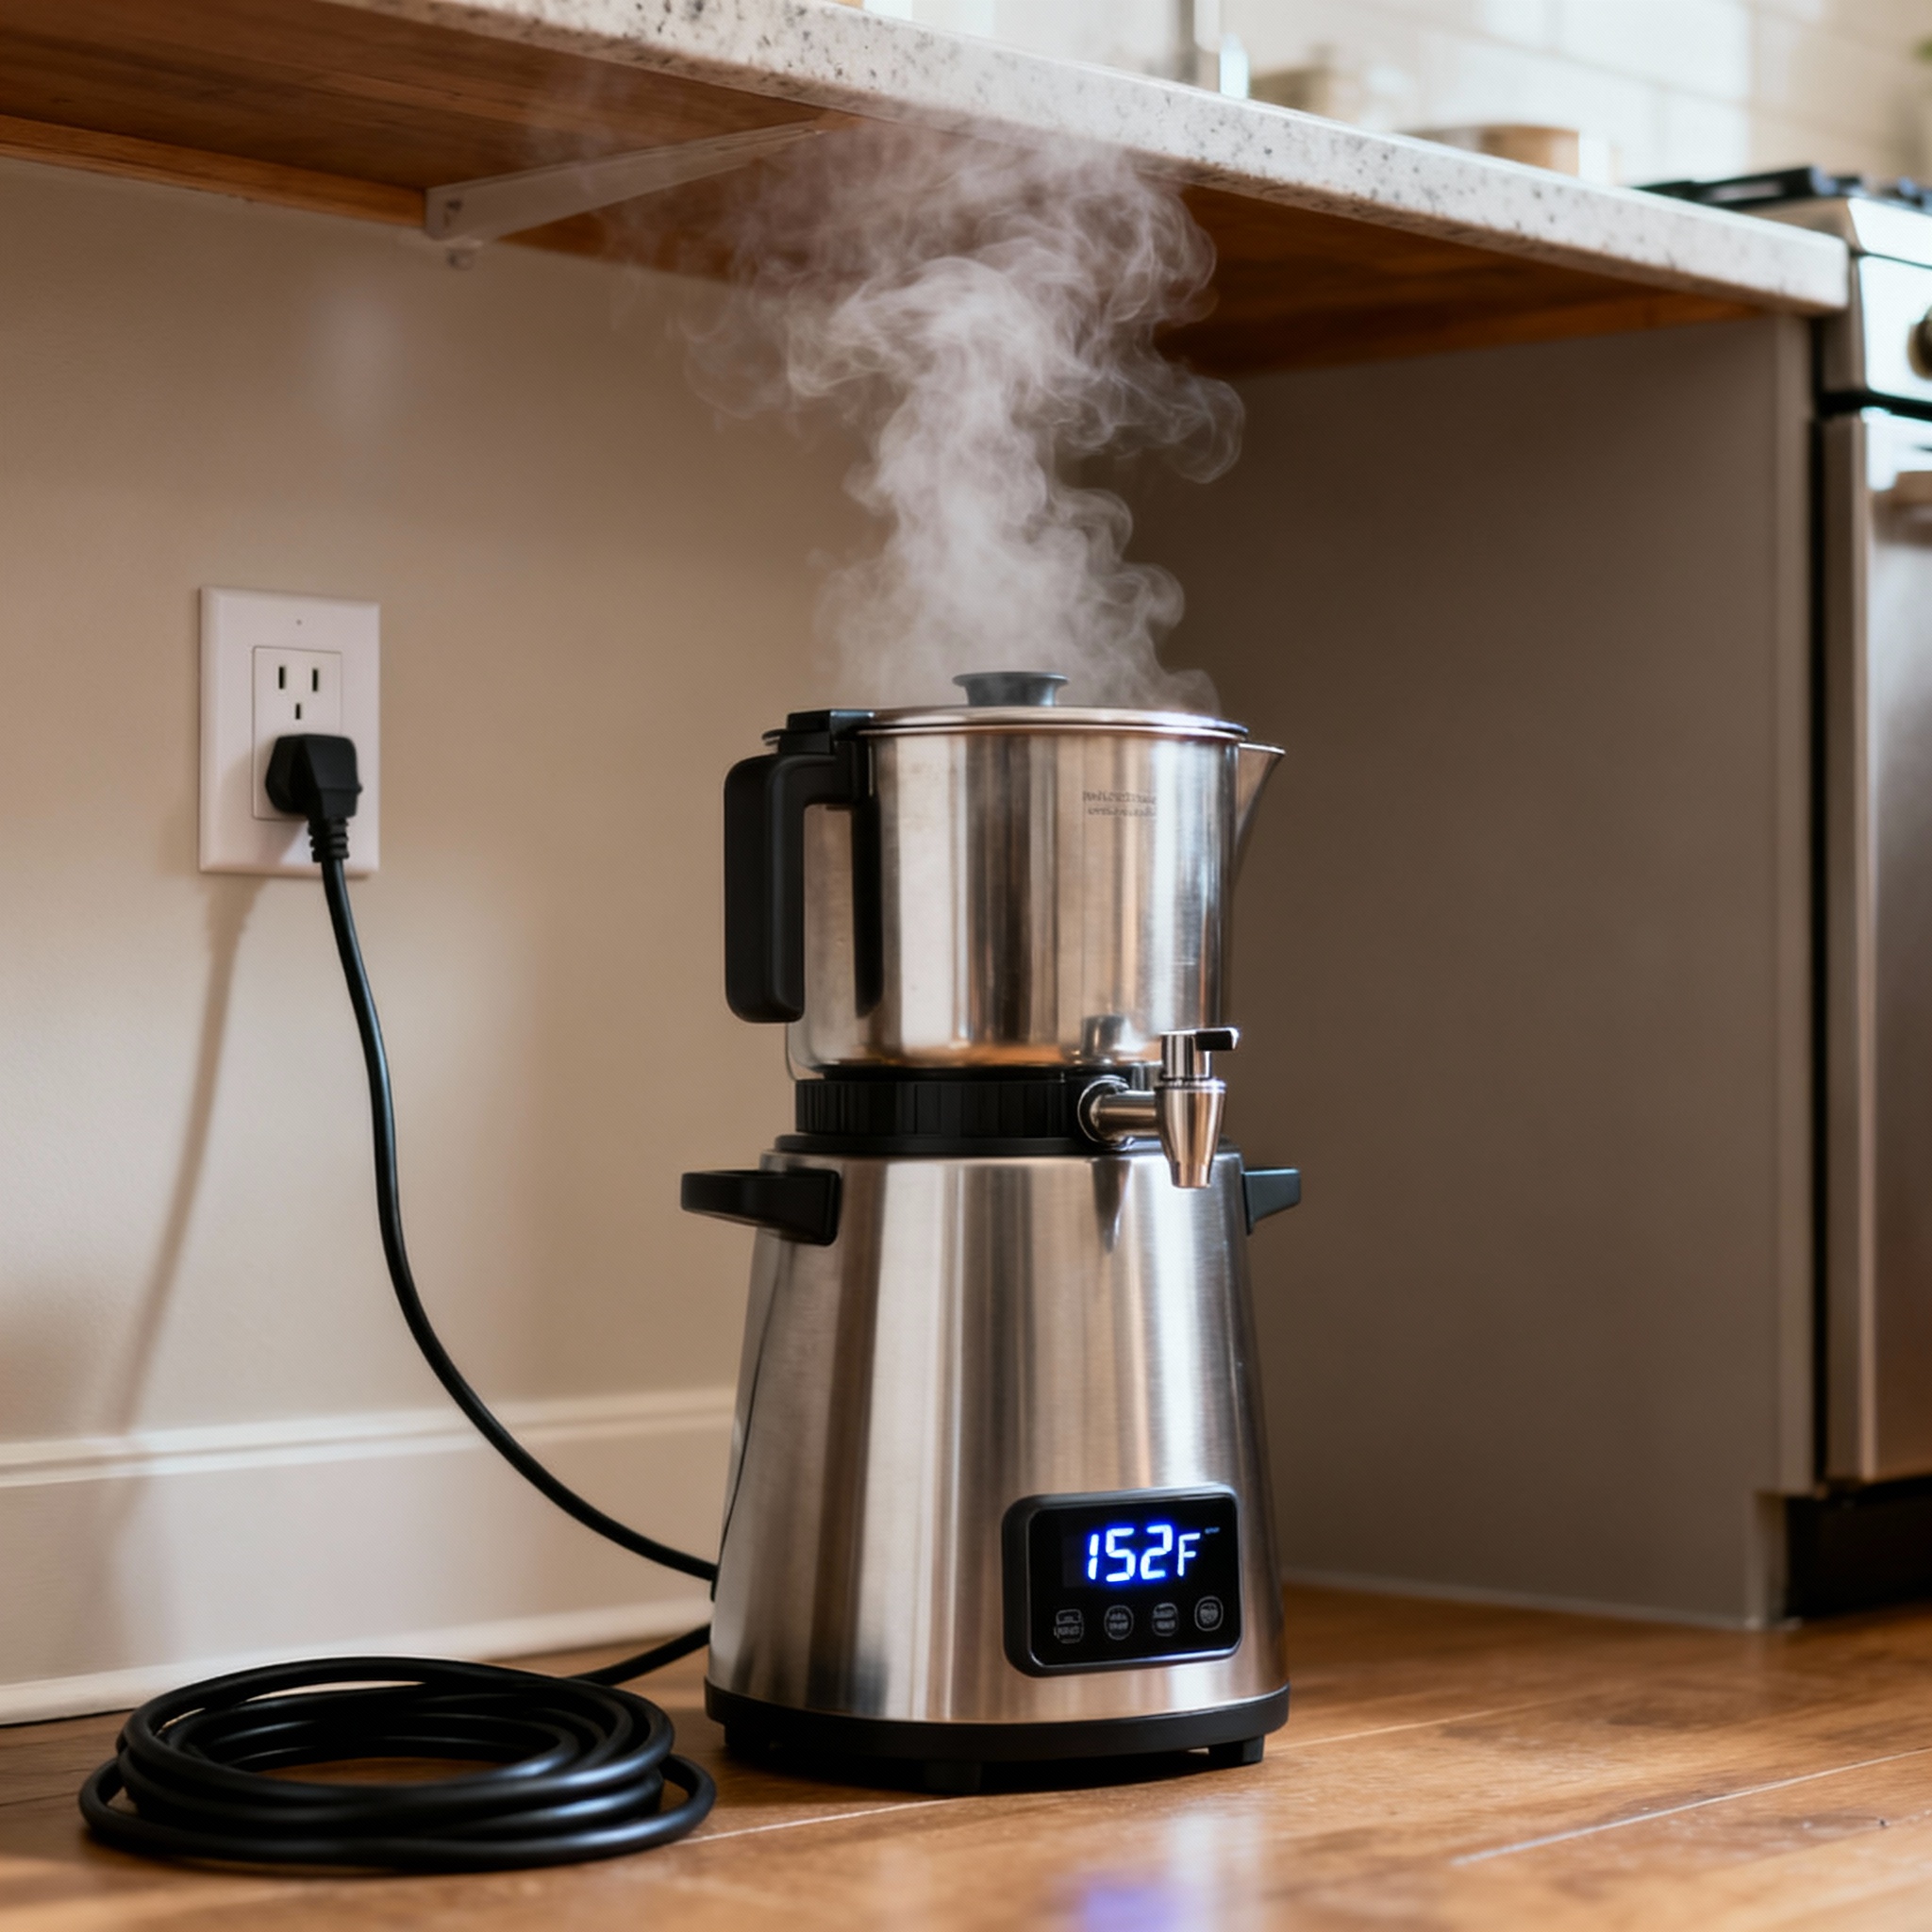
The first mistake I made was trying to brew on a standard 120-volt outlet. I filled my kettle with five gallons of water, turned on my 1500-watt element, and waited.
It took 90 minutes to get to for my mash. The problem was not the element; the problem was the voltage limitations of the circuit.
Electrical power is calculated using the formula , where is power in watts, is voltage, and is current in amperes. On a standard circuit limited to , your maximum theoretical power is , whereas a circuit at provides .
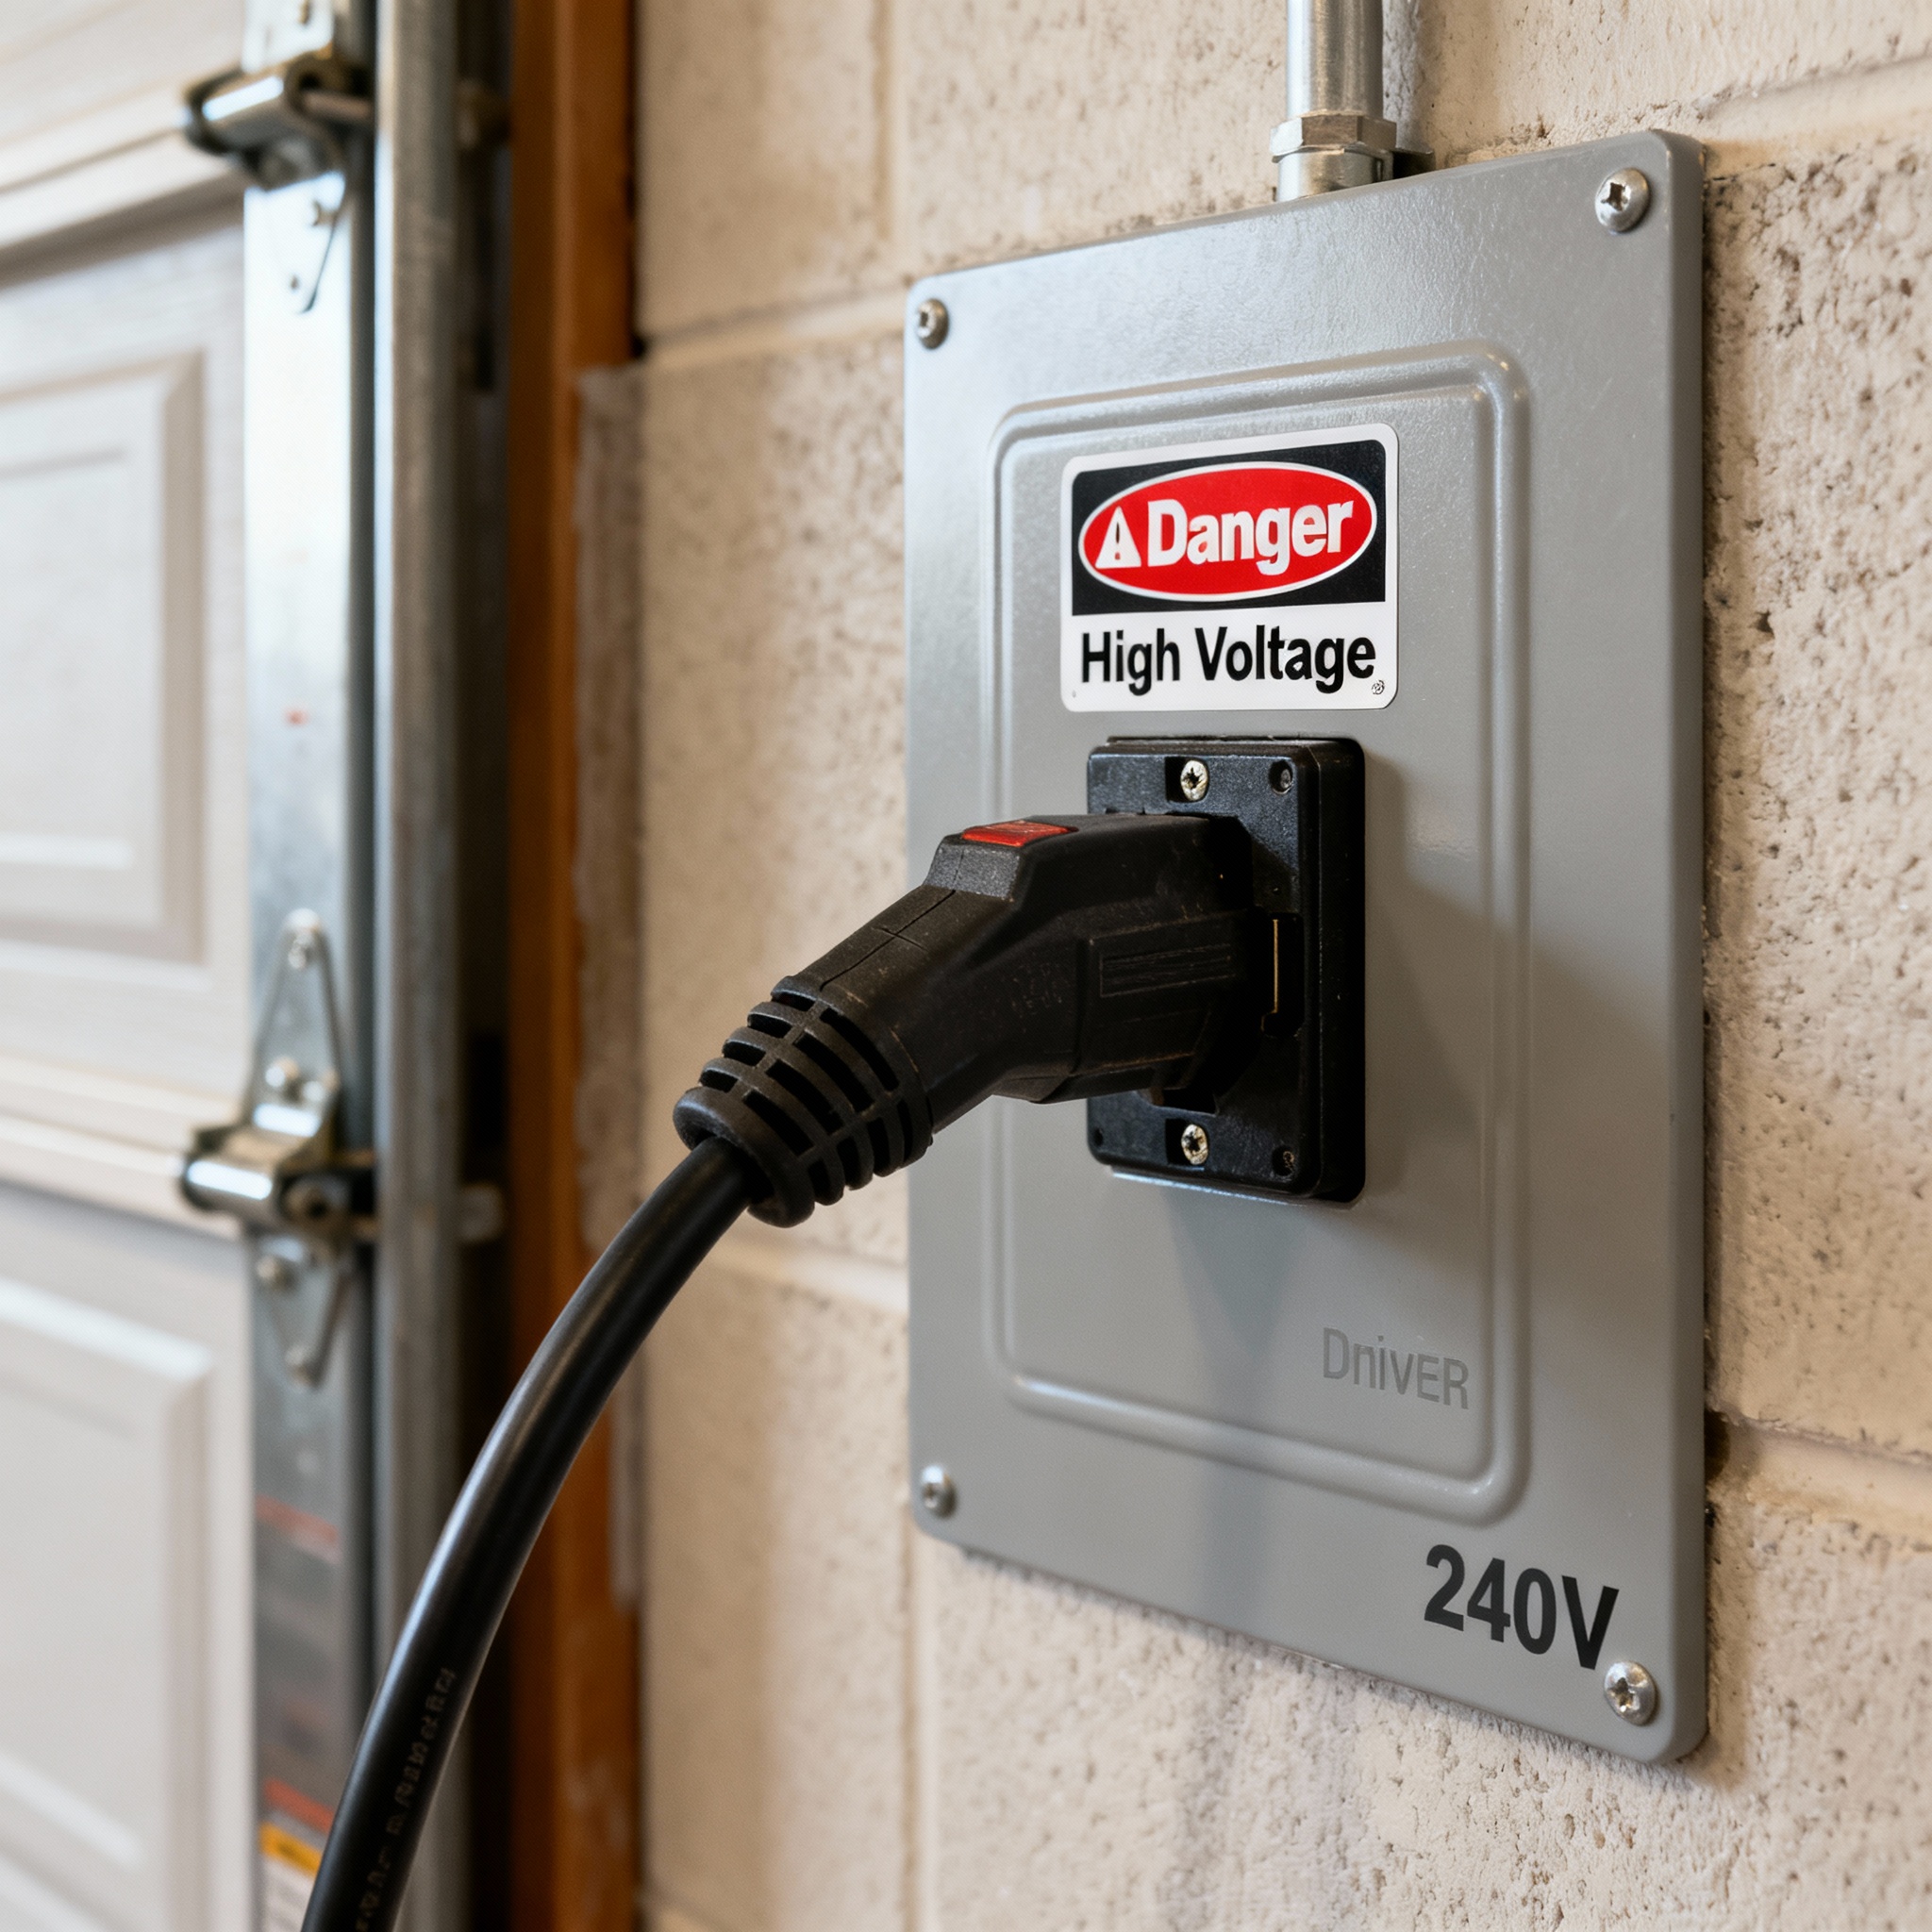
A 240-volt circuit changes everything. With 240 volts, you can run a 5500-watt element and bring six gallons of water to a boil in about 20 minutes.
The difference is not subtle. My brew day time dropped by two hours, the boil was vigorous, and the temperature ramp was fast. (See boil-off dynamics).
If you rent and cannot install a 240-volt outlet, stick with 120-volt all-in-one systems like the Brewzilla 35L. They are designed to work within the wattage limits of a standard outlet, but accept that your brew day will be longer.
All-In-One Systems: The Grainfather Approach
All-in-one systems are the easiest way to go electric. They combine a kettle, heating element, pump, and mash basket into one unit.
The Grainfather and Anvil Foundry are the big names in this space. They recirculate the wort during the mash, which keeps the temperature even and improves efficiency.
The heating element is often hidden under a false bottom to prevent grain scorching. The downside of all-in-one systems is cost and repairability.
If the heating element fails, you often cannot just unscrew it and buy a new one at a hardware store. You are locked into the manufacturer’s ecosystem.
You are also stuck with the system’s volume. A Grainfather G30 brews 6.5 gallons; if you want to brew 10 gallons, you need an entirely new system.
If you go with an all-in-one system, buy a longer hose for the pump. The stock hose is usually too short, and you will spend half your brew day wrestling with it.

DIY Electric BIAB: Installing Elements
Building your own electric brew kettle is cheaper and gives you complete control over the design. I installed a heating element into my existing 15-gallon stainless steel kettle using a weldless kit.
The first step is choosing an element. I used a 5500-watt ultra-low watt density (ULWD) element because it heats gently.
Standard elements concentrate heat in a small area, which can scorch the sugars and proteins in wort. ULWD elements spread the heat over a larger surface area to prevent this.
Wiring the element is where safety becomes paramount. I ran a 10-gauge wire from my breaker box to a GFCI-protected outlet.
I also installed a ground wire to the kettle itself. If the element shorts out, the ground wire carries the current away from you and trips the breaker.
Use dielectric grease on all electrical connections. Water and electricity do not mix, and even a small amount of condensation can cause a short.
Ventilation: The Steam Slayer
During a one-hour boil, you evaporate about a gallon of water. If you are brewing in a small garage or basement, you will turn the space into a sauna.
I learned this the hard way when the humidity in my garage hit 90 percent and the walls started dripping. You have two options: exhaust the steam outside or capture it.
I built a steam condenser, also called a “steam slayer.” It uses a cold water coil to turn steam back into liquid before it spreads.
If you are using a steam condenser, run the coldest water you can through the coil. The colder the water, the more steam you will condense.
Scorching Elements and Cleaning
Scorching happens when sugars stick to the heating element and burn. Once they burn, they create harsh, bitter off-flavors in your beer.
The best prevention is using a ULWD element and stirring the wort during the mash. Recirculating with a pump is even better for maintaining uniform temperature.
Dimethly Sulfide (DMS) is a sulfur compound that smells like cooked corn. In electric systems with weak boils, precursors are not properly volatilized. Ensuring a vigorous boil through proper wattage is critical for clear, professional-tasting lagers.
If you do scorch the element, clean it immediately. I use Bar Keeper’s Friend or a soak in Powdered Brewery Wash (PBW) overnight.
PBW is a caustic cleaner that breaks down proteins without damaging stainless steel. You can also prevent scorching by mounting the element a few inches up the side of the kettle.
If you scorch a batch, do not panic. Let the wort settle for 10 minutes, then carefully transfer it to the fermenter without disturbing the bottom.
Conclusion
Electric brewing is about control. You can brew indoors, maintain precise temperatures, and avoid the hassle of propane tanks.
If you want simplicity, buy an all-in-one system. If you want flexibility and lower cost, build your own DIY setup.
Either way, never skip the safety measures. Electricity is not forgiving, but when managed correctly, it creates the perfect foundation for a consistent garage lab.
References
- Palmer, J., & Kaminski, C. Water: A Comprehensive Guide for Brewers. 2013.
- National Electrical Code. Article 210.8 - GFCI Protection Requirements. 2020.
- Brülosophy. “Electric vs. Propane Brewing: Efficiency and Boil-Off Rates.” 2018.
- UC Davis. “DMS Formation During Wort Boiling.” Department of Viticulture and Enology, 2019.