Is My Fermentation Stuck? A Troubleshooting Flowchart.
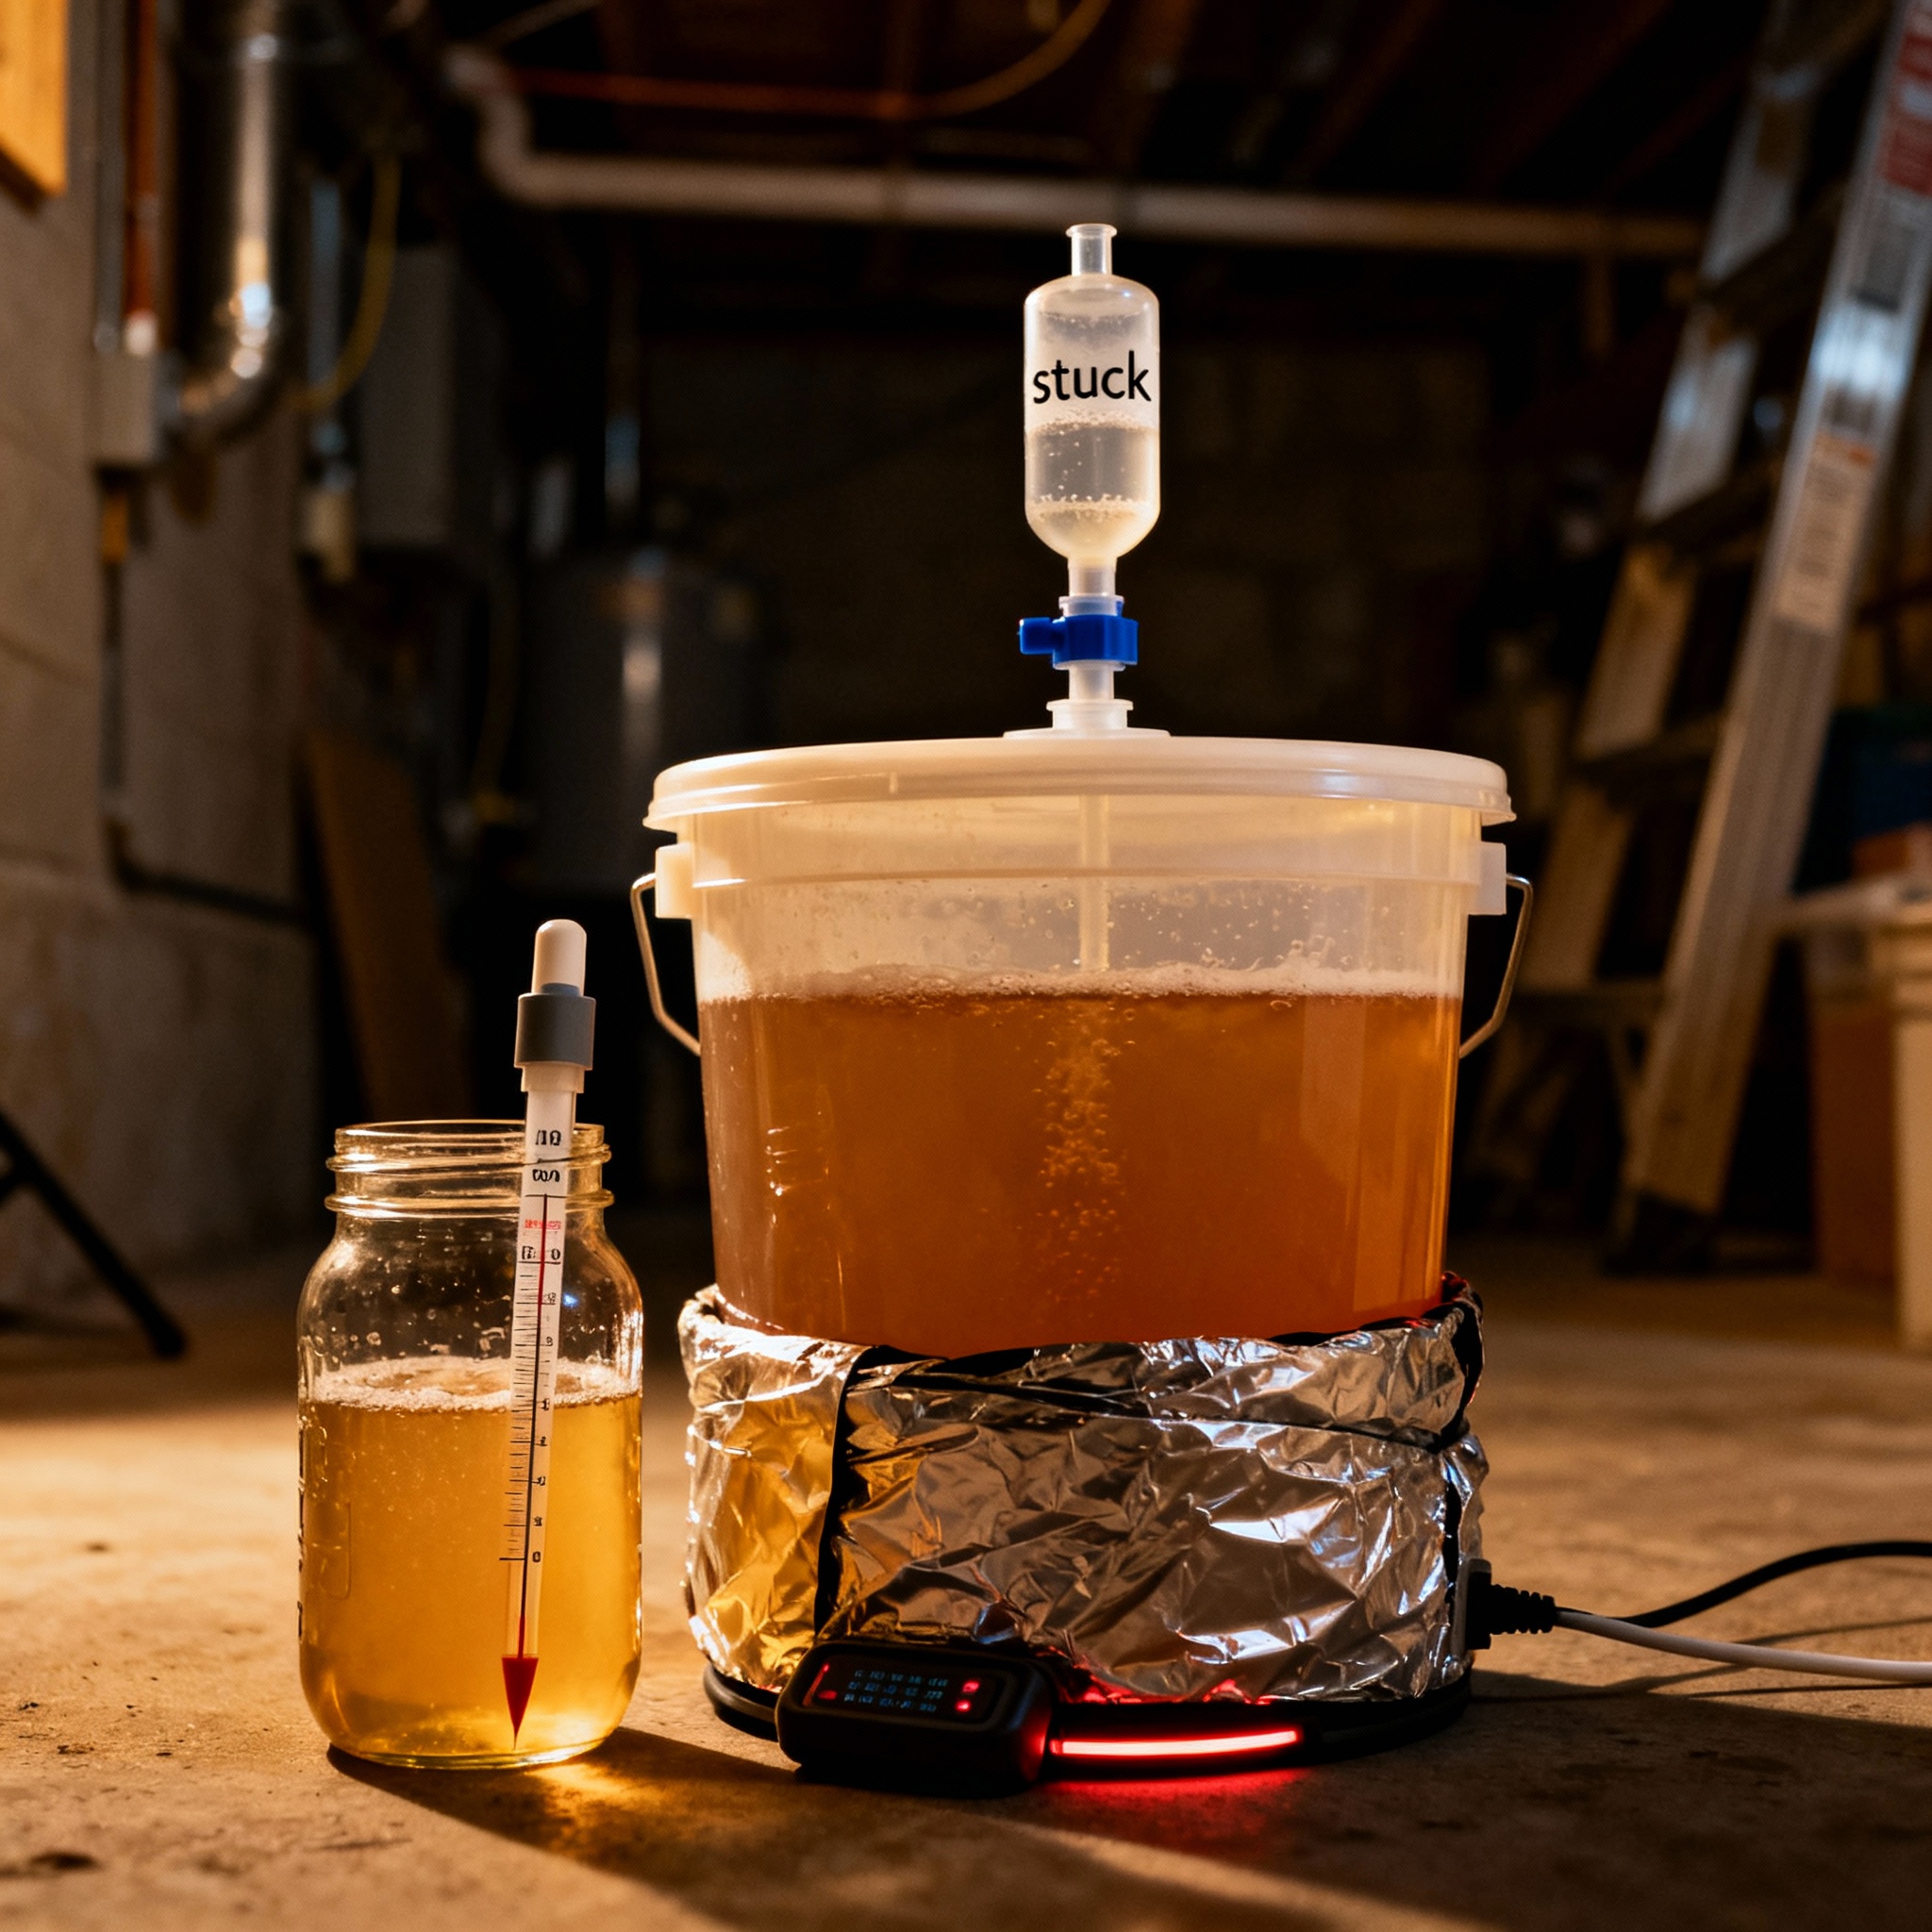
I came home from a three-day work trip last month and found my pale ale sitting in the fermenter with a completely silent airlock. No bubbles. No hiss. Just dead air.
My first thought was panic. The second thought was to text my friend who homebrews, which would have been useless because he would have just told me to “give it time, man.”
My third thought, the correct one, was to sanitize my hydrometer. Here’s what I need you to understand before we go any further.
Airlock activity is not fermentation; it is just gas escaping. Sometimes fermentation happens without visible bubbles because your lid doesn’t seal perfectly or because CO2 is dissolving into the liquid.
Sometimes you get bubbles even though fermentation finished two days ago and the temperature change is just pushing out residual gas. The airlock is a liar that tells stories, but the hydrometer tells you the truth.
This guide is not about “waiting and seeing.” It’s about measurement, diagnosis, and decision-making.
If your fermentation actually stalled, we’ll fix it. If it just finished early and you’re worried for no reason, I’ll show you how to know that too.
The Gravity Check: The Only Truth Teller
Before you do anything else, you need to take a gravity reading. Sanitize your hydrometer, your test jar, and your wine thief or turkey baster.
Pull a sample, read the number, and write it down with a timestamp. Do not skip this step.
If your gravity has dropped since the last reading, fermentation is still happening. It might be slow or even invisible, but it’s happening.
I’ve had batches that went from 1.018 to 1.012 over the course of a week with zero airlock activity. The yeast were working, but the seal on my bucket lid was just bad.
If your gravity hasn’t moved in three days, then yes, you might have a problem. But you need that baseline to know where you started and where you are now.
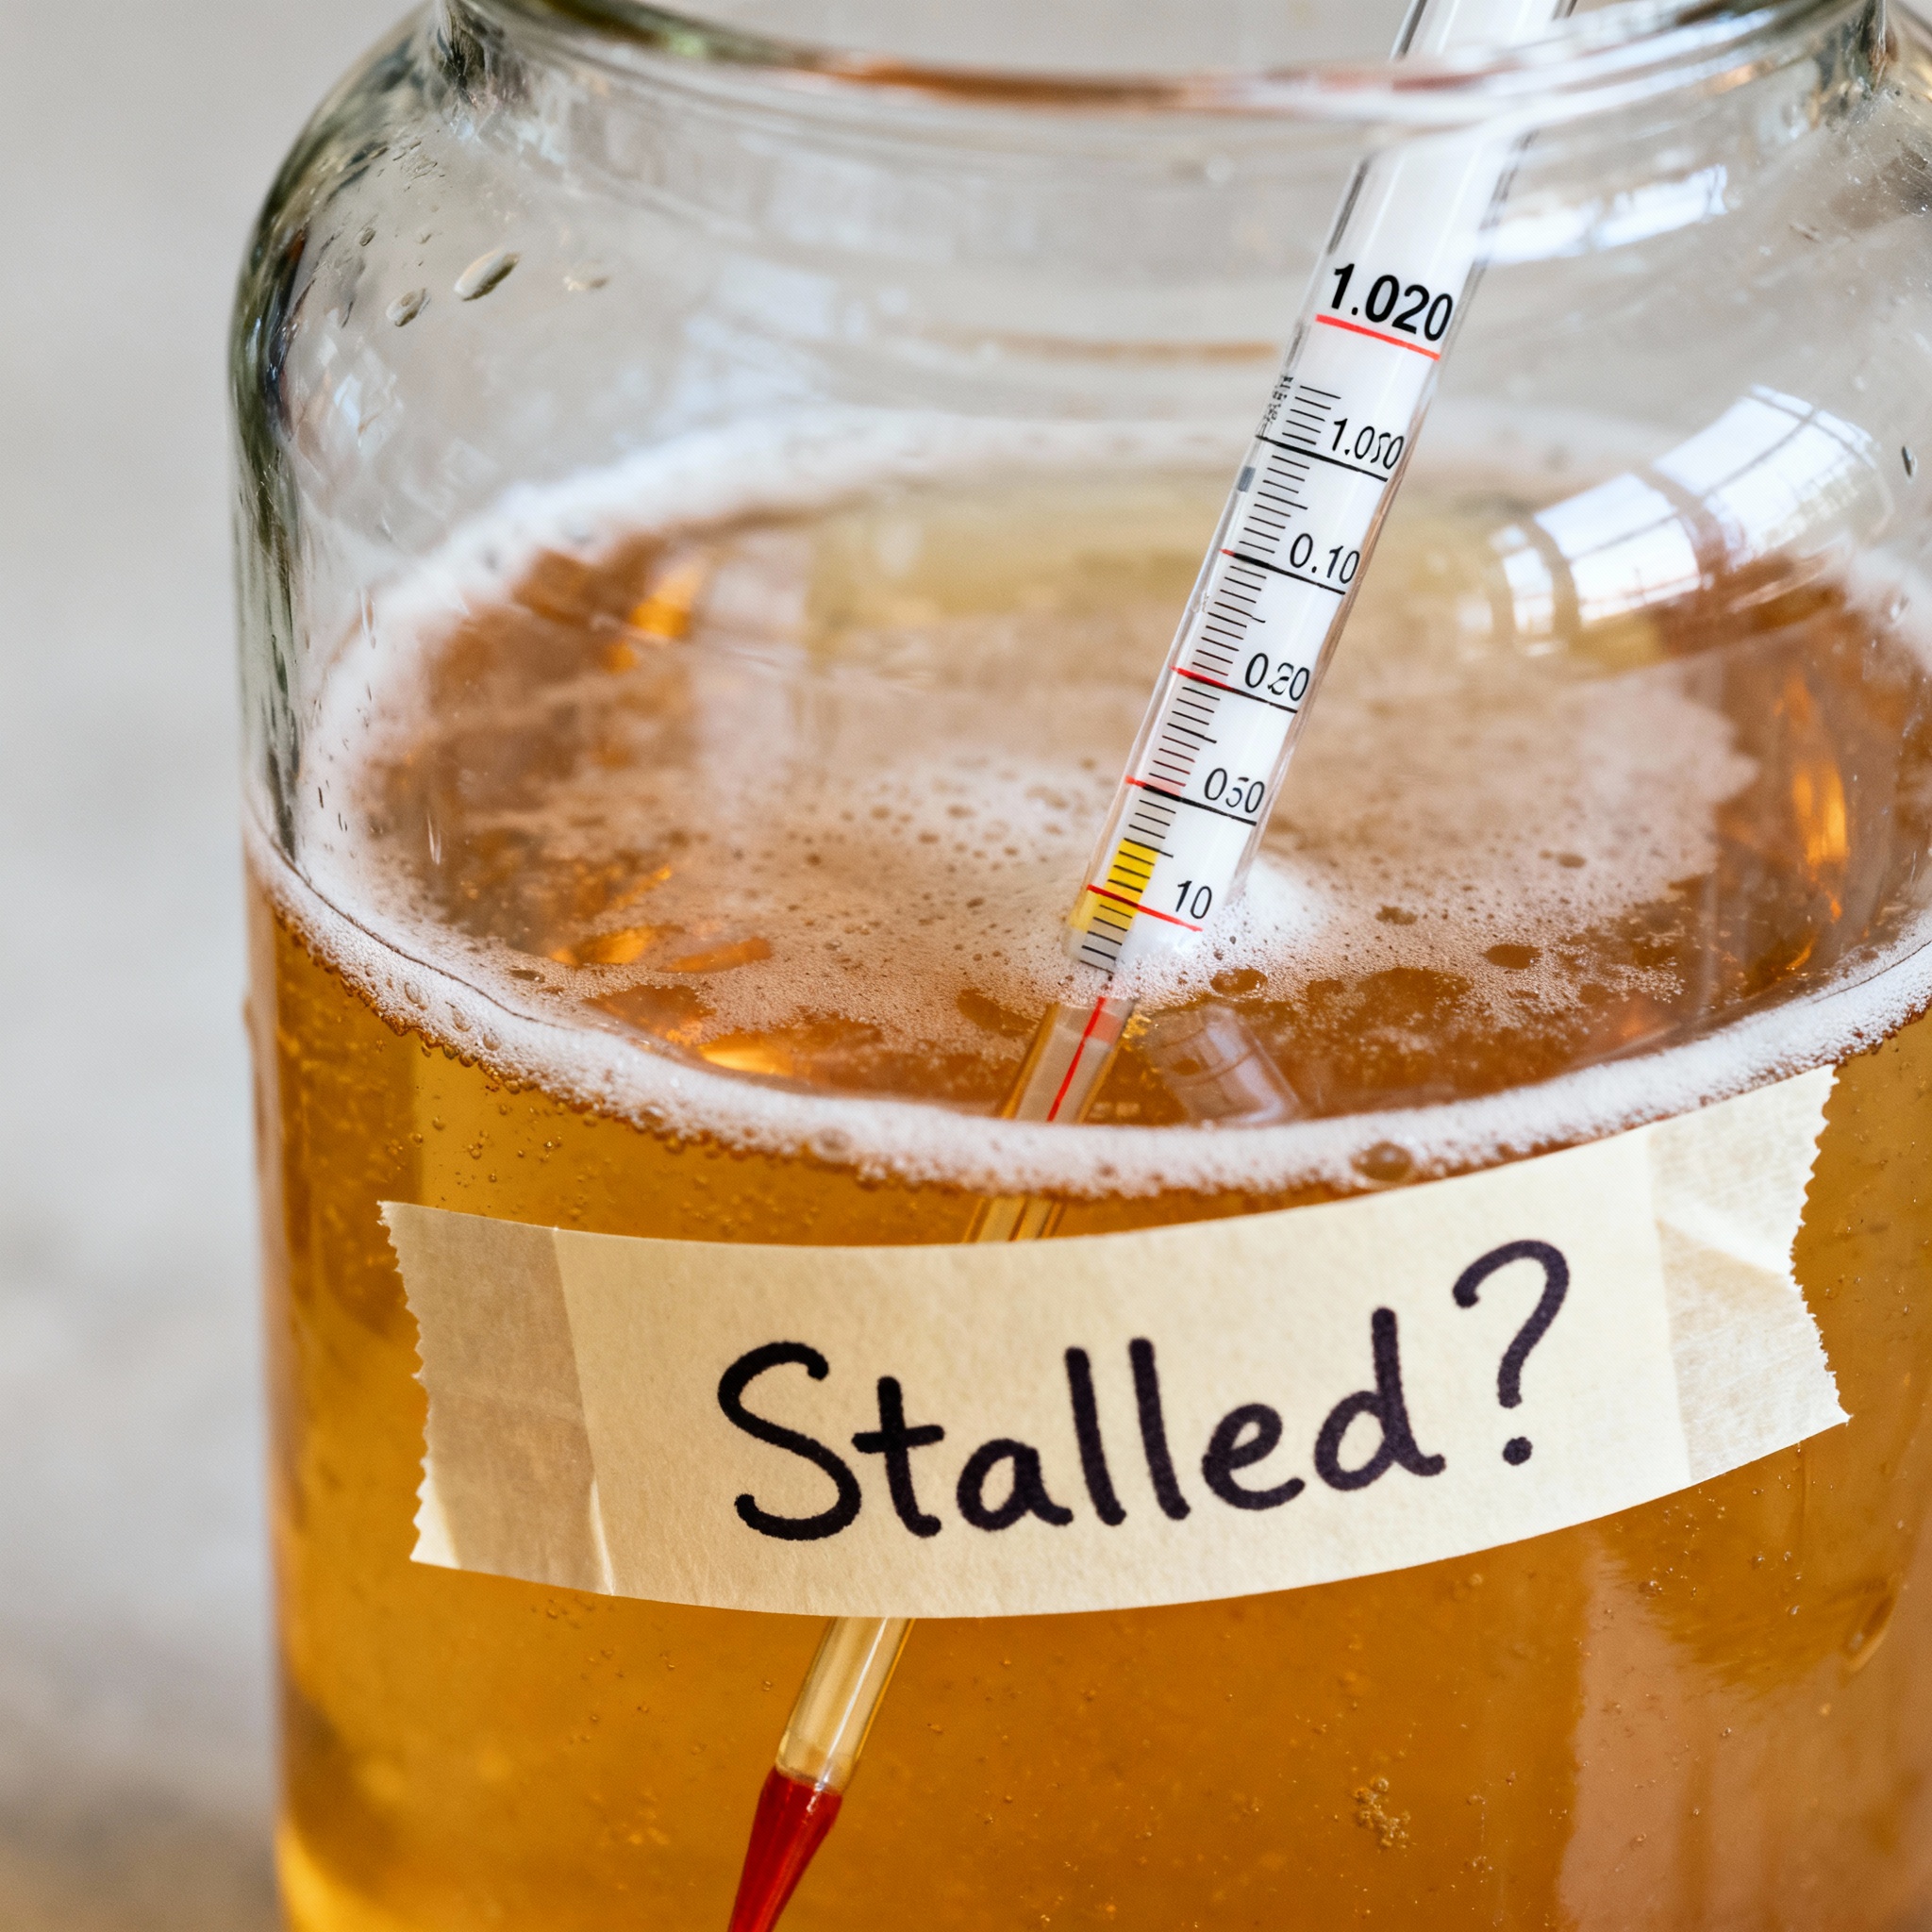
If you pitched yeast into a 1.050 wort and you’re currently sitting at 1.012, your fermentation is not stuck; it is simply done. Your yeast hit their alcohol tolerance or ran out of fermentable sugar.
If you’re at 1.030 and it’s been sitting there for four days, then we have work to do. The target final gravity depends on your recipe.
Most ale yeasts will take a normal beer down to somewhere between 1.008 and 1.014. High-gravity beers might finish at 1.020 or higher.
If you don’t know what your target should be, use a calculator. Brewer’s Friend has a good online Brew Calculator where you can plug in your grain bill and yeast strain to estimate your final gravity.
Take two gravity readings 24 hours apart. If both readings are identical, fermentation is done. If the second reading is even one point lower, it’s still active.
I also recommend taking a small taste of that sample. I know it’s flat and warm and weird, but it will tell you things.
If it tastes sweet, you’ve got residual sugar and the yeast quit early. If it tastes dry and slightly bitter, fermentation probably ran its course. Write down what you taste, because sensory notes matter.
Temperature Shock: Dormancy from Cold
Yeast are not machines; they are living organisms that hate sudden cold. If your fermenter dropped below 60°F for ale yeasts or 50°F for lager yeasts, they likely went dormant.
They didn’t die, they just stopped moving. I learned this the hard way three winters ago while fermenting a brown ale in my garage in January.
The first two days were fine, but then the temperature dropped to 55°F overnight and the fermentation just stopped. I panicked and posted on a forum, where someone told me to warm it up and rouse the yeast.
Rousing means gently swirling or rocking the fermenter to get the yeast back into suspension. If they’ve settled to the bottom in a dormant layer, they need to be woken up and redistributed.
Move your fermenter to a warmer spot and aim for the middle of your yeast’s temperature range. For most ale yeasts, that’s around 68°F. For lager yeasts, it’s closer to 52°F.
Let it sit for an hour, then gently rock the fermenter back and forth a few times. Do not shake it violently; you’re not making a cocktail.
Within 12 hours, you should see activity restart as the yeast realize there’s still sugar around. If you don’t see any change after 24 hours, check the gravity again.
If it’s moved even a point, you’re good. If it hasn’t moved, we’re moving to the next step.
Invest in a stick-on thermometer strip for your fermenter. They cost two dollars. I put one on every vessel I use as it is the easiest way to catch a temperature problem before it kills your batch.
One more thing: do not heat your fermenter with a hair dryer or put it next to a space heater. Rapid temperature swings stress the yeast even more.
Gradual warming is the goal. I use a seedling heat mat under my fermenter and a towel on top to bring the temperature up slowly over a few hours.
The Extract Twang Stall: The 1.020 Curse
If you’re an extract brewer and your beer stalled out at 1.020 or higher, this section is for you. If you’re an all-grain brewer, you can skip ahead.
Malt extract sometimes contains unfermentable sugars that yeast can’t process, often referred to as “dextrin” or “extract twang.” This is the reason many extract beers finish sweet and thick. (See attenuation limits).
Your yeast didn’t necessarily fail; the sugar you gave them was simply the wrong kind. I ran into this with a kit beer that stopped at 1.022 instead of the target 1.012. (Sometimes poor flocculation can make readings confusing, but gravity is king).
I waited a week and warmed it up, but nothing changed. I finally accepted that the beer was done, bottled it, and drank it.
It was a little sweeter than I wanted, but fine. If you’re stuck in the 1.018 to 1.024 range, the problem is likely your extract.
You can still drink the beer, or you can try to push the gravity lower by adding simple sugar. Add about four ounces of table sugar dissolved in a cup of boiling water per five gallons.
Let it cool to room temperature, then pour it into the fermenter. Wait three days and check the gravity again.
Liquid Malt Extract (LME) is produced through enzymatic conversion of barley. If the mash temperature during production was too high, the resulting syrup contains long-chain carbohydrates (dextrins) that brewers’ yeast cannot metabolize, leading to an artificially high “stuck” gravity reading.
If you’re using liquid malt extract, buy the freshest you can find and store it in the fridge. Old extract develops more unfermentable sugars over time. I switched to DME (Dry Malt Extract) years ago and never looked back.
Repitching: Adding New Yeast
If your gravity hasn’t moved in three days and your temperature is stable, it’s time to consider repitching. This means adding fresh yeast to a fermentation that’s already in progress.
First, consider if the yeast you originally pitched are actually dead or dormant. If you under-pitched, the cells might have burned out before finishing the job.
If you pitched old yeast or didn’t rehydrate properly, they might not have been viable to begin with. Also, if your wort was over 80°F when you pitched, you might have killed them.
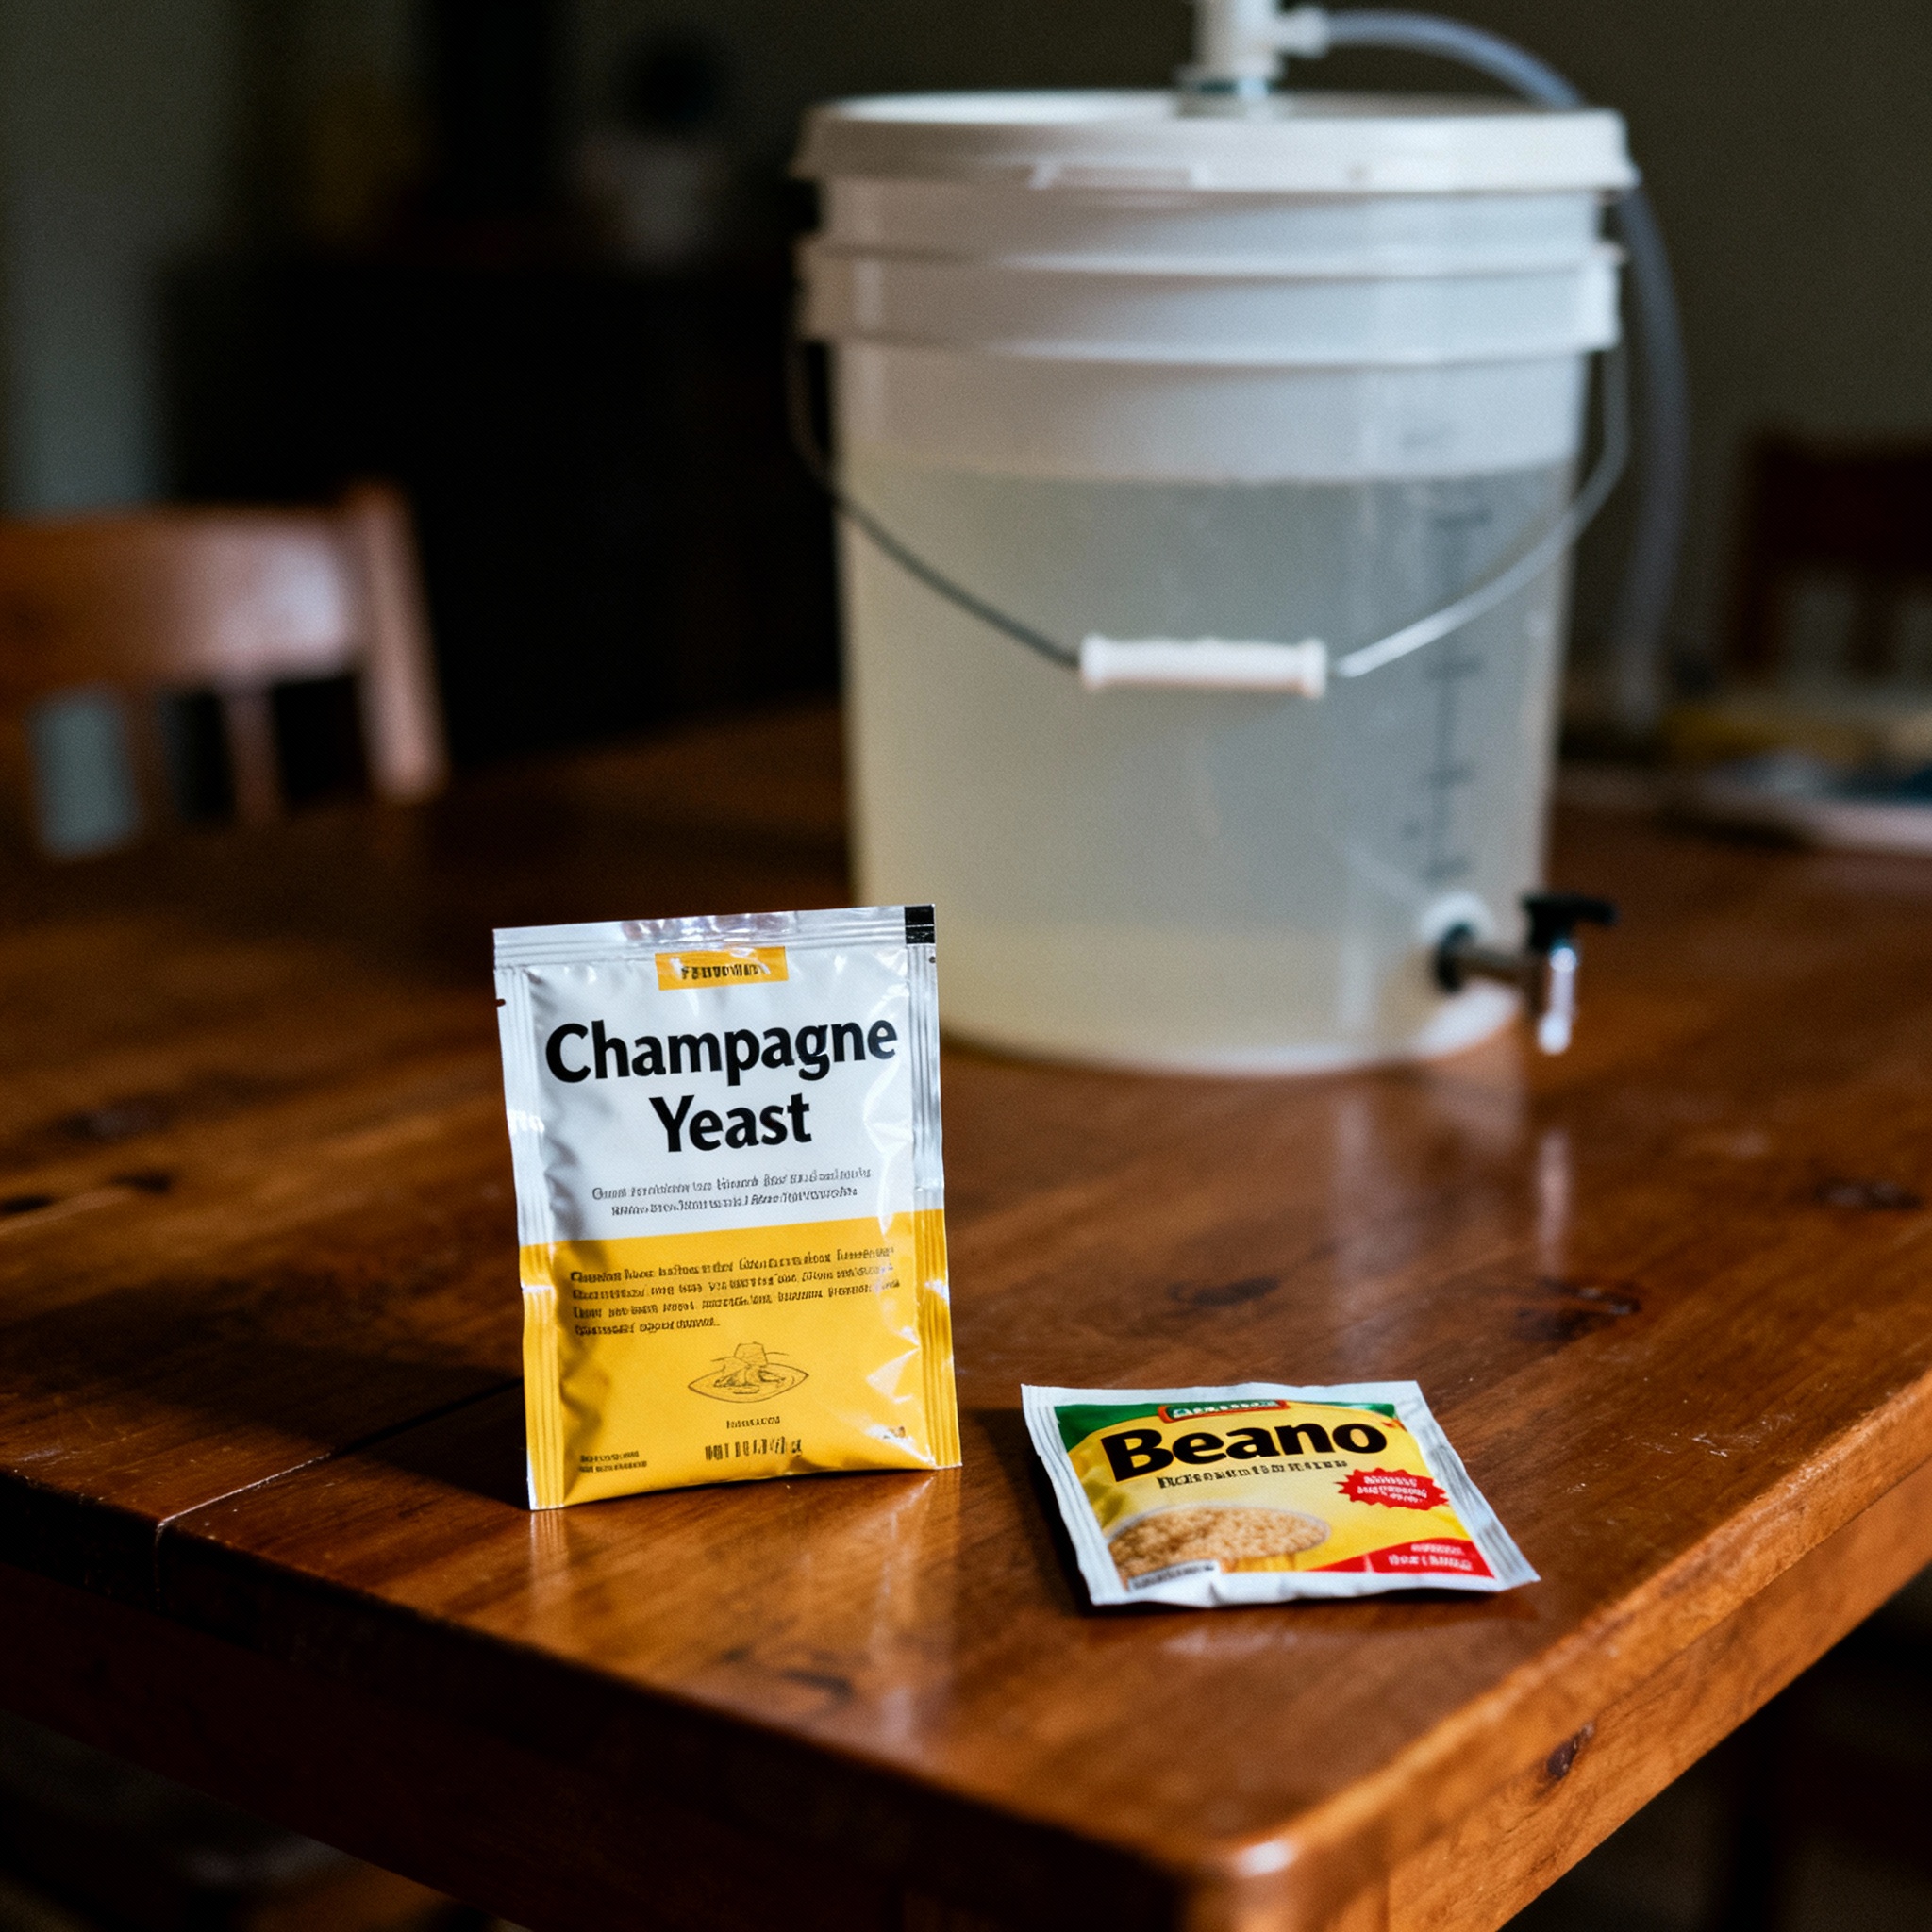
I’ve repitched exactly twice, once for old yeast and once for a barleywine that hit its alcohol tolerance at 1.032. When you repitch, use a neutral, alcohol-tolerant strain like CBC-1.
CBC-1 is a dry yeast sold for bottle conditioning but works great for repitching because it can handle up to 16% ABV. US-05 also works for most ales.
Do not repitch the same strain you used originally if it already failed; you need something tougher. Rehydrate the yeast according to the packet instructions in warm water.
Then pitch it into the fermenter. Do not aerate and do not stir. Just pour it in gently and let it settle.
Within 24 hours, you should see activity. Check the gravity after two days.
If you’re brewing a high-gravity beer (over 1.070), plan to repitch from the start. Pitch your first strain for primary fermentation, then add a second, tougher strain to clean up the last few points. This is called a split fermentation.
If you repitch and the gravity still doesn’t move, stop. You’ve done what you can, and the remaining sugar is likely unfermentable.
Beano/Amylase: The Nuclear Option
This is the last resort for when your beer is still too sweet and nothing else has worked. You can add enzymes to break down the complex sugars that yeast can’t ferment.
The two most common options are Beano and amylase enzyme. Beano contains alpha-galactosidase, while amylase breaks down dextrins and starches into simple sugars.
Both will make your beer drier, but they will also make it thinner and potentially less flavorful. This is scorched earth, not a subtle fix.
I used amylase once on a cider that stalled at 1.018. I added half a teaspoon to five gallons and it dropped the gravity to 1.002.
The cider was bone dry and kind of harsh, so I ended up backsweetening it with lactose. I don’t recommend this for beginners as it’s easy to mess up.
If you go this route, use amylase enzyme rather than Beano for more consistent dosing. Add it at a rate of one teaspoon per five gallons and stir gently.
Wait three to five days and check the gravity daily, as it works fast. You don’t want to overshoot and end up with a gravity of 0.995.
If you add amylase, do it at least a week before bottling. You need to make sure fermentation is completely done before you carbonate, or you’ll end up with bottle bombs.
Conclusion
Most of the time, when someone thinks their fermentation is stuck, it’s not. It’s just finished faster than expected, or the airlock isn’t sealing right.
The hydrometer will tell you the truth. Take a reading today and another one tomorrow.
If the numbers match, you’re done. If they’re dropping, you’re fine.
If your fermentation really is stuck, work through the checklist. Check the temperature, rouse the yeast, and repitch if you need to.
Only use enzymes if you’ve exhausted every other option and you’re willing to accept a very dry beer. Fermentation is biology, not engineering, and biology doesn’t always cooperate.
That’s fine; the goal isn’t perfection, the goal is beer. Here’s a quick reference table for diagnosing a stall:
| Symptom | Likely Cause | Solution |
|---|---|---|
| Gravity dropping slowly, no airlock activity | Poor seal on lid | Keep waiting, check gravity daily |
| Gravity stable at 1.008-1.014 | Fermentation complete | Proceed to packaging |
| Gravity stable above 1.020 (extract) | Unfermentable sugars | Accept it or add amylase |
| Gravity stable, temp below 60°F | Yeast dormancy | Warm fermenter, rouse yeast |
| Gravity stable, yeast underpitched | Yeast failure | Repitch with fresh, neutral strain |
| Gravity stable after repitch | Unfermentable sugars | Add amylase or accept the beer |
The hydrometer doesn’t lie, but the airlock does. Trust your measurements, not your anxiety.
References
- Brewer’s Friend. “Refractometer Calculator.” brewersfriend.com.
- Zainasheff, J., & Palmer, J. Yeast: The Practical Guide. Brewers Publications, 2010.
- Palmer, J. (2017). How to Brew, 4th ed.. Brewers Publications.
- UC Davis Extension. “Fermentation Management.” wineserver.ucdavis.edu.