Kombucha Mastery: Batch Brew, Continuous Brew, and Hard Booch.
I started brewing kombucha in 2019 because I was tired of paying $4.50 for a bottle of fizzy tea that I could make for pennies. A friend handed me a beige, slimy disc in a ziplock bag and said, “Don’t kill it.”
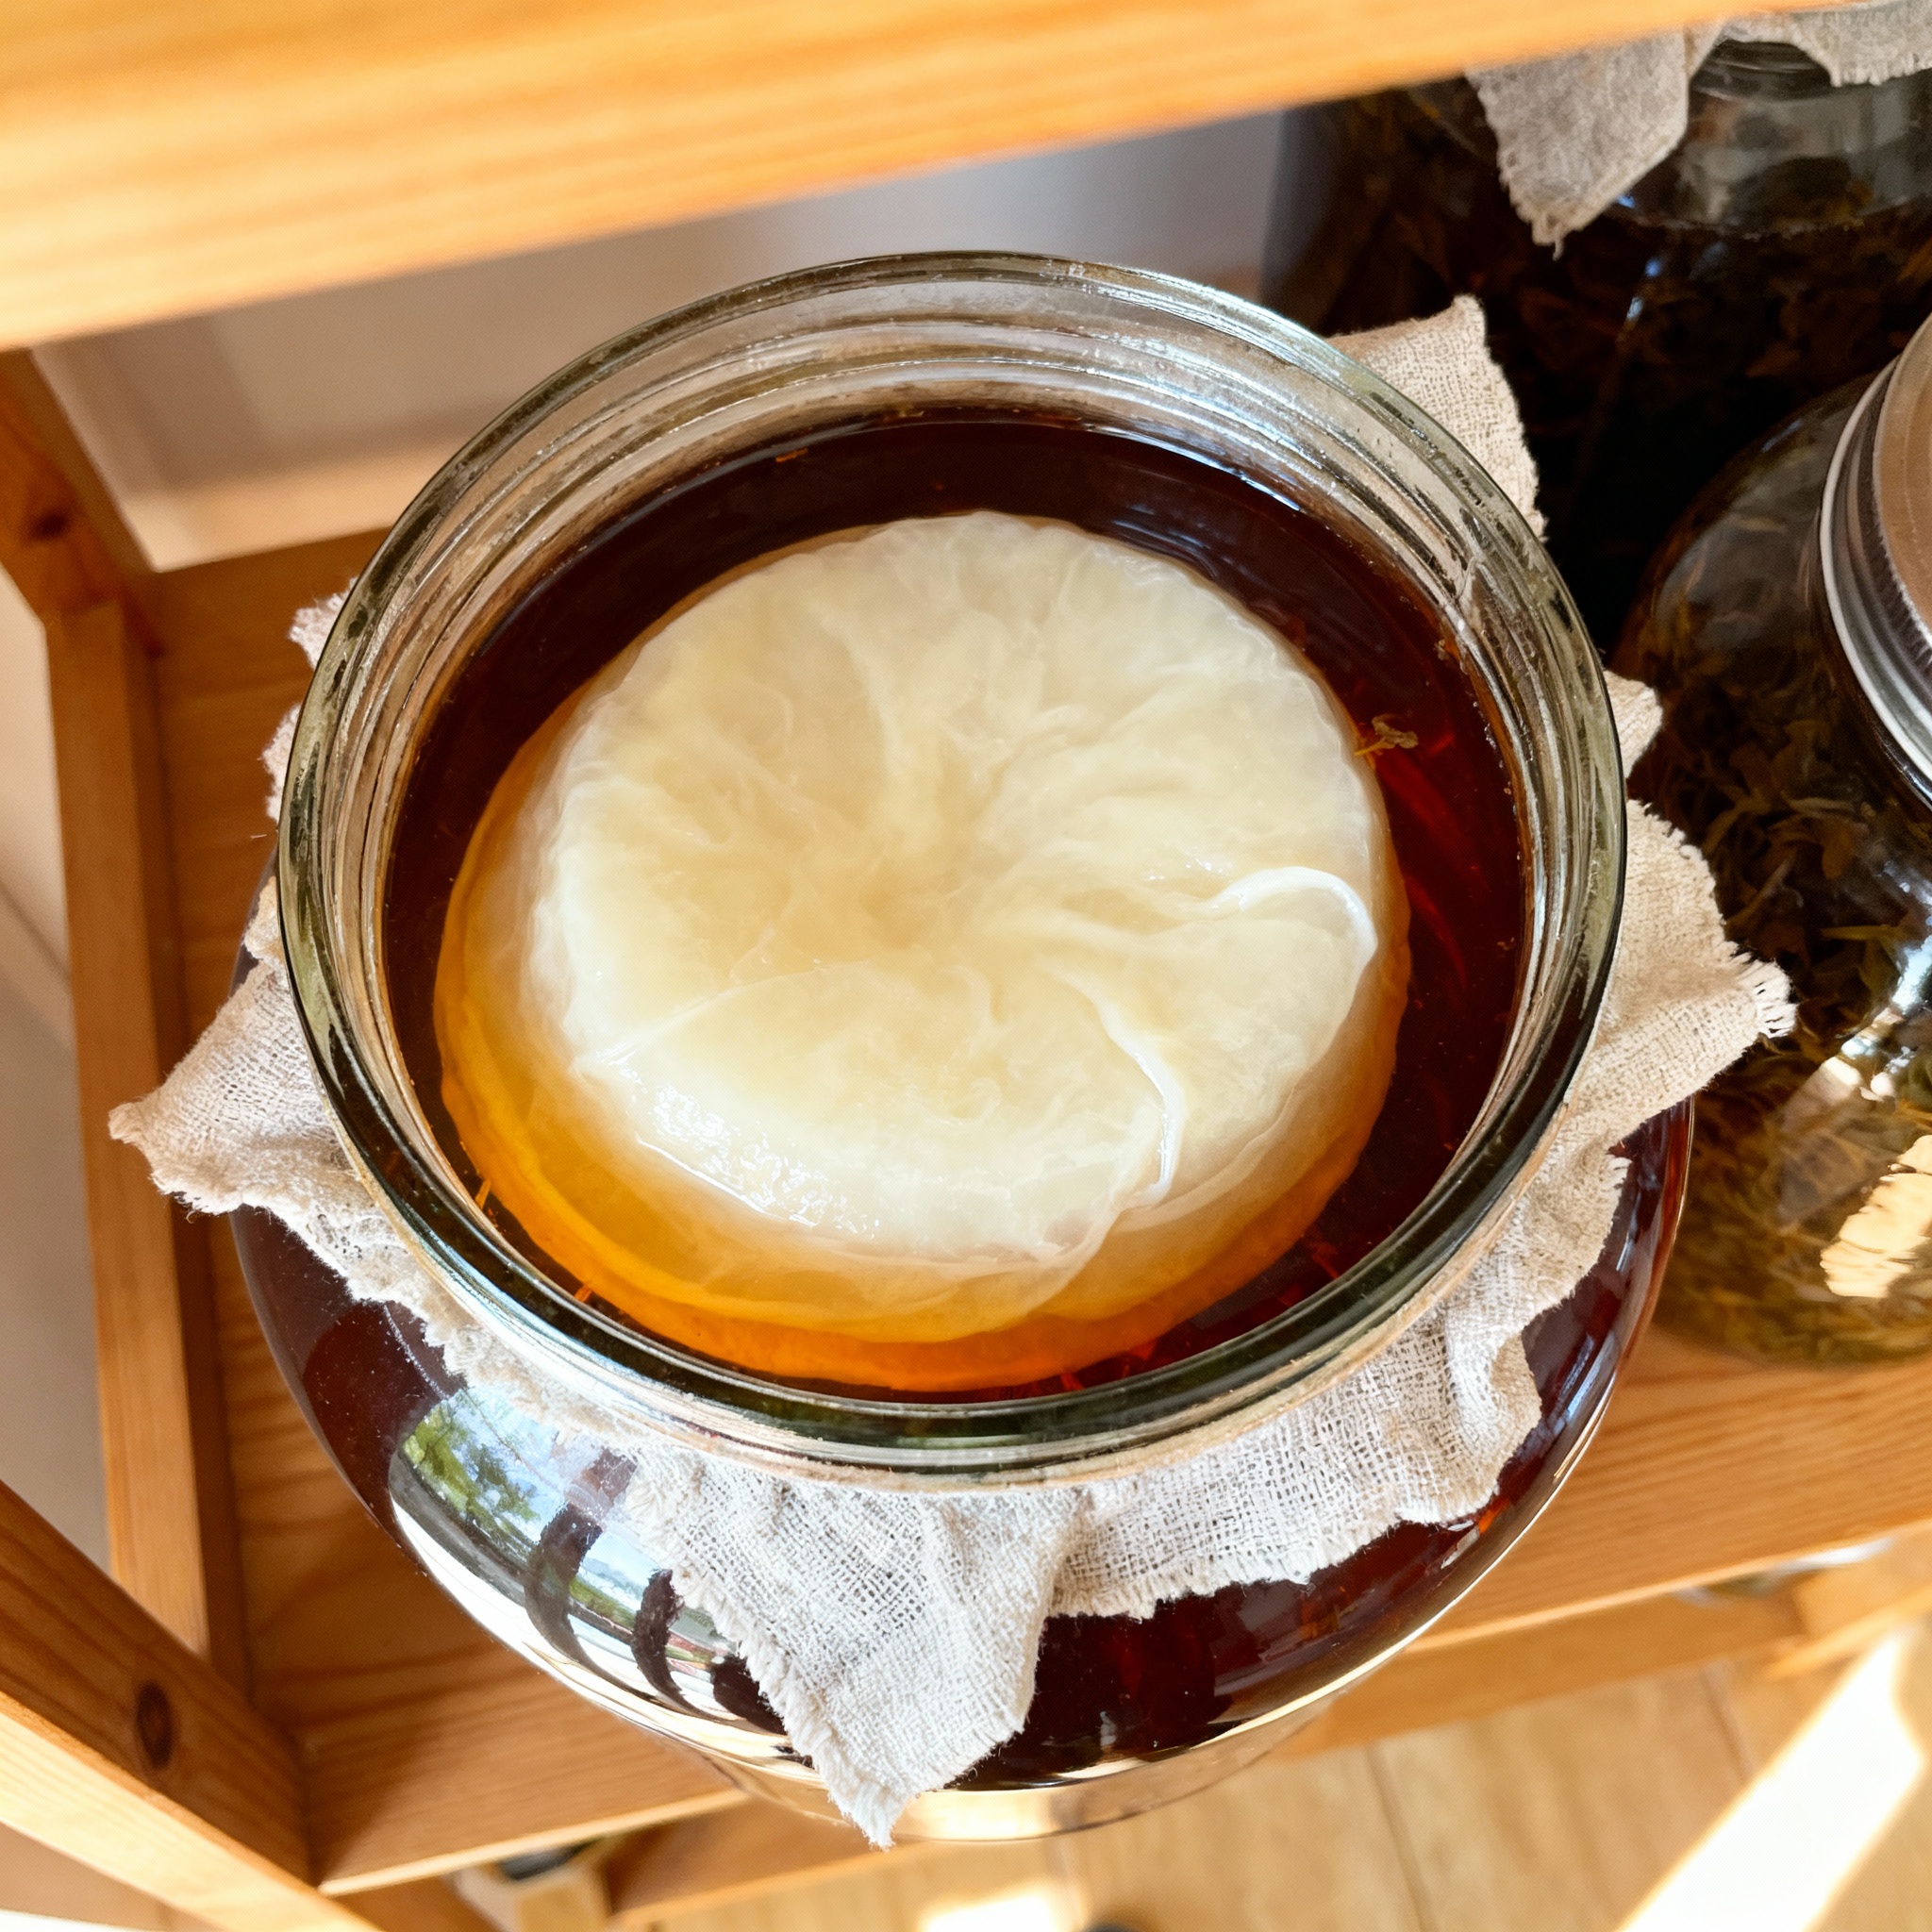
That disc was a SCOBY (Symbiotic Culture of Bacteria and Yeast). While it looked like something that crawled out of a swamp, it turned sweet tea into a tangy, gut-friendly drink in just seven days.
Kombucha is one of the most forgiving ferments you can start with. It doesn’t require fancy gear or a microbiology degree; you just need consistency and basic sanitation to succeed.
Batch Brew vs. Continuous Brew
When I started, I used the batch method because it is the most common entry point for beginners. You brew a gallon of sweet tea, cool it, add your SCOBY with starter liquid, and wait ten days before bottling and repeating.
While it works, the batch method is high-maintenance. You have to handle the SCOBY constantly and sanitize the jar every single time, which can lead to culture stress or contamination if you get busy.
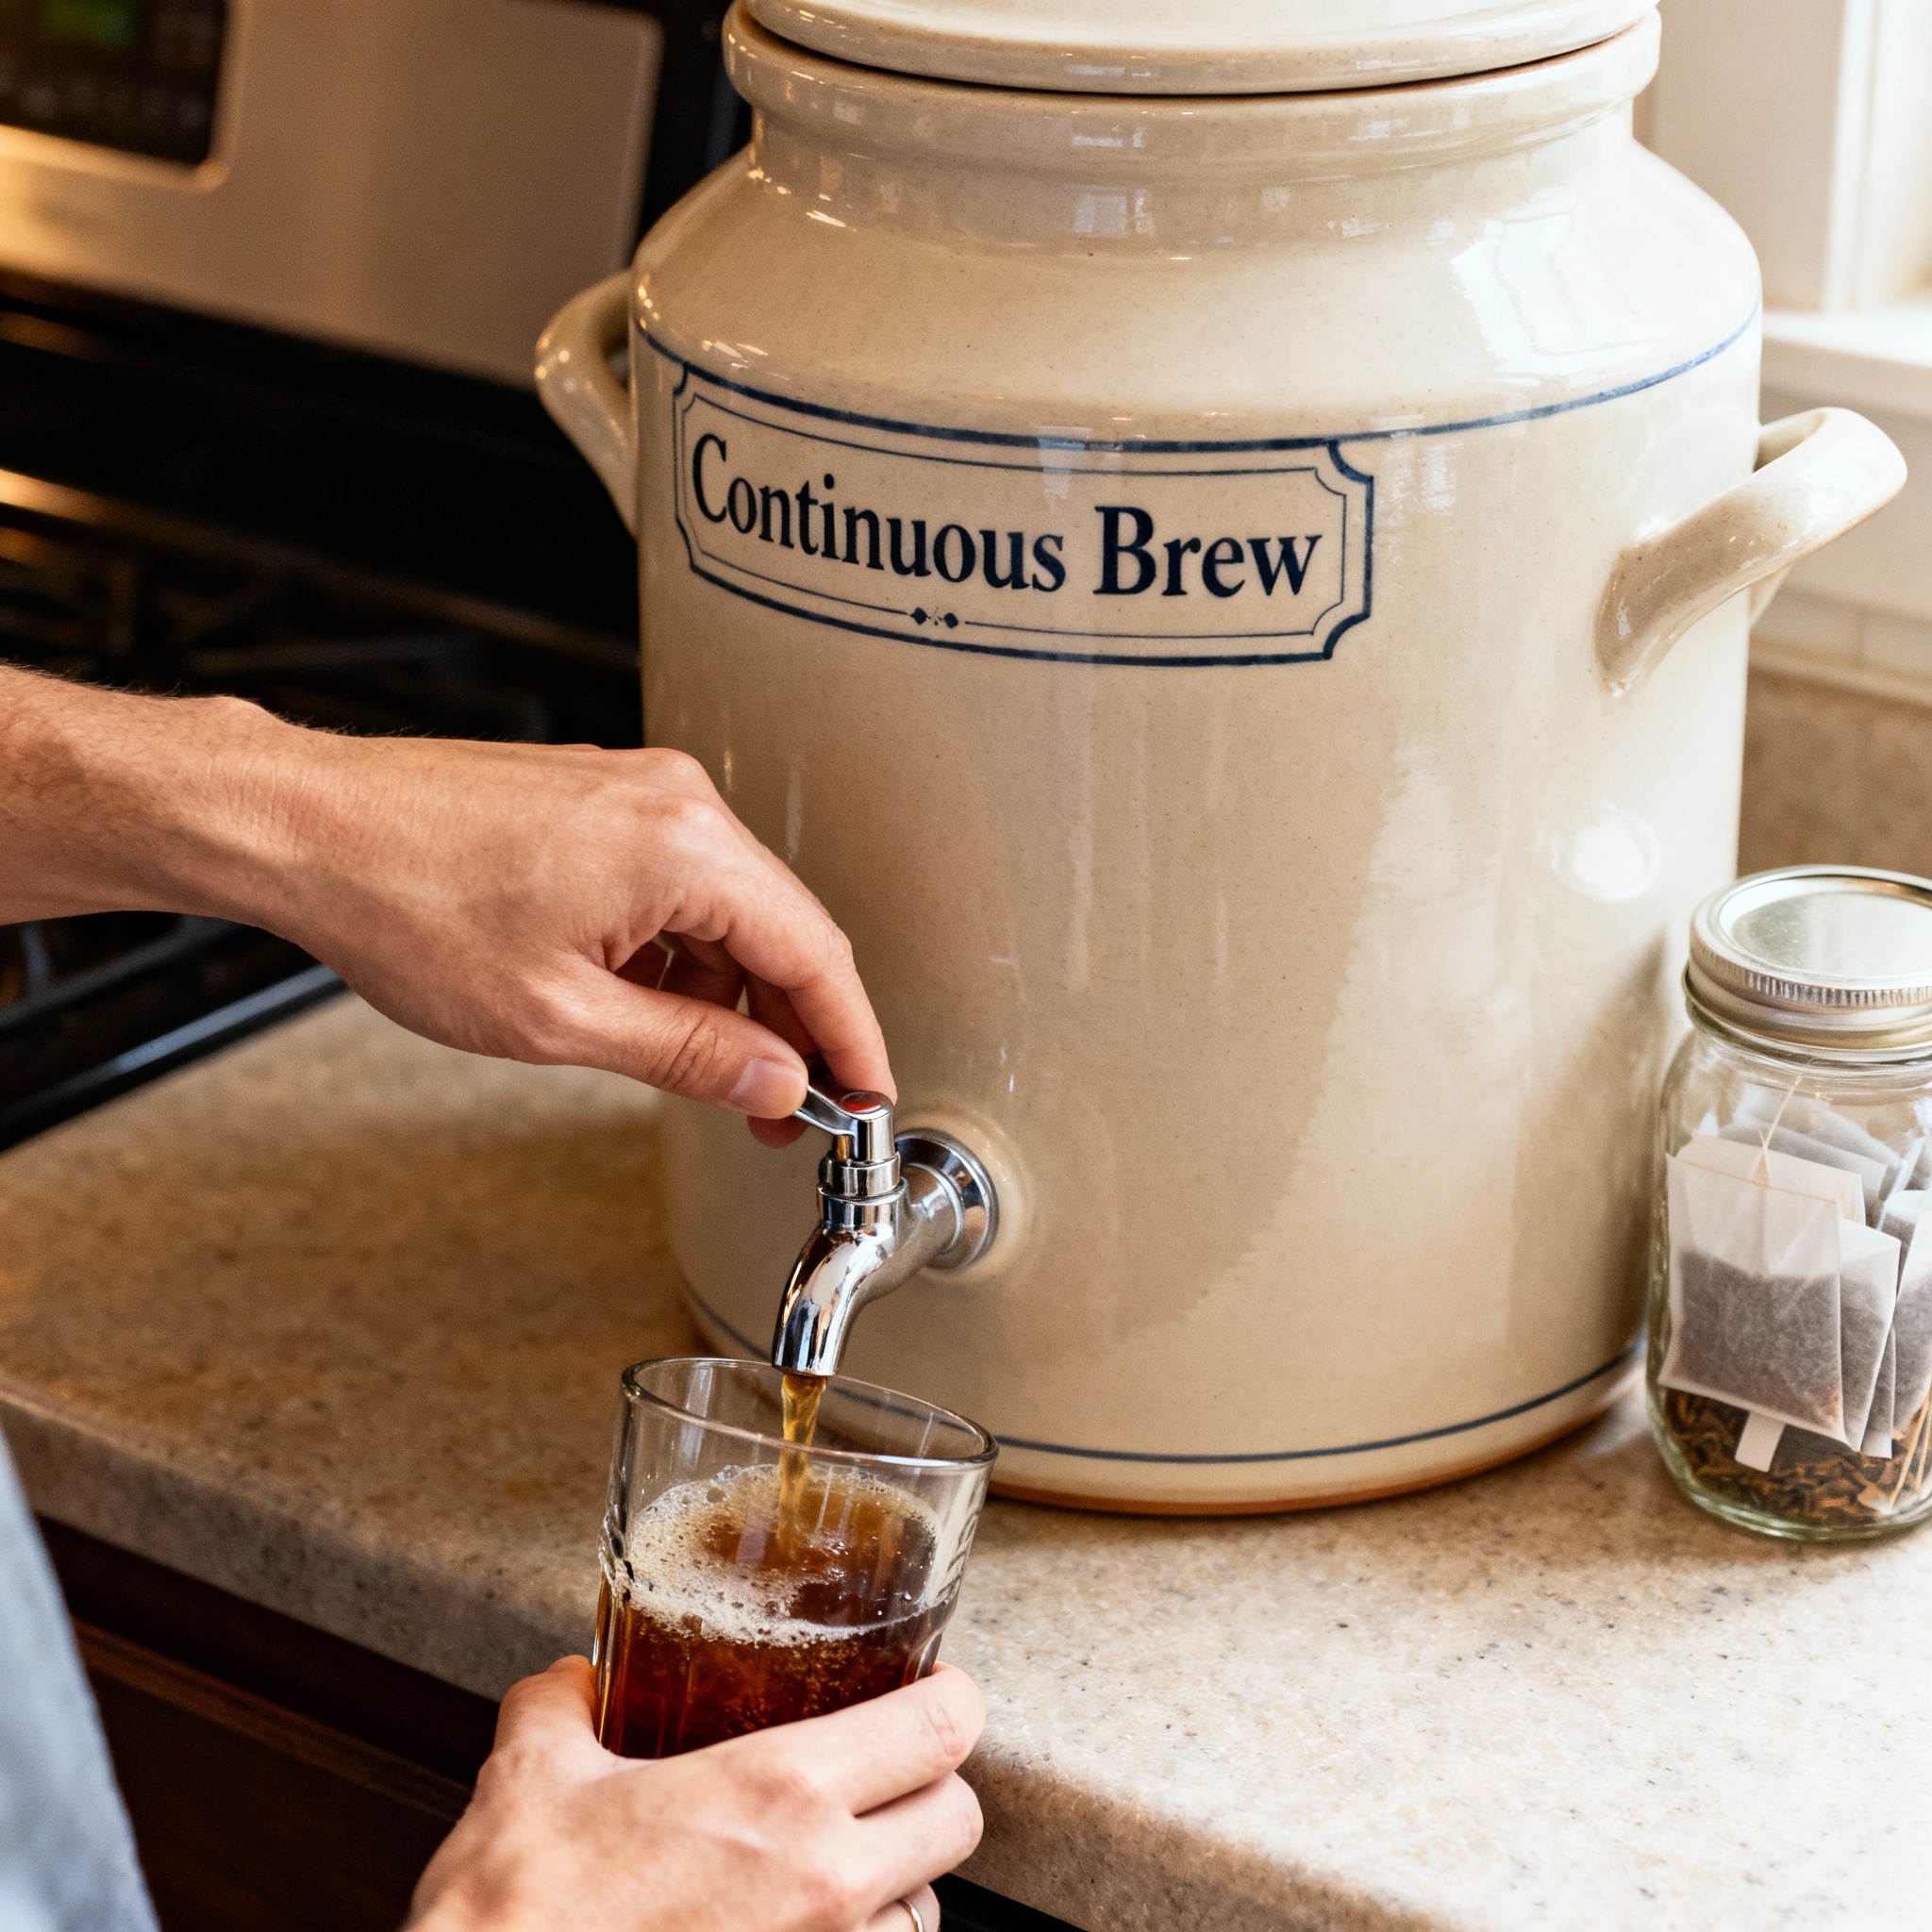
Continuous brew changed everything for me. By using a vessel with a spigot, you only tap off what you need and immediately refill the top with fresh tea, allowing the SCOBY to stay undisturbed.
A healthy kombucha fermentation should maintain a pH between 3.0 and 3.5. Continuous brewing helps stabilize this acidity because the established liquid acts as a powerful buffer against mold and harmful bacteria.
Ensure your vessel has a stainless steel or food-grade plastic spigot. Kombucha is highly acidic and will corrode brass or cheap metal fittings, causing metallic off-flavors and potential toxicity.
Flavoring in Second Fermentation (2F)
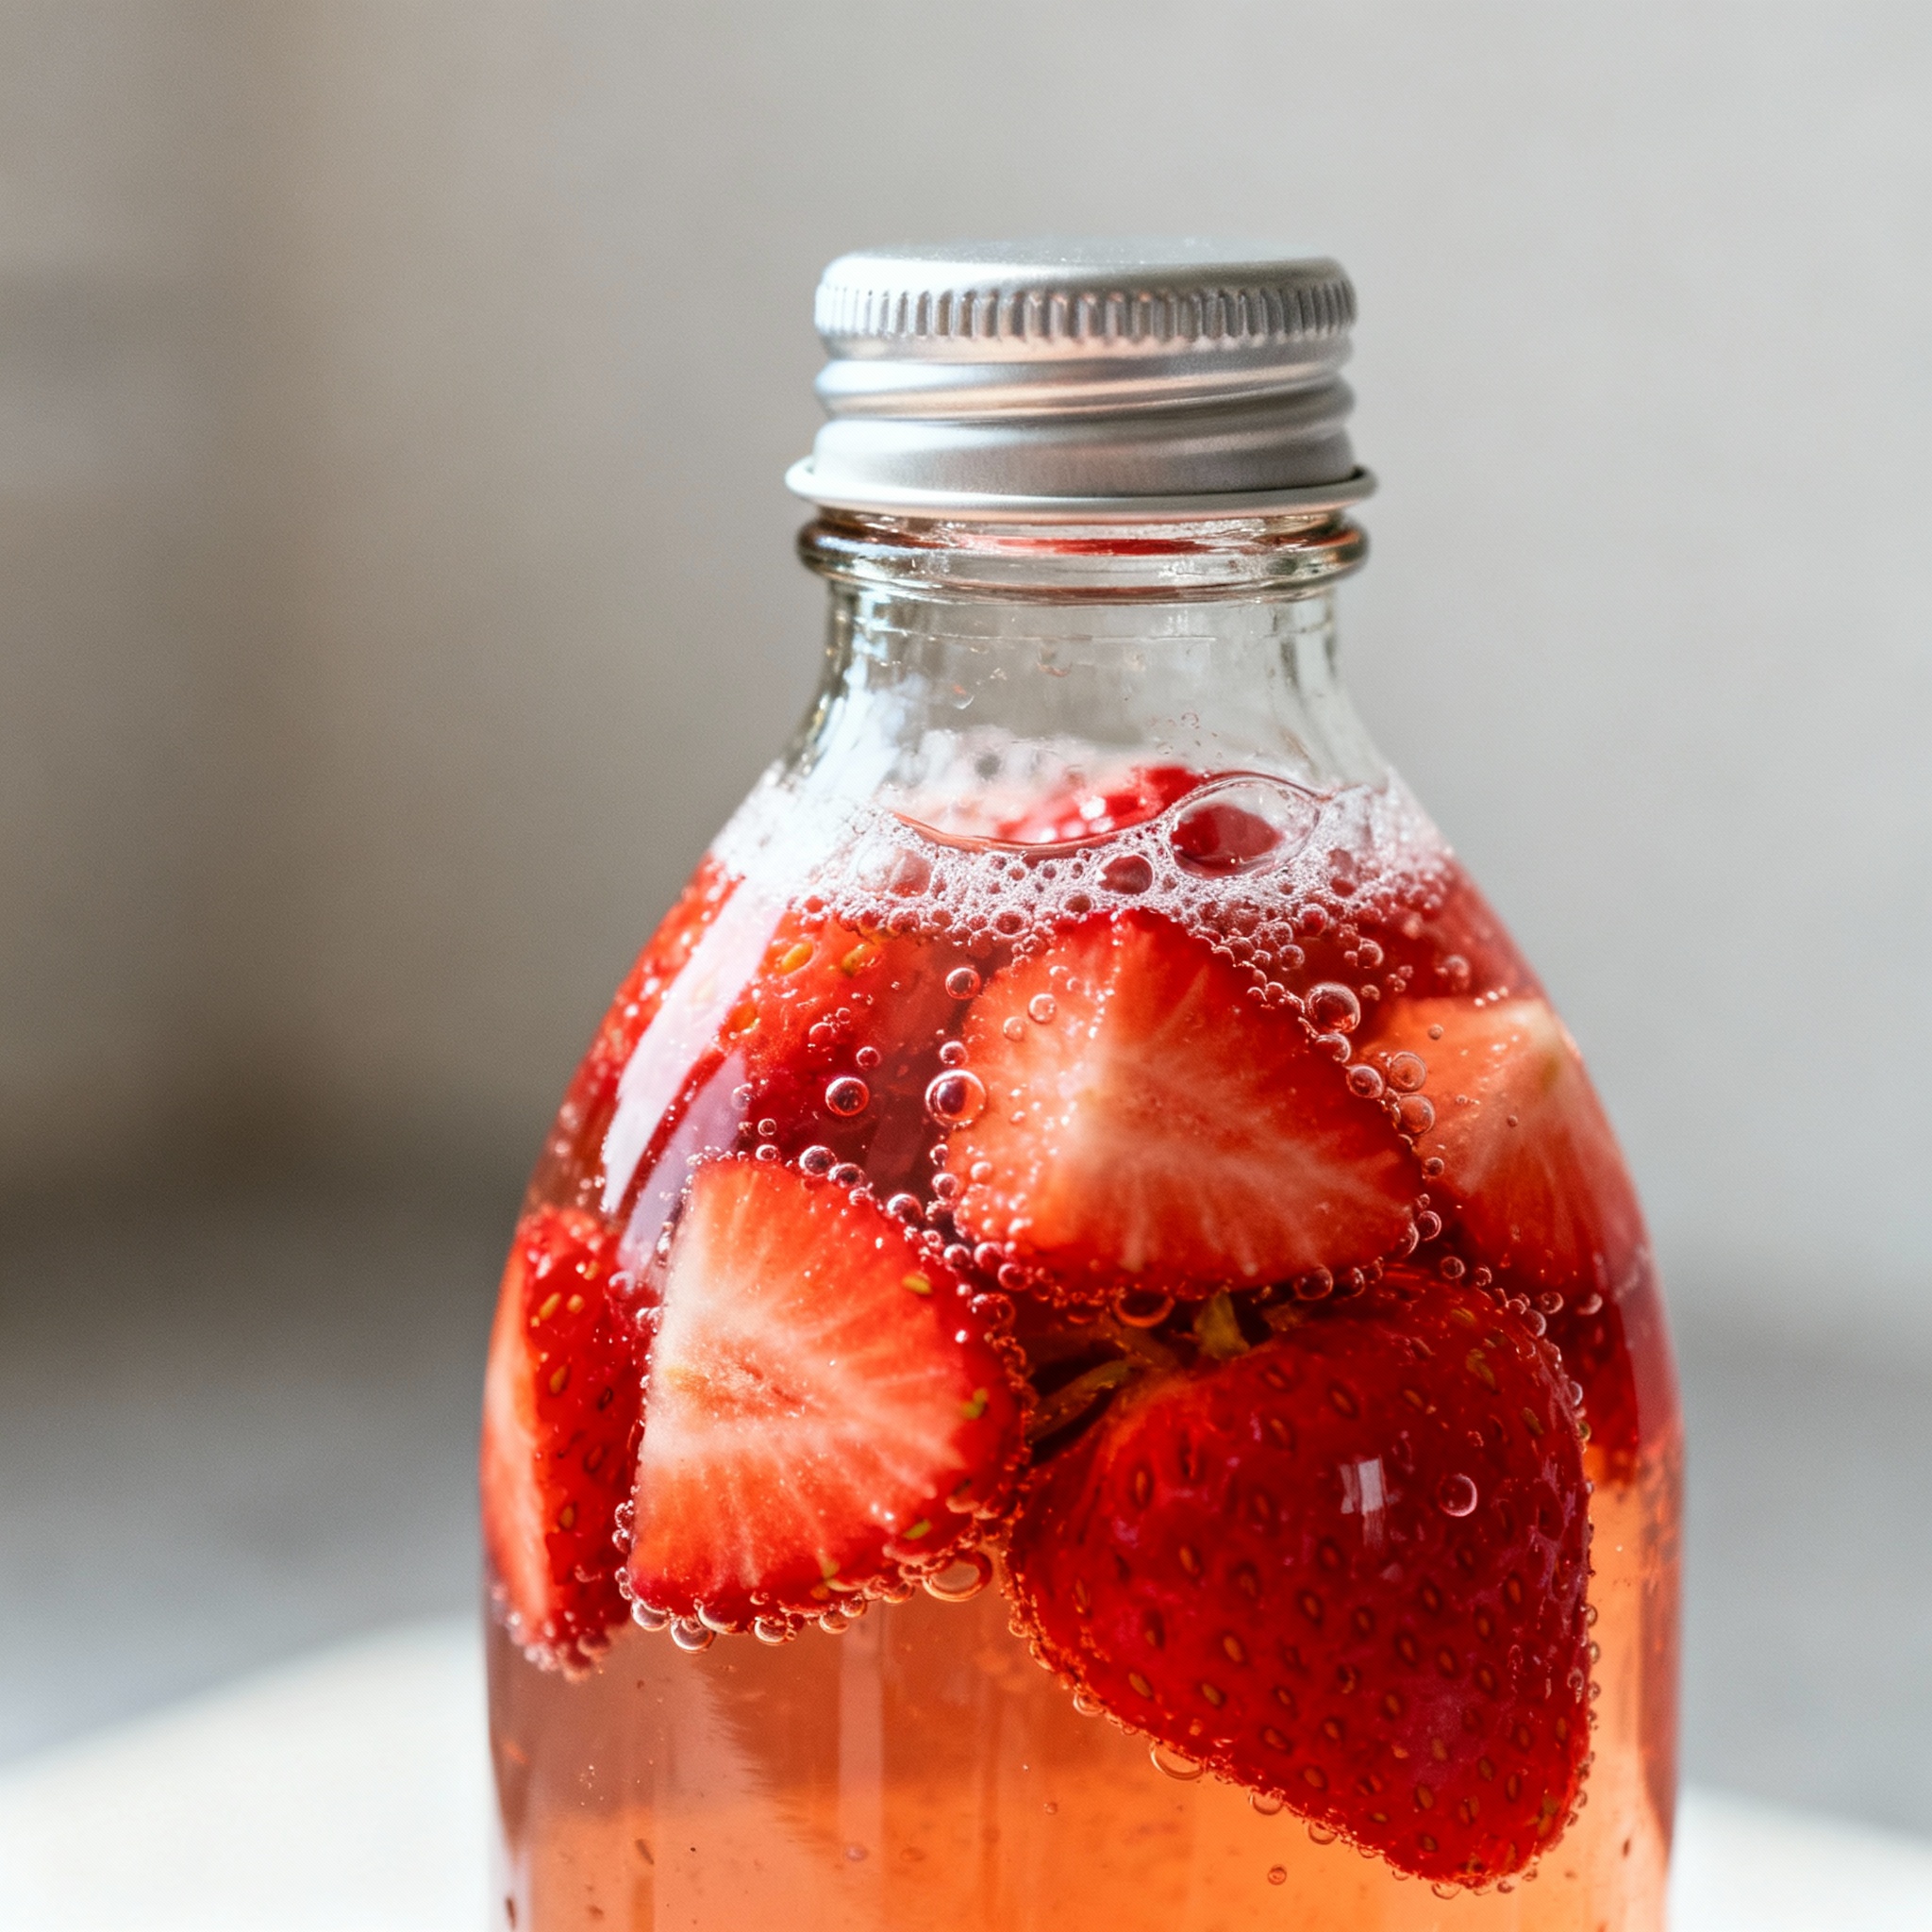
Plain kombucha straight from the jar (1F) is tangy, but the real magic happens in the second fermentation. This is when you bottle the liquid with fruit, juice, or herbs to create carbonation and complex flavors.
The most important rule is to never add flavorings to your main fermentation vessel. Your SCOBY thrives in a pure environment of tea and sugar; adding fruit directly can introduce wild yeasts that cause mold.
I use 16-ounce swing-top bottles for my 2F. I typically add two tablespoons of mashed fruit or a teaspoon of juice, leaving an inch of headspace to allow for gas buildup.
During 2F, the yeast consumes the residual sugars from the added fruit, producing CO2. Since the bottle is sealed, this gas is forced into solution, creating the effervescence characteristic of commercial kombucha.
Never use dried fruit in 2F without rehydrating it first. The concentrated sugars in dried fruit can cause pressure to build up too rapidly, significantly increasing the risk of bottle explosions.
Making Hard Kombucha
Hard kombucha is regular booch spiked with extra sugar and yeast to push the alcohol content up to 5% or 7% ABV. It is a fantastic middle ground between a health drink and a craft beer.
To make it, you add champagne yeast (like Lalvin EC-1118) and a tablespoon of sugar to your bottles during 2F. The champagne yeast can tolerate higher alcohol levels than the native yeast in your SCOBY.
The result is much drier and more wine-like than standard kombucha. Because it ferments more completely, I recommend using juicier fruits like peach or mango to maintain some perceived sweetness.
| Ingredient | Amount (per 16oz) | Purpose |
|---|---|---|
| Sugar | 1 tablespoon | Fuel for alcohol |
| Champagne Yeast | 1 small pinch | High ABV tolerance |
| Fruit Juice | 2 tablespoons | Flavor and body |
| Kombucha | Fill to 1” head | Base ferment |
Label your hard kombucha bottles clearly. They look identical to the regular batch, and a silver Sharpie “X” on the cap can prevent accidental consumption by guests or children.
Troubleshooting: Vinegar Eels and Mold
Vinegar eels are tiny nematodes that sometimes show up in continuous brew setups. They look like thin, white, squiggly lines doing a lazy backstroke in your liquid.
While harmless to humans, they indicate a compromised culture. If you see movement in your jar, there is no half-measure: you must nuke the setup, sanitize with boiling water, and start fresh.
Mold is the other primary concern, appearing as fuzzy green, black, or white spots on top of the SCOBY. This is usually caused by low acidity or contamination from dirty hands.
To prevent mold, always use at least two cups of strong starter liquid per gallon of new tea. This immediately drops the pH of the entire batch to a level where mold spores cannot germinate.
If you’re paranoid about vinegar eels, perform the “Flashlight Test.” Shine a light through the side of your glass vessel every few days; the light will make the movement of any hidden pests obvious.
Conclusion
Kombucha brewing is a lesson in intuition and repetition. You will likely mess up a few batches or create a “bottle bomb” in your pantry, but each mistake teaches you more about the culture’s behavior.
Whether you prefer the simplicity of a continuous crock or the technical challenge of hard booch, the key is to respect the SCOBY. Feed it regularly, keep it warm, and it will provide you with endless fizzy tea.
Now that you have the basics down, it’s time to start experimenting with your own house blends. Just remember to keep your gear clean and your bottles burped.
References
- White, C., & Zainasheff, J. (2010). Yeast: The Practical Guide. Brewers Publications.
- Katz, S. E. (2012). The Art of Fermentation. Chelsea Green Publishing.
- Crum, H., & LaGory, A. (2016). The Big Book of Kombucha. Storey Publishing.