The Fast Lager Method: Pressure and Temperature Hacks
I used to think lagers required monk-level patience. Three months minimum, cold fermentation in a temperature-controlled chest freezer, and weeks of lagering in a secondary vessel.
Then I read a triangle test on Brulosophy where tasters couldn’t reliably distinguish a lager fermented at 65°F from one fermented at the traditional 50°F. My first reaction was suspicion.
My second reaction was to try it myself because I work a full-time remote job and I don’t have three months to babysit a single batch.
Turns out, the old rules were written before we had pressure-capable fermenters and modern yeast strains that laugh at temperature abuse. You can make a clean lager in two weeks if you understand what actually causes off-flavors and how to prevent them.
This isn’t about cutting corners. It’s about applying the right stress at the right time so the yeast behaves exactly how you want it to.
The Brulosophy Method: Fermentation at 65°F
The traditional lager fermentation temperature sits somewhere between 48°F and 55°F. The logic is simple: cold temps suppress ester production and fusel alcohol formation.
The yeast works slowly and cleanly. But “slowly” is the operative word here, as primary fermentation can drag on for two weeks or longer.
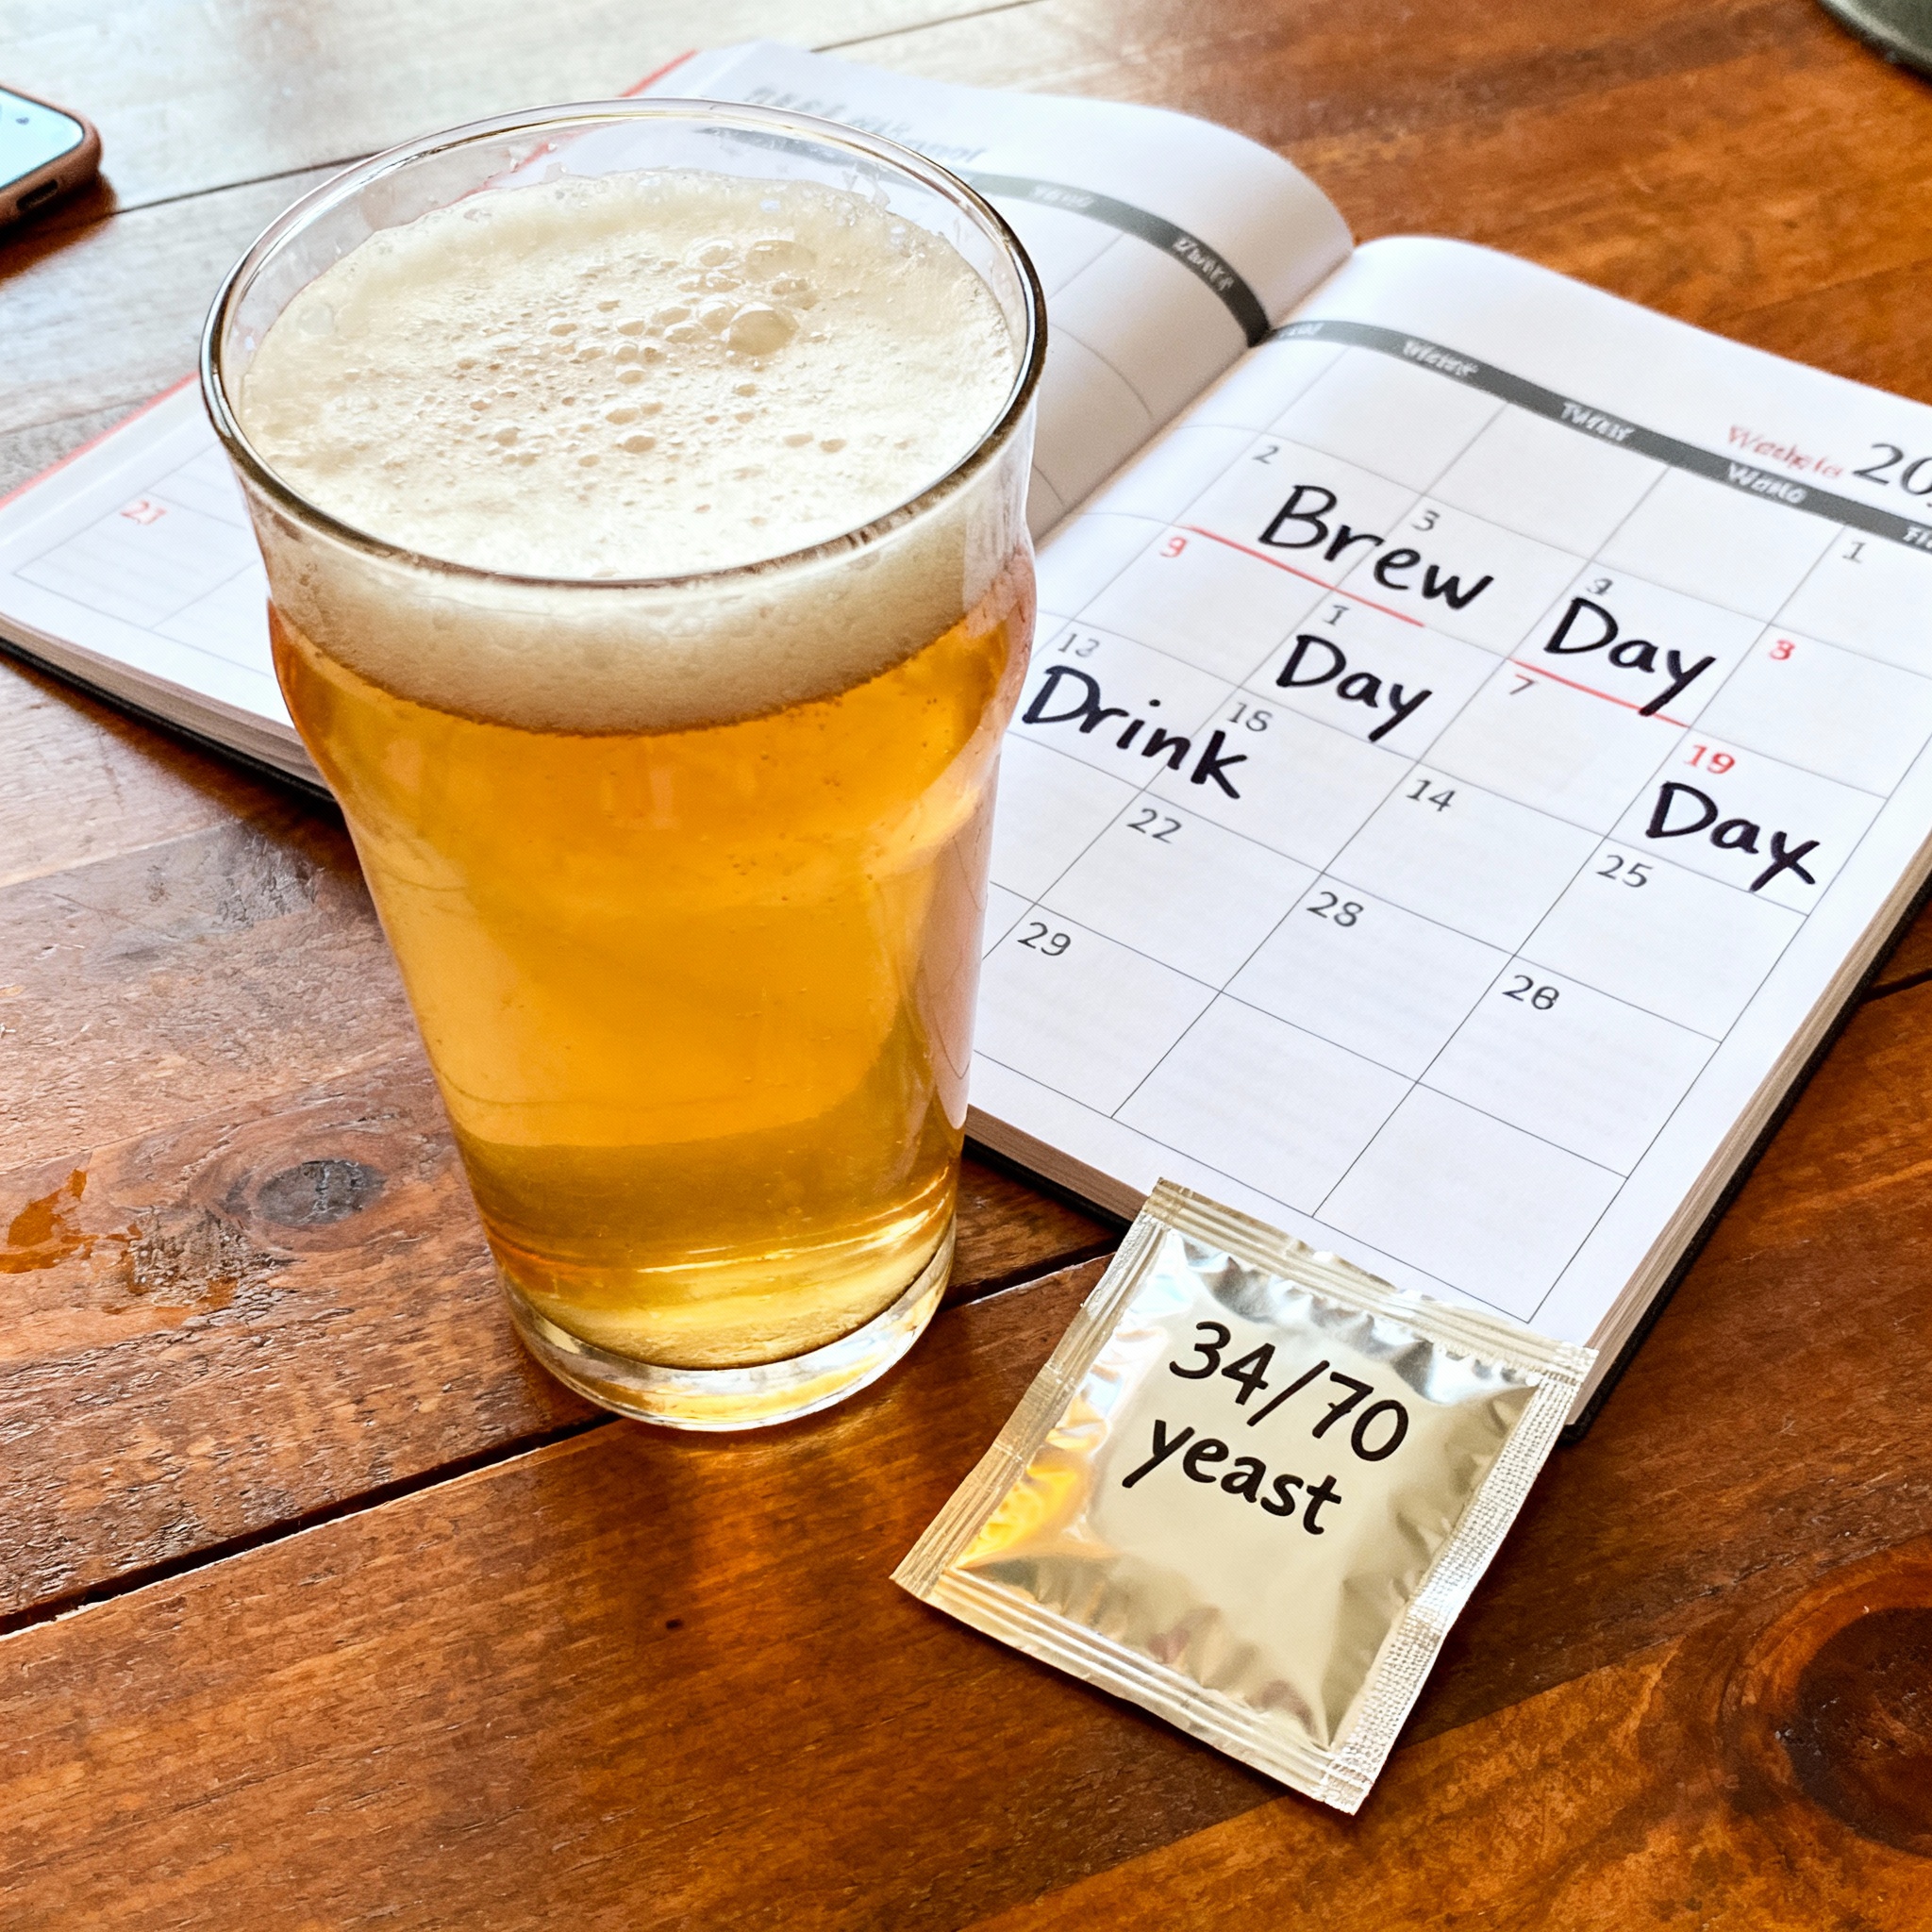
Then the Brulosophy crew started running experiments with Saflager W-34/70, one of the most popular dry yeast strains on the planet. They fermented batches at ale temps (mid-60s°F) and compared them to traditional cold-fermented controls.
The results were shockingly inconsistent in the triangle tests. Often, tasters could not tell the difference between the warm and cold fermented batches.
I pitched W-34/70 into a simple pilsner wort at 65°F in my garage. No pressure and no fancy equipment-just a standard bucket fermenter.
Fermentation kicked off within 12 hours, which never happens at 50°F. I gave it seven days, then cold-crashed and kegged.
The beer wasn’t perfect, as there was a faint fruity note of pear that wouldn’t exist in a traditional lager. The bigger issue was a slight sulfur note that lingered longer than I wanted.
W-34/70 is weirdly tolerant of temperature abuse, but it’s not magic. At 65°F without any other intervention, you will get some subtle ester formation.
You also get faster yeast growth, which means more sulfur production upfront. Most of this scrubs out during conditioning, but it is a factor to consider for delicate styles.
Pitch a massive amount of yeast when fermenting warm-ideally 1.5 to 2 times the normal pitch rate. The faster the yeast finishes, the less time it has to produce off-flavors. I usually pitch two packs of dry yeast for a five-gallon batch.
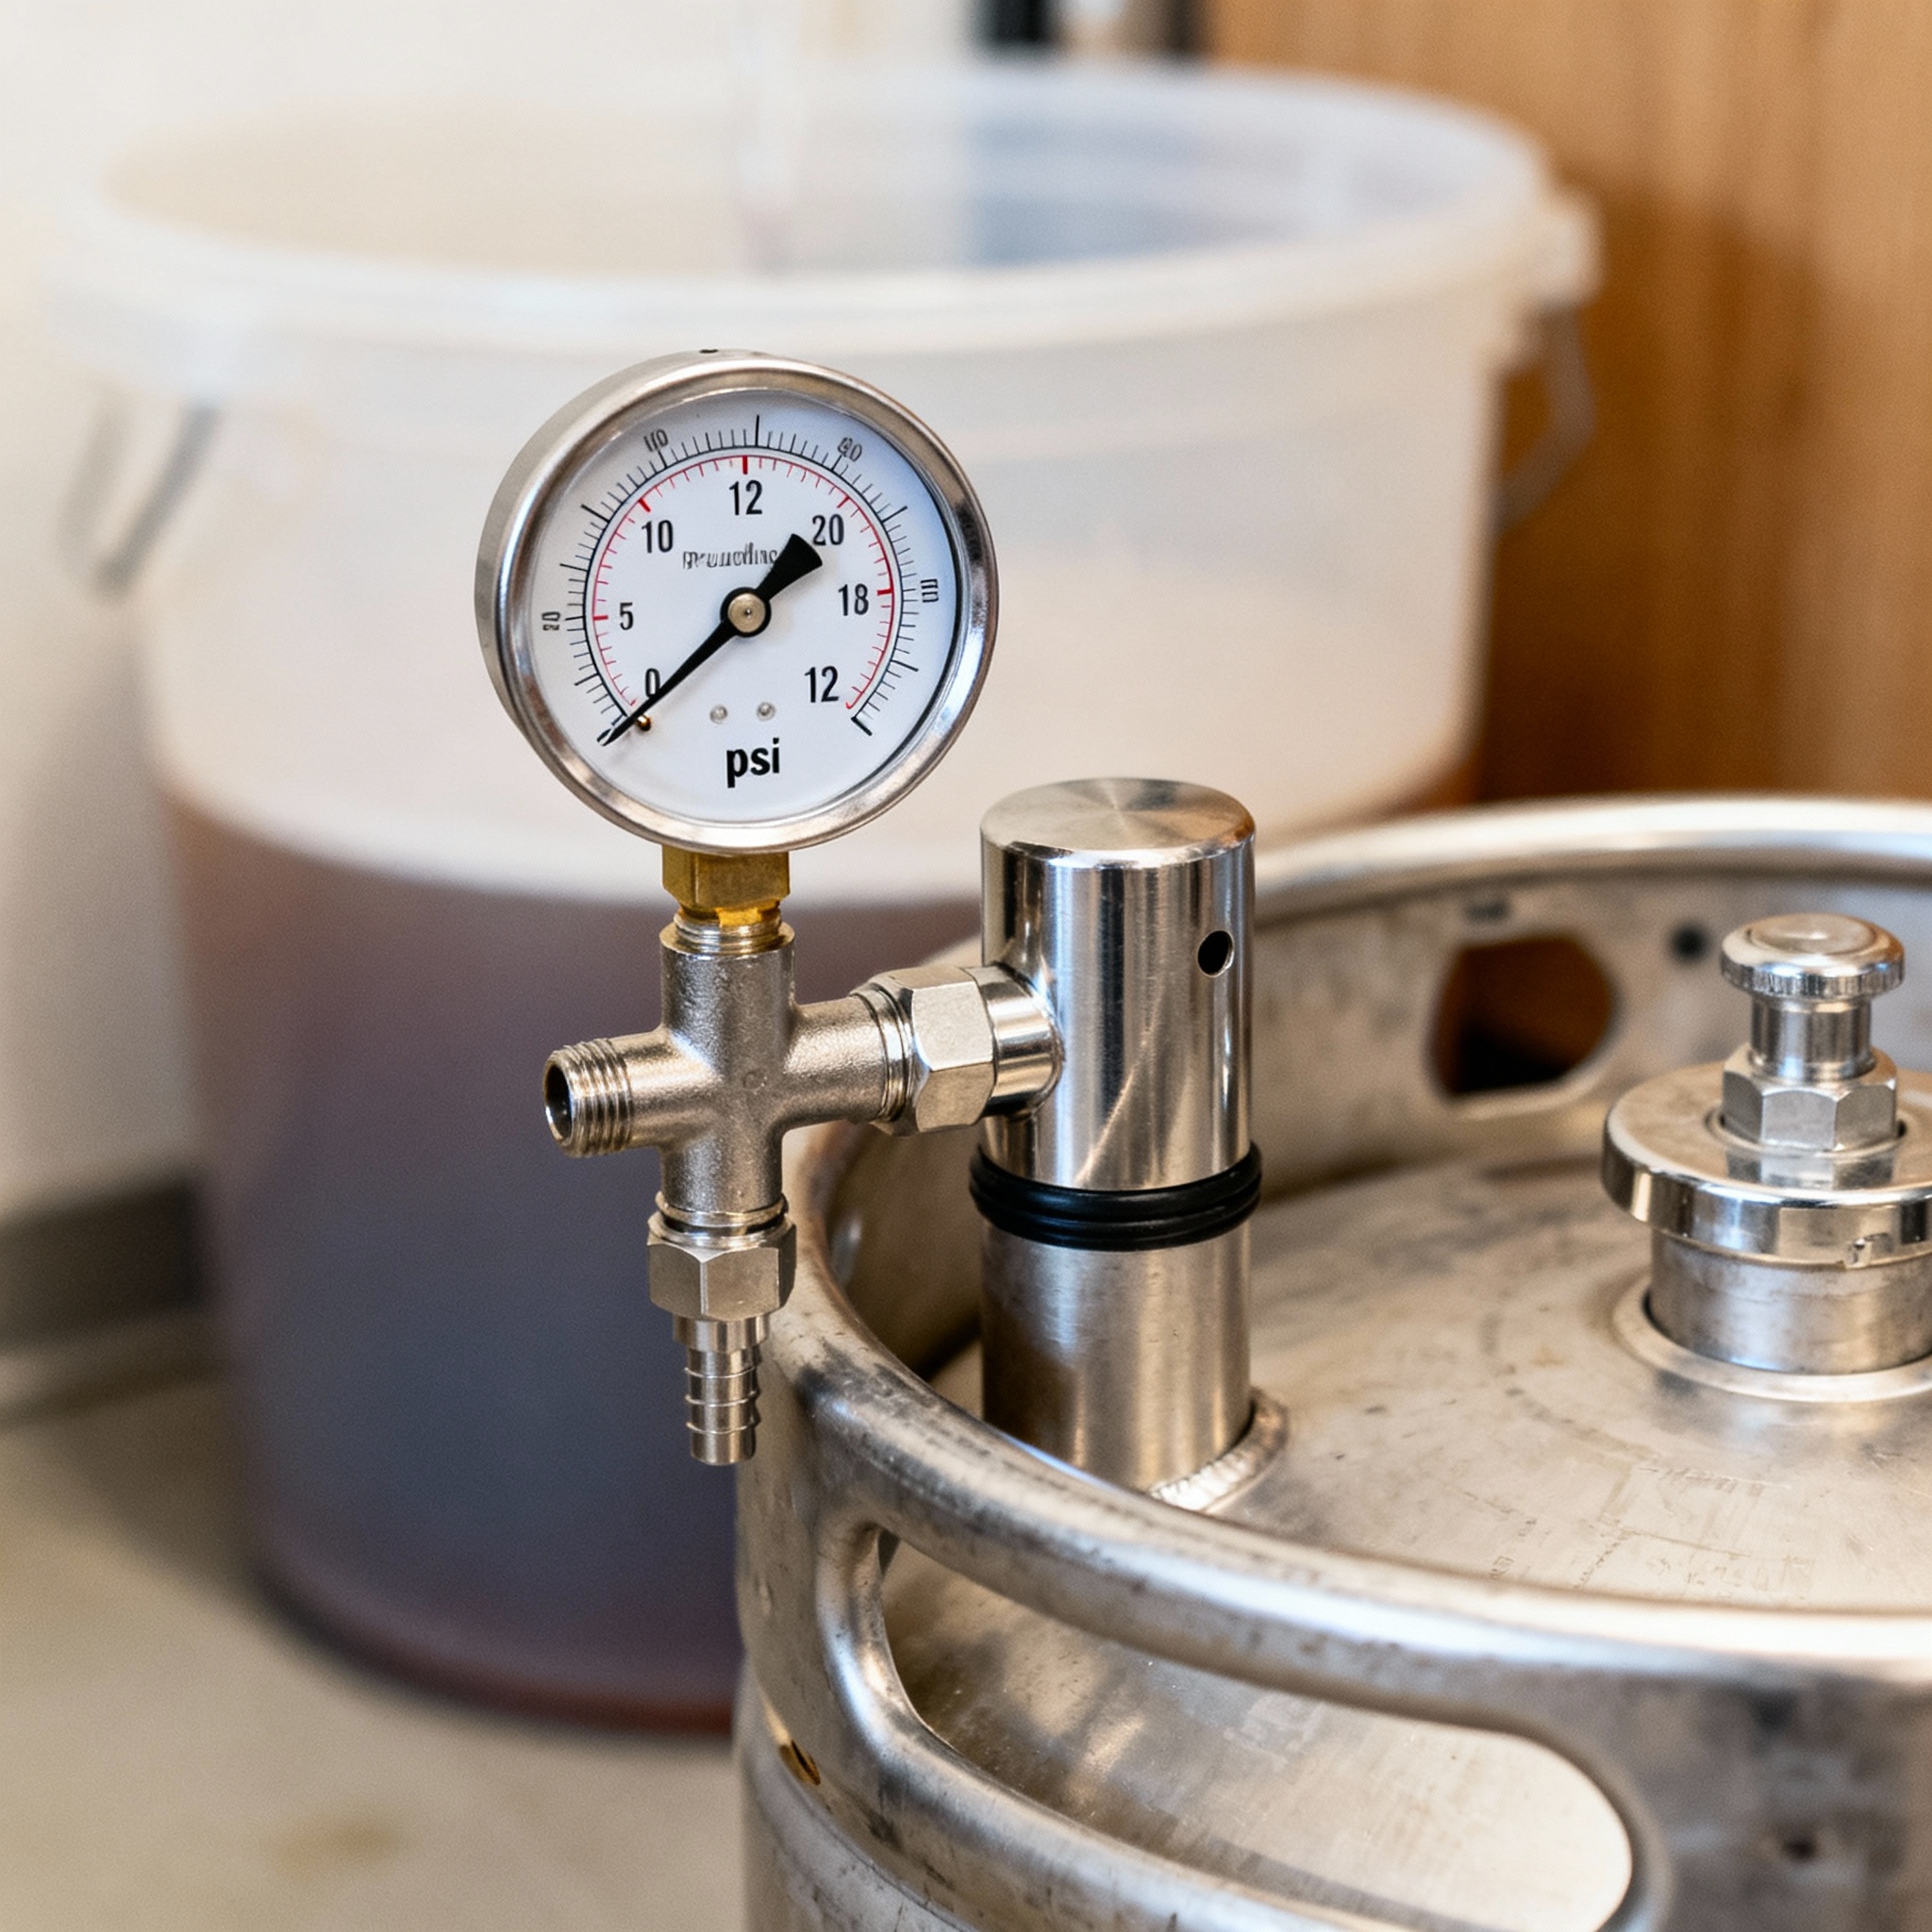
Pressure Fermentation: Using Spunding Valves at 10-12 PSI
Pressure fermentation changed everything for me. The science is straightforward: when yeast ferments under pressure, it suppresses ester and fusel alcohol production even at higher temperatures.
The elevated CO2 concentration in solution essentially tells the yeast to focus on making ethanol instead of flavor byproducts.
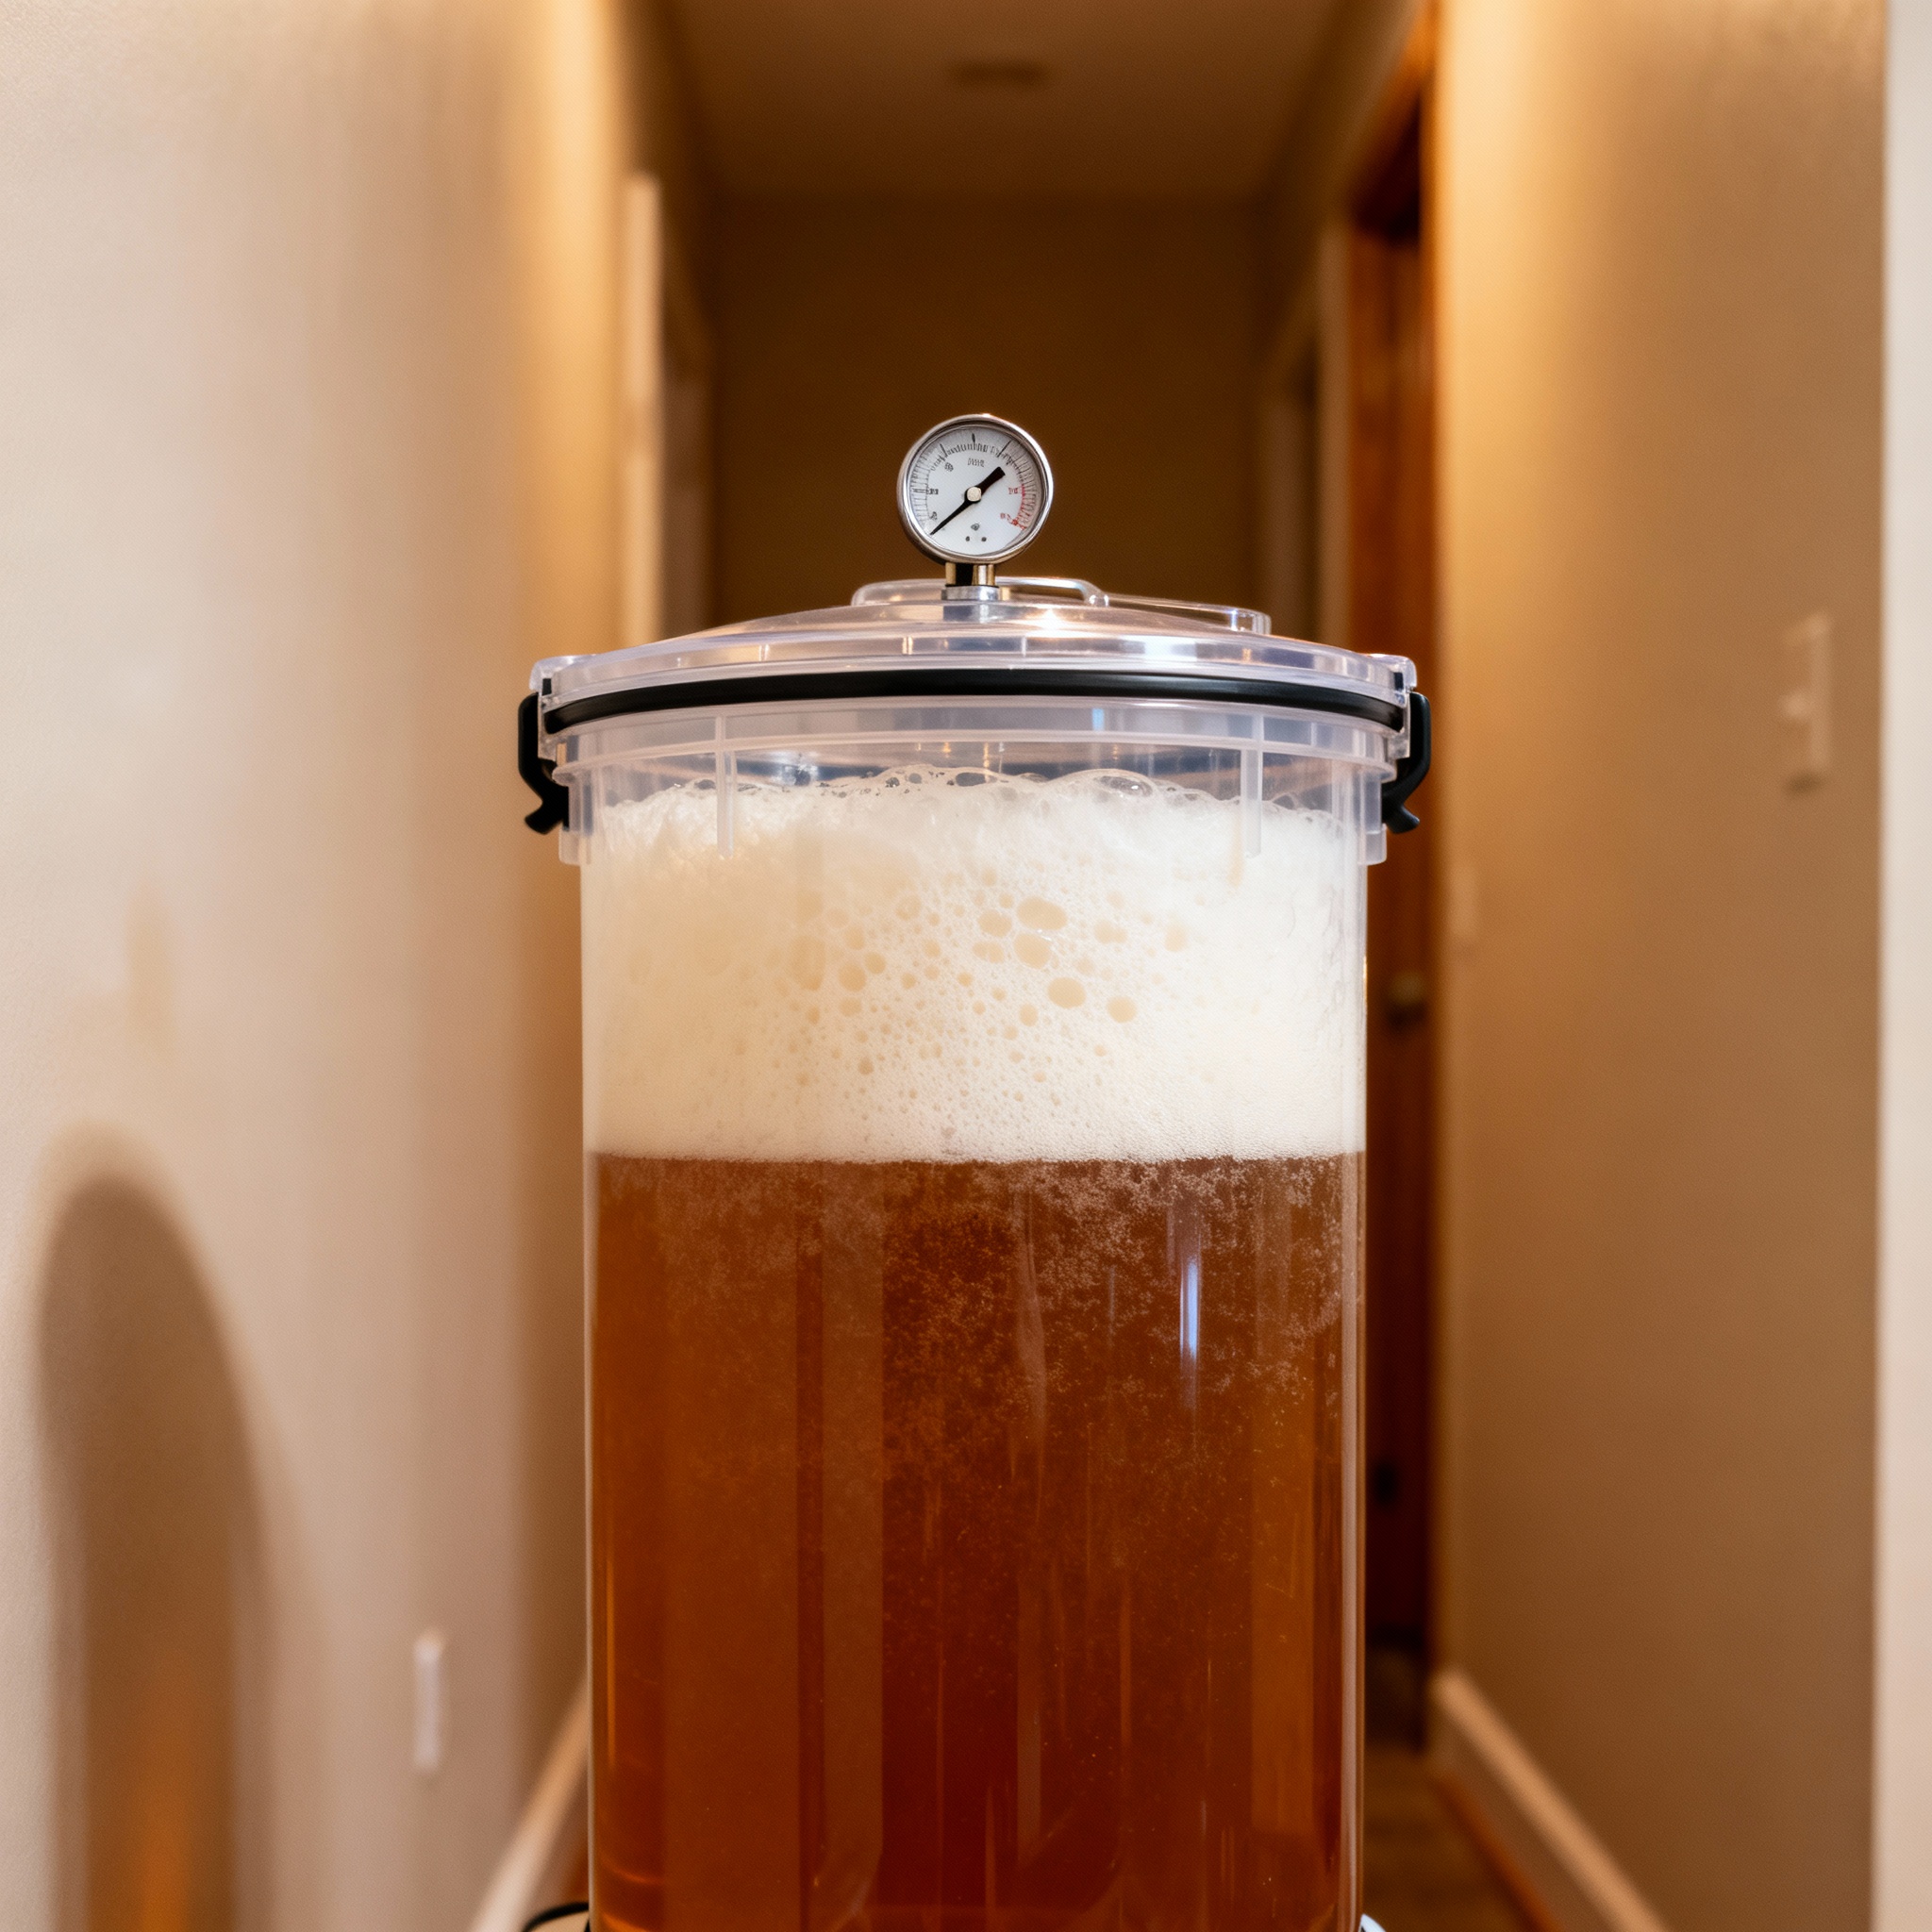
I attached a cheap spunding valve to a corny keg that I now use as a fermenter. You set the valve to vent at a specific pressure (I use 10 to 12 PSI for lagers).
As the yeast produces CO2, the pressure builds until it hits that threshold and maintains the setpoint. The yeast ferments under constant pressure the entire time.
The first time I combined this with warm fermentation, I pitched W-34/70 at 68°F under 12 PSI. Fermentation was aggressive, but the flavor was shockingly clean on day five.
By day seven, the beer had dropped to 1.010 terminal gravity. I cold-crashed it immediately.
The downside is that you need pressure-rated equipment. A standard plastic bucket won’t cut it; you need a corny keg or a stainless fermenter with a pressure relief valve.
One thing to watch is yeast health under pressure. W-34/70 and WLP830 tolerate it well, but SafLager S-23 can throw metallic notes under these conditions.
Start fermentation at ambient pressure for the first 24 hours, then apply pressure. This gives the yeast time to reproduce without stress. Pressure from the start risks a sluggish fermentation.
The Ramp Up: Raising Temps to 70°F for a Rapid Diacetyl Rest
Diacetyl is the enemy of clean lagers, tasting like buttered popcorn or butterscotch. Yeast naturally reabsorbs the precursor compound alpha-acetolactate, but this process is slow at cold temperatures.
The hack is to raise the temperature at the end of fermentation to speed up this reduction. When the beer is about 75 percent of the way to final gravity, I ramp the temperature up to 70°F (a rapid diacetyl rest).
The yeast wakes up and chews through the remaining sugars and any diacetyl in a fraction of the traditional time.
I do this by turning off the cooling or using a small seedling heat mat strapped to the side of the fermenter. The key is not to spike the temperature all at once.
I ramp it up gradually over 12 to 24 hours to avoid shocking the yeast. This step alone probably saves you two weeks of lagering time.
Do a diacetyl test before you cold-crash. Pull a sample, microwave it for 20 seconds to drive off CO2, then smell and taste it. If you get any butter or slickness, give it another day or two at 70°F.
Gelatin Fining: Cheating the Clarity Wait Time
Lagers are supposed to be crystal clear. Traditionally, you get that clarity through weeks of cold conditioning where proteins and yeast slowly drop out of suspension.
Gelatin fining is the shortcut that clear the beer in 24 to 48 hours. It is simply accelerating a natural process.
I use half a packet of Knox unflavored gelatin dissolved in half a cup of warm water for five gallons. I add it after the beer has been cold-crashed to at least 35°F for a day.
Cold temperatures are critical because the proteins need to be in a semi-flocculated state for the gelatin to grab them effectively.
I pour the dissolved gelatin into the fermenter and leave it alone for two days. When I come back, the beer looks like it’s been lagering for a month.
I’ve compared gelatin-fined lagers to naturally-cleared lagers in blind tastings, and the only difference is the time it took to reach clarity.
Don’t add gelatin while fermentation is still active. The CO2 production will just stir it up and render it useless. Wait until fermentation is done and the beer is crashed.
Sensory Comparison: Can You Tell the Difference?
In most cases, people cannot reliably tell the difference between these methods. I’ve had fast lagers that were indistinguishable from those fermented at 50°F for three weeks.
The biggest difference is in delicate styles like Czech pilsners, where any minor fermentation quirk is more noticeable.
A fast-fermented pilsner is 90 percent of the way there. That last 10 percent might matter for a competition, but for a house lager, the difference is negligible. (See Pilsner details).
For robust styles like schwarzbier or doppelbock, the malt character dominates and masks any minor fermentation quirks.
One gap in my knowledge is long-term aging comparison. Traditional lagers are said to age more gracefully.
However, I rarely keep beer around long enough for that to be a priority. The fast method is for people who want results without the wait.
If you’re entering a competition, stick with traditional methods for delicate lagers. If you’re brewing for yourself or casual tastings, the fast method is more than sufficient.
Conclusion
The fast lager method isn’t about making bad beer quickly; it’s about making good beer efficiently. Cold fermentation is a tool, not a requirement, and pressure fermentation acts as a technical “cheat code.”
By combining these methods, you can go from grain to glass in 14 days without sacrificing the crisp character that defines the style.
| Metric | Value |
|---|---|
| Fermentation Temp | 68°F |
| Pressure | 12 PSI |
| Pitch Rate | 400 billion cells (2 packs dry yeast) |
| Time to Final Gravity | 7 days |
| Diacetyl Rest Temp | 70°F for 48 hours |
| Cold Crash Duration | 2 days at 35°F |
| Gelatin Dose | 3.5g in 0.5 cup water |
| Total Grain to Glass | 14 days |
| Triangle Test Result | 4/7 correct (not statistically significant) |
If you want to try this, start with a simple recipe and a pressure-tolerant strain like W-34/70. Ferment at 65 to 68°F under 12 PSI and ramp to 70°F for the final two days.
Don’t overthink it. You’ll likely realize you’ve been wasting time for no reason.
References
- Brulosophy. “Lager Yeast: Saflager W-34/70 At 65°F vs. 50°F.” Brulosophy.com.
- Janssen, M., et al. “Impact of Hydrostatic Pressure on Yeast Fermentation Performance and Beer Quality.” Journal of the Institute of Brewing, vol. 125, no. 3, 2019.
- White, Chris, and Jamil Zainasheff. Yeast: The Practical Guide to Beer Fermentation. Brewers Publications, 2010.
- Palmer, John. How to Brew. Brewers Publications.
- Oregon State University. “Diacetyl Formation and Reduction in Beer Fermentation.” OSU Fermentation Science Program, 2018.