Gluten Free Brewing: Millet, Buckwheat, and Sorghum.
I ruined three batches before I understood the sorghum twang-that metallic, sour aftertaste that clings to your tongue like you licked a tin can. I first encountered it when my cousin Sarah, who has celiac disease, asked for a beer that didn’t taste like punishment.
I thought it would be easy to swap barley for sorghum syrup, but her first sip confirmed the disaster: “It tastes like I’m drinking a beer through a rusty pipe.” That hurt, but it taught me that gluten-free brewing is not about simple substitution.
You have to rethink the entire process, from mash chemistry to yeast choice and even your physical equipment. This guide is what I wish I had read before I wasted 15 gallons of wort and a weekend.
Malted Millet and Buckwheat: The New Standard
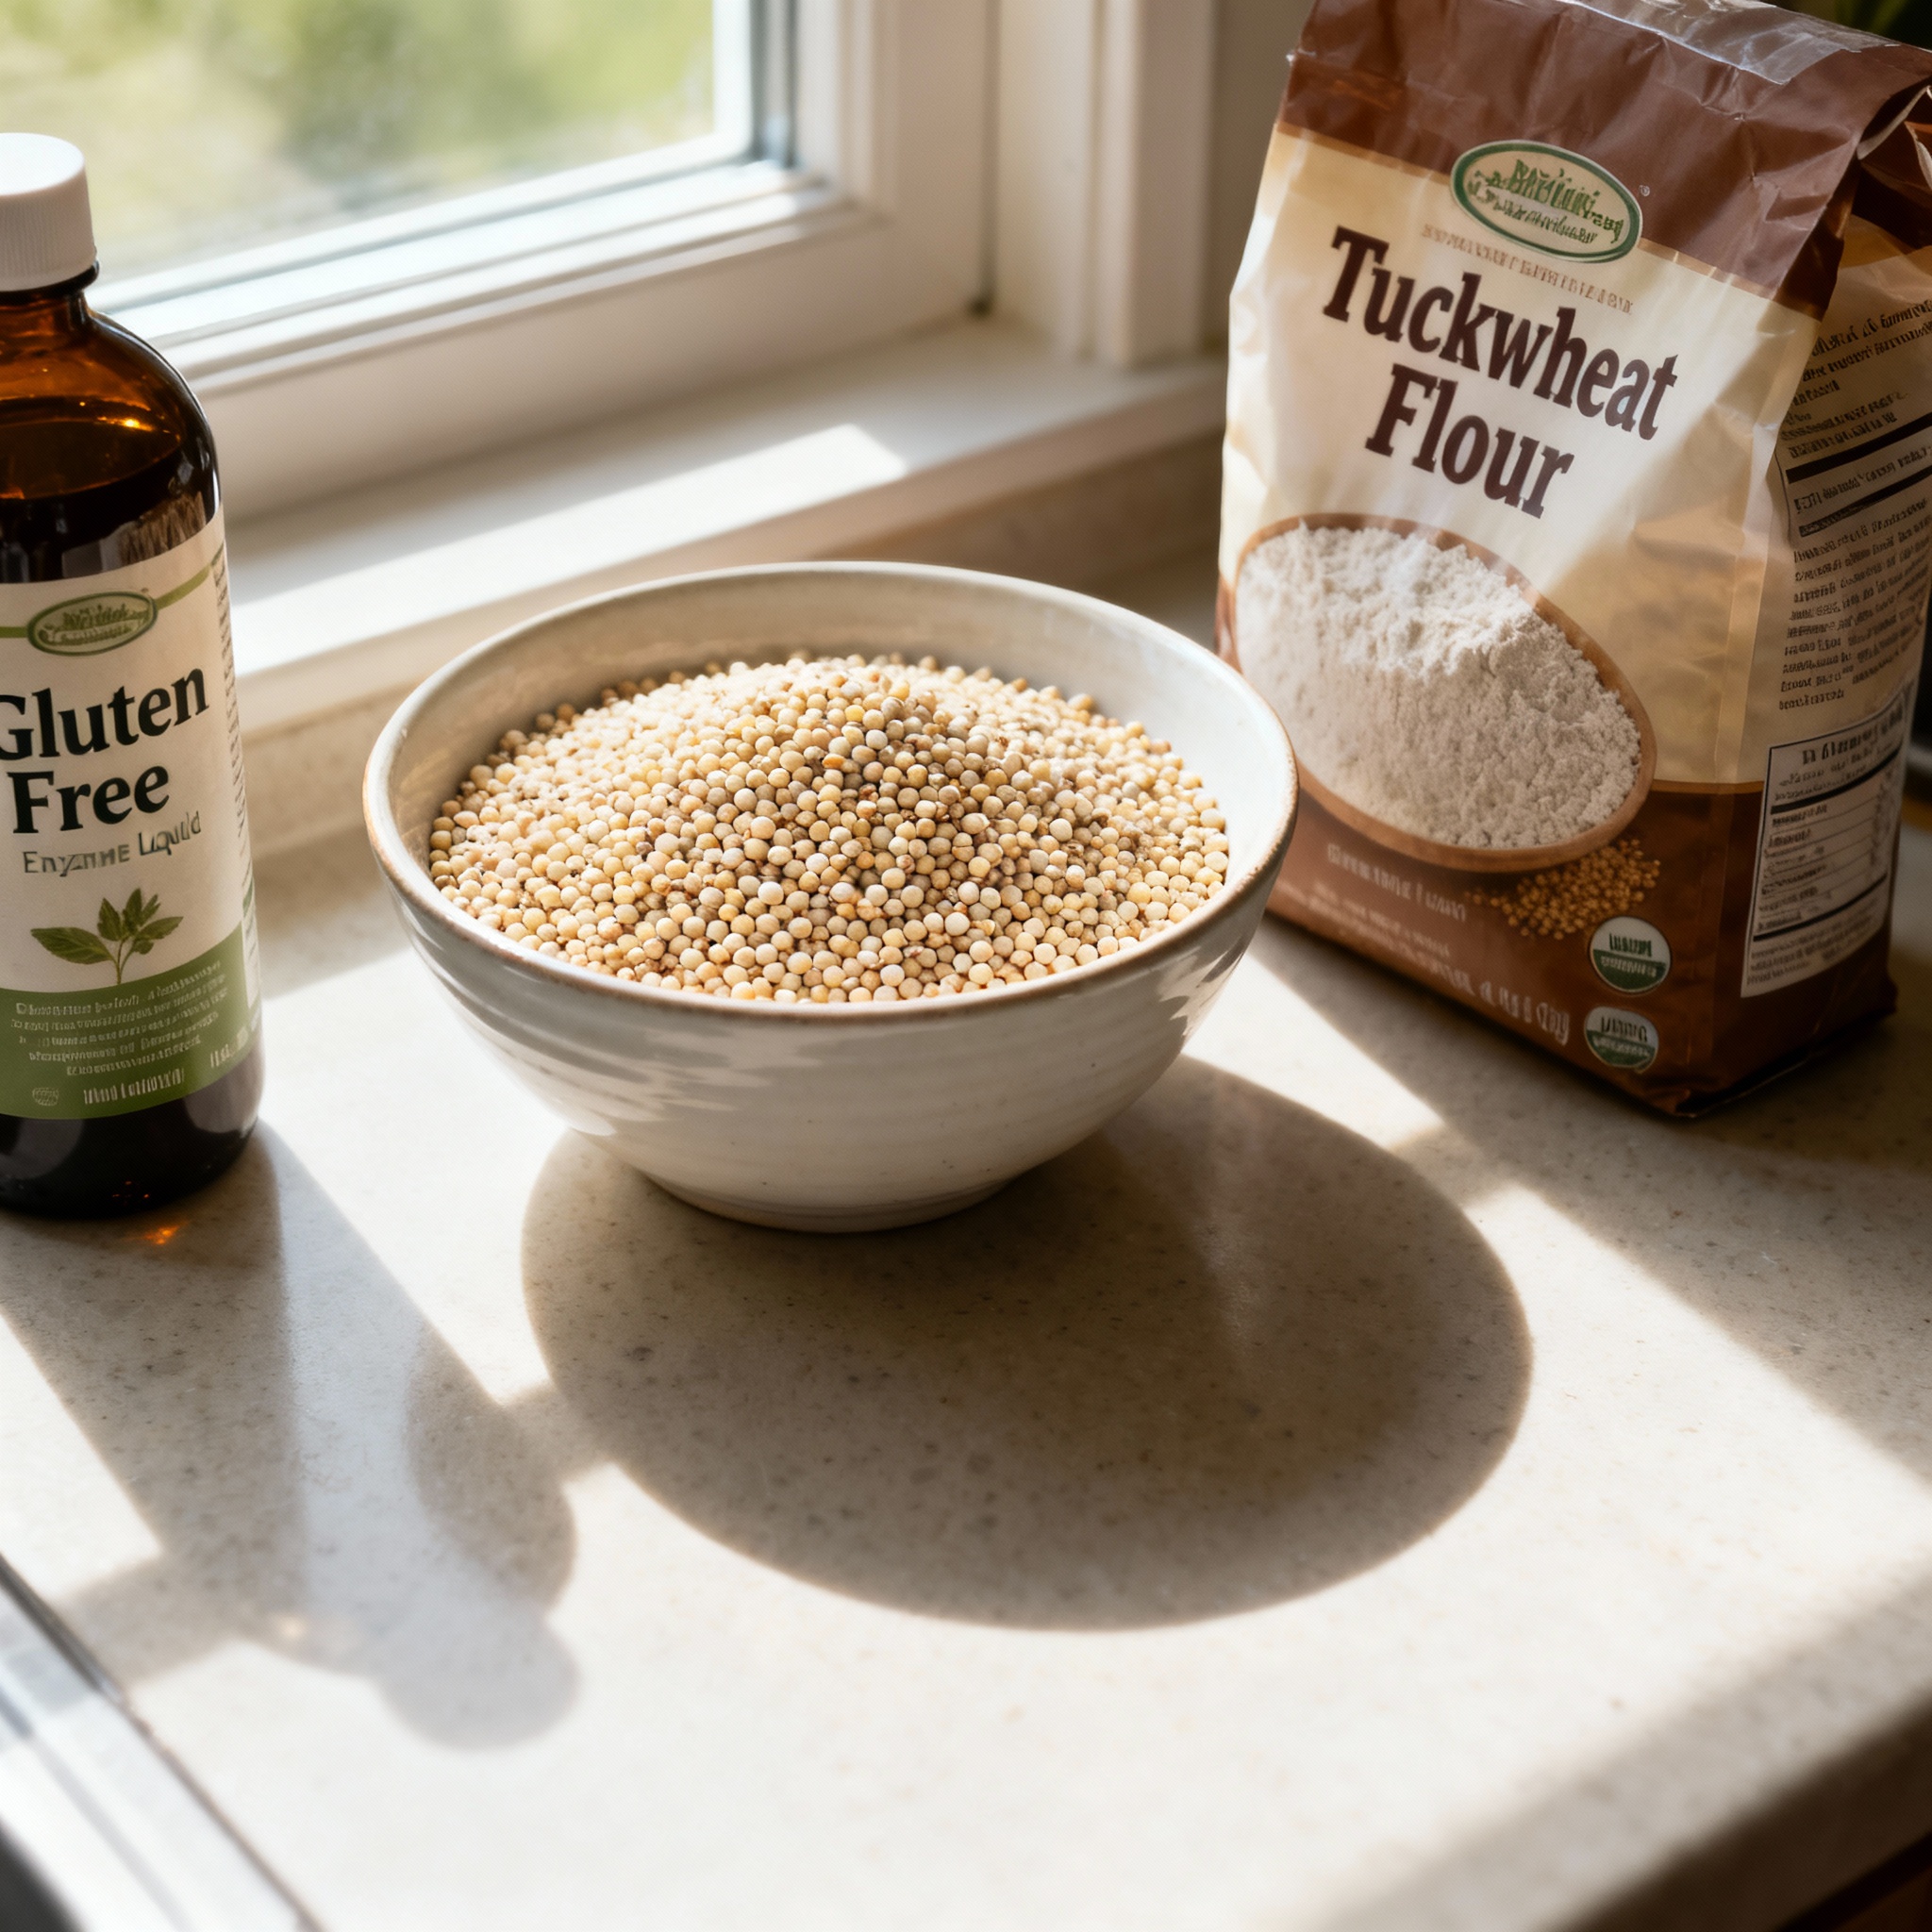
Sorghum syrup has been the default GF ingredient for decades because it is cheap and shelf-stable, but it often ferments into something reminiscent of wet cardboard. I used it for my first two batches because I didn’t know there was an alternative until I discovered malted millet.
Millet is a small grain that, when malted, develops enzymes and complex sugars just like barley, but without the gluten. When I ran a side-by-side comparison, the millet wort smelled like fresh bread, while the sorghum smelled like burnt sugar.
Malted buckwheat is the other staple in my GF pantry, offering a darker, earthier flavor than millet. I use it in small amounts (10-15%) to add depth and cocoa notes, as using too much can make the beer taste like soba noodles.
Unlike barley, gluten-free grains like millet and buckwheat have lower diastatic power. This means they require careful temperature management and often supplemental enzymes to fully convert starches into fermentable sugars during the mash.
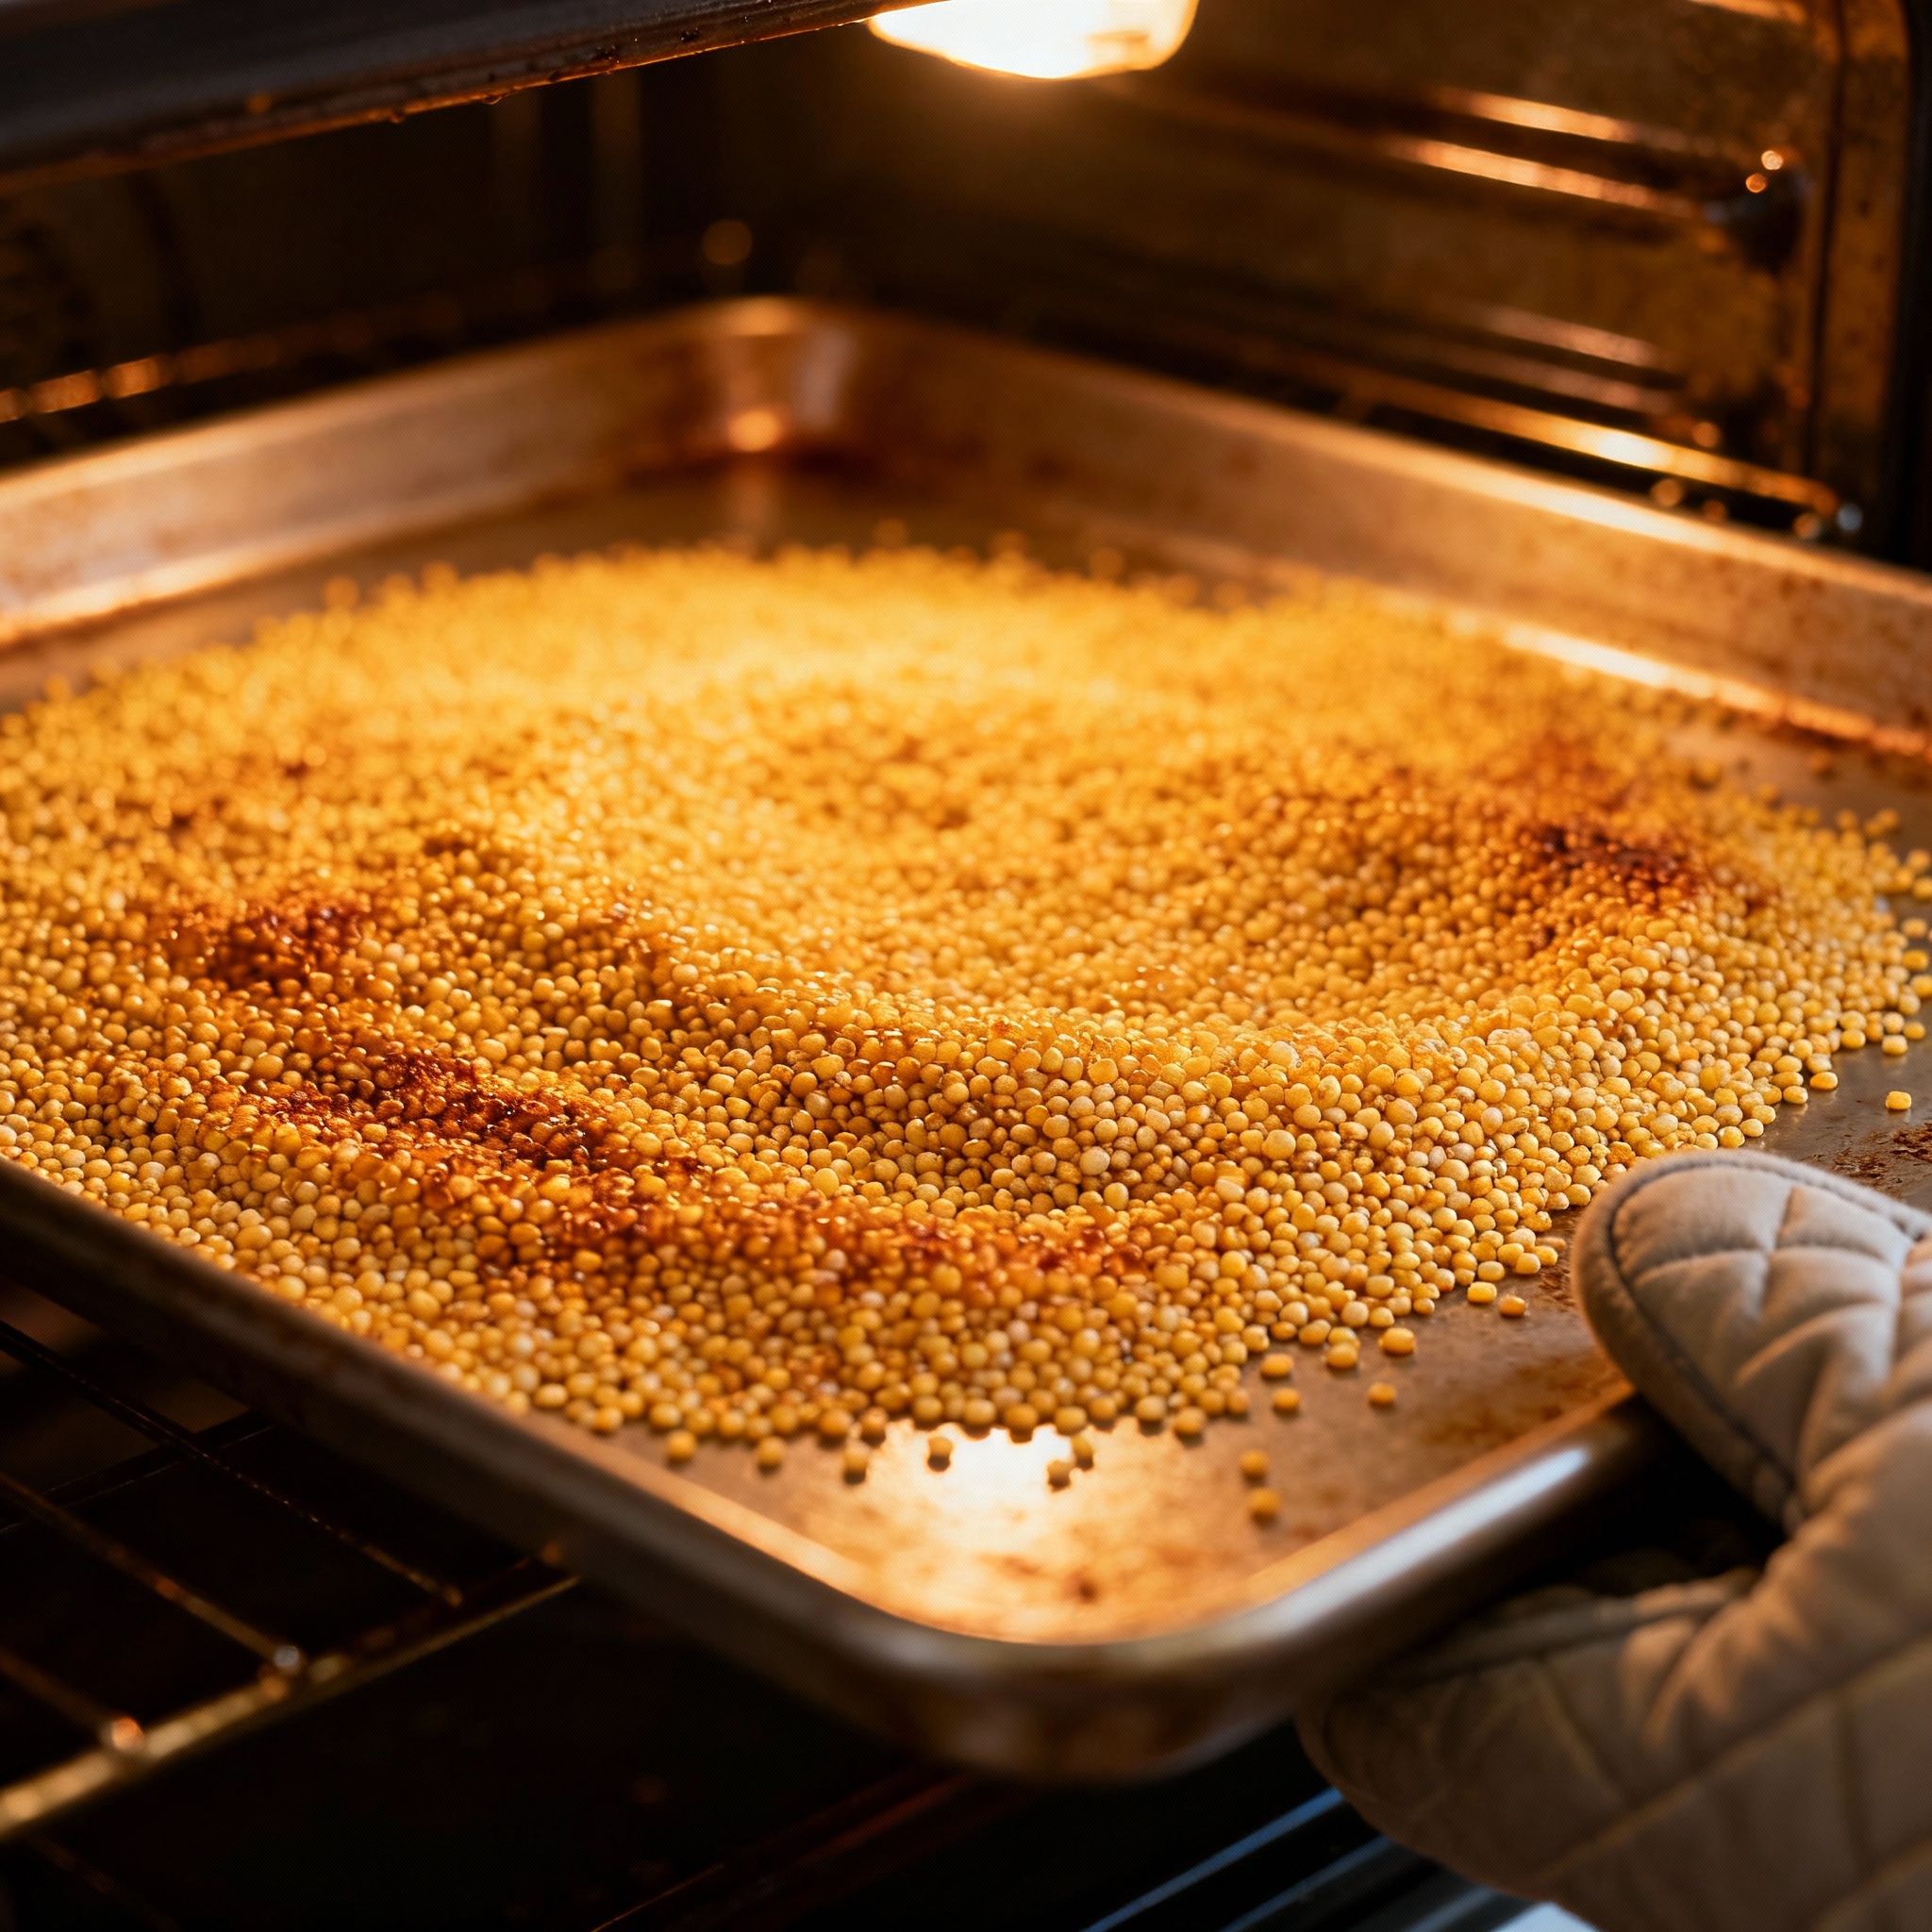
Roasting your own GF grains is an easy way to add complexity. I buy raw millet and buckwheat groats, spread them on a baking sheet, and roast them at 350°F for 20 to 30 minutes to achieve a “toasted hazelnut” profile.
Once the grains cool, I crush them in a dedicated GF grain mill. This DIY approach is about half the price of pre-malted GF grains and provides much fresher flavor than any extract.
If you are using malted millet or buckwheat for the first time, start with a simple blonde ale. Use 80% malted millet, 10% roasted buckwheat, and 10% rice hulls to prevent a stuck mash and establish a clean flavor baseline.
Managing Sorghum Syrup: Masking the Twang
I haven’t given up on sorghum syrup entirely because it remains the easiest entry point for beginners. However, you must manage the “twang”-metallic flavors that develop during the high-heat processing of the syrup concentrate.
The best way to manage these off-flavors is through aggressive hopping and fruit additions. I once brewed a GF IPA where the grapefruit notes from three ounces of Citra hops successfully buried most of the metallic aftertaste.
You can also dilute the syrup with rice malt or potato starch. Rice malt adds a neutral sweetness that softens sorghum’s harsh edges, while potato starch ferments completely dry to let the hops shine.
The metallic profile in sorghum syrup is often linked to high concentrations of polyphenols and tannins. These compounds are intensified by prolonged boiling, which is why a 60-minute limit is critical for GF extract brewing.
I stopped boiling sorghum syrup for longer than 60 minutes. Longer boils concentrate the off-flavors and make the metallic soup worse, so I add the syrup right at the 60-minute mark and start my hop schedule immediately.
If you are stuck with low-quality sorghum syrup, add a quarter-pound of honey at flameout. Honey adds a floral sweetness that cuts through metallic notes, making the beer much more drinkable.
Enzymes for Mashing: The Science of Conversion
GF grains like millet and buckwheat lack the natural diastatic power of barley. If you mash them without external enzymes, you’ll end up with a starchy wort that stalls at a high gravity like 1.030.
I use a high-temperature alpha amylase enzyme called Termamyl. The dosage is tiny-about 0.1 mL per pound of grain-added at 150°F. This enzyme chews through starches to create the simple sugars yeast need.
For a drier finish, I sometimes add glucoamylase, which breaks down complex sugars into glucose. This can result in a final gravity as low as 1.002, perfect for a crisp GF saison but lacking in body for other styles.
Gluten-free starches can behave differently than barley starch; they often require higher gelatinization temperatures. Supplemental enzymes are necessary to ensure these starches don’t revert to unfermentable forms during the cooling process.
I weigh my enzymes on a milligram scale and keep detailed logs of every batch. Through trial and error, I found that malted millet needs less enzyme than roasted buckwheat, while rice malt needs almost none.
If you don’t have a milligram scale, use a half-teaspoon of alpha amylase per five-gallon batch. If your gravity hasn’t dropped after three days of fermentation, you’ll know to increase the dose next time.
Yeast and Gear: Ensuring Celiac Safety
Most beginners miss the fact that yeast can contain gluten if it was grown on barley wort. When you pitch a liquid culture, you are adding the nutrient broth it was propagated in, which can trigger a reaction in sensitive individuals.
I only use dry yeast that is certified gluten-free, such as Safale US-05 or S-04. These are grown on glucose-based media and are safe for celiac-friendly brewing according to manufacturer allergen statements.
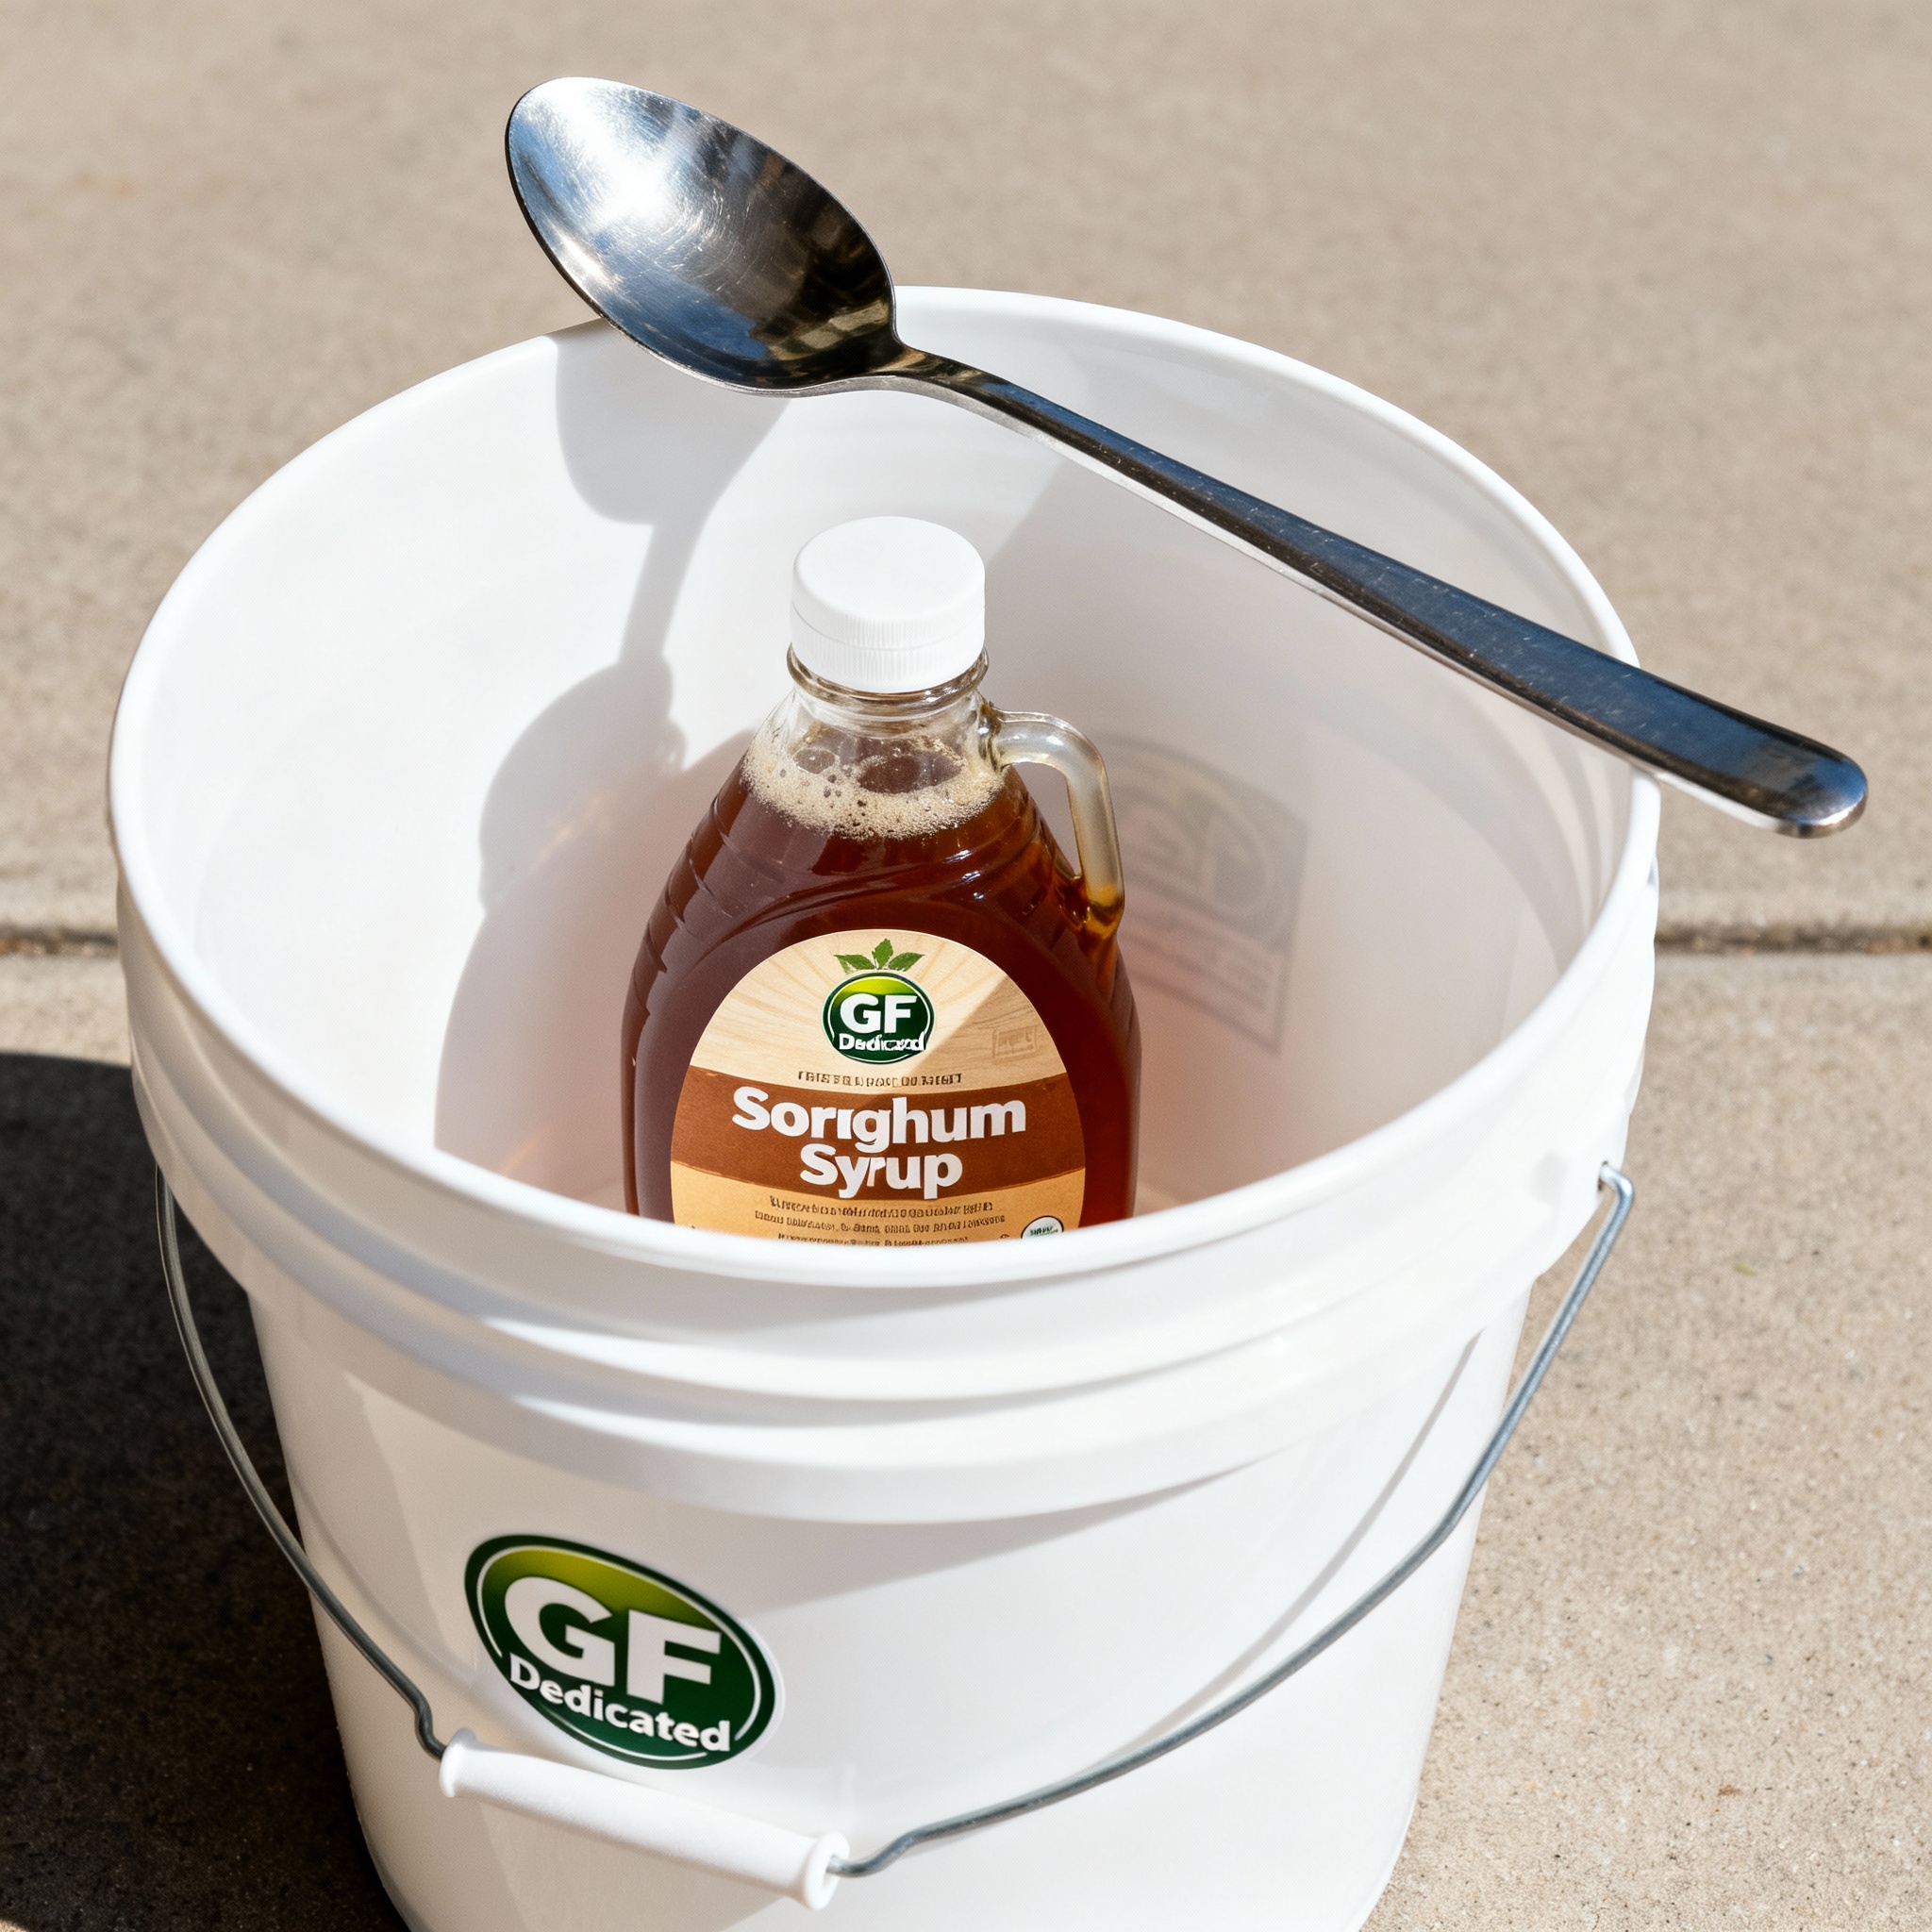
Cross-contamination is the silent killer in the brewhouse. Plastic is porous and traps microscopic grain particles that cannot be sanitized away, so I keep a completely separate set of plastic equipment for GF batches.
The legal limit for “gluten-free” labeling is generally 20 ppm. Contamination from a single used plastic mash paddle can easily push a batch to 25 ppm or higher, making it unsafe for those with celiac disease.
I mark my GF-only gear with a red Sharpie, including fermenting buckets, paddles, and tubing. While glass and stainless steel can be sanitized, dedicated plastic is the only way to guarantee safety for someone like my cousin.
| Parameter | Value | Notes |
|---|---|---|
| Grain Bill (5 gal) | 8 lbs millet, 1 lb buckwheat, 1 lb rice hulls | Rice hulls prevent a stuck mash |
| Enzyme Dose | 0.5 mL Alpha Amylase | Added at 150°F for a 90 min mash |
| Yeast Choice | Certified GF Dry Yeast | Safale US-05 or S-04 are safe bets |
| Safe Threshold | < 20 ppm | The goal for celiac-safe homebrew |
Conclusion
Gluten-free brewing isn’t harder than regular brewing; it just requires a different set of rules. You have to focus on enzyme chemistry, ingredient purity, and the integrity of your equipment to succeed.
When Sarah tasted my successful millet-based pale ale, she said it was the best beer she had ever had-not just the best GF beer. That is the standard we should all aim for in our home breweries.
Start with malted millet and a clean dry yeast. Invest in a few dollars of dedicated plastic gear and trust the process. The results are worth the extra care.
References
- Celiac Disease Foundation. Gluten-Free Labeling Records and Safety Standards.
- Grouse Malt House. Millet and Buckwheat Technical Brewing Specifications.
- Fermentis. (2023). Allergen Statements for Safale and Safbrew Yeast Strains.
- American Society of Brewing Chemists. (2019). Enzymatic Conversion of Pseudo-Cereals in the Mash.