Winter Warmers: Spices, Alcohol, and Malty Comfort
Introduction: Beers for the Fireside
I brewed my first winter warmer in August of 2019. It was a sweltering 92°F outside, and I was standing in my garage sweating through a flannel shirt, stirring a pot of molasses into wort that smelled like Christmas.
My neighbor walked by and asked if I was making BBQ sauce. Close enough.
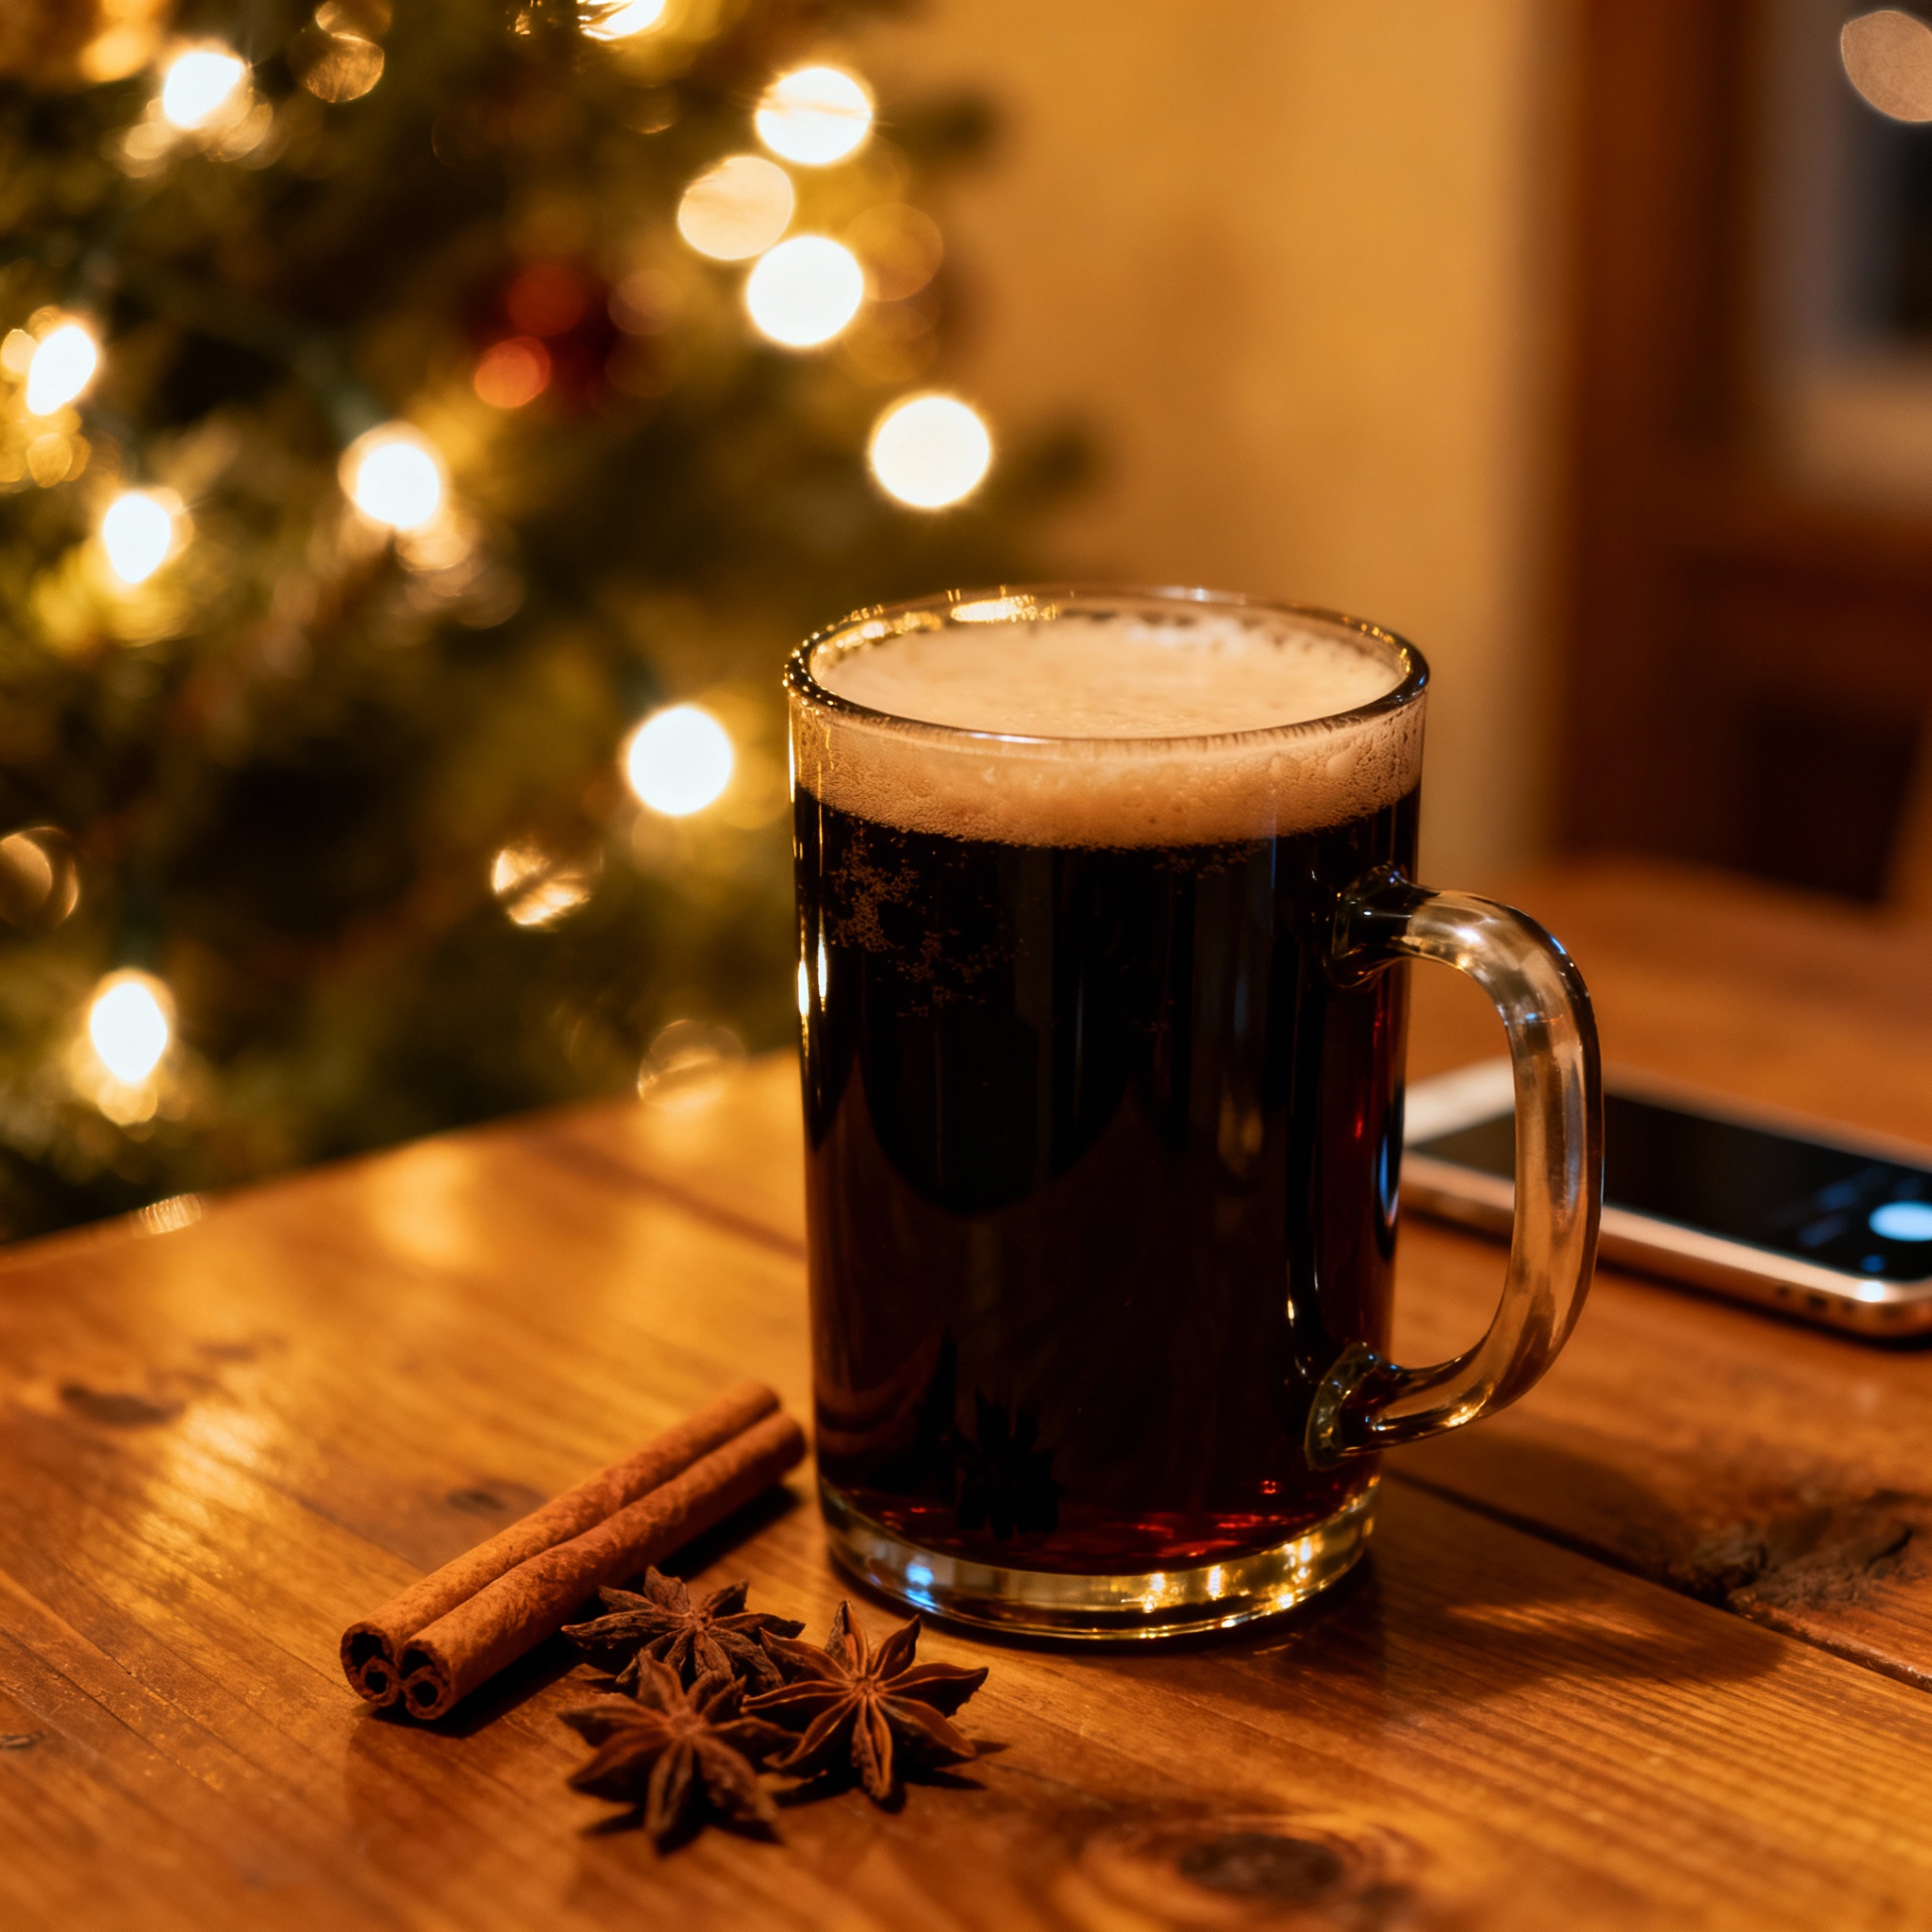
Winter warmers are the beers you pour when the lights are low, the fire is crackling, and you want something that tastes like a hug in liquid form. They are big, malty, spiced, and strong enough to make you forget that you still haven’t fixed the drafty window in the living room.
These are not session beers. These are sipping beers. Conversation beers.
The kind you pour for your uncle who always complains that craft beer tastes like “hoppy water,” and then watch his face change when he realizes beer can taste like gingerbread and burnt sugar.
The trick with winter warmers is balance. Too much spice and you have potpourri. Too much alcohol and you have regret. Too sweet and it is cloying.
But when you get it right, when the malt and the spice and the alcohol all land in harmony, you have something worth cellaring. Something worth giving away in bottles with hand-written labels.
This is the guide I wish I had back in 2019, before I over-spiced my first batch so badly it tasted like I had dissolved a candle into beer. Let’s talk about how to build a winter warmer from the ground up, starting with the malt backbone and ending with bottles you can wrap in twine and give to people who matter.
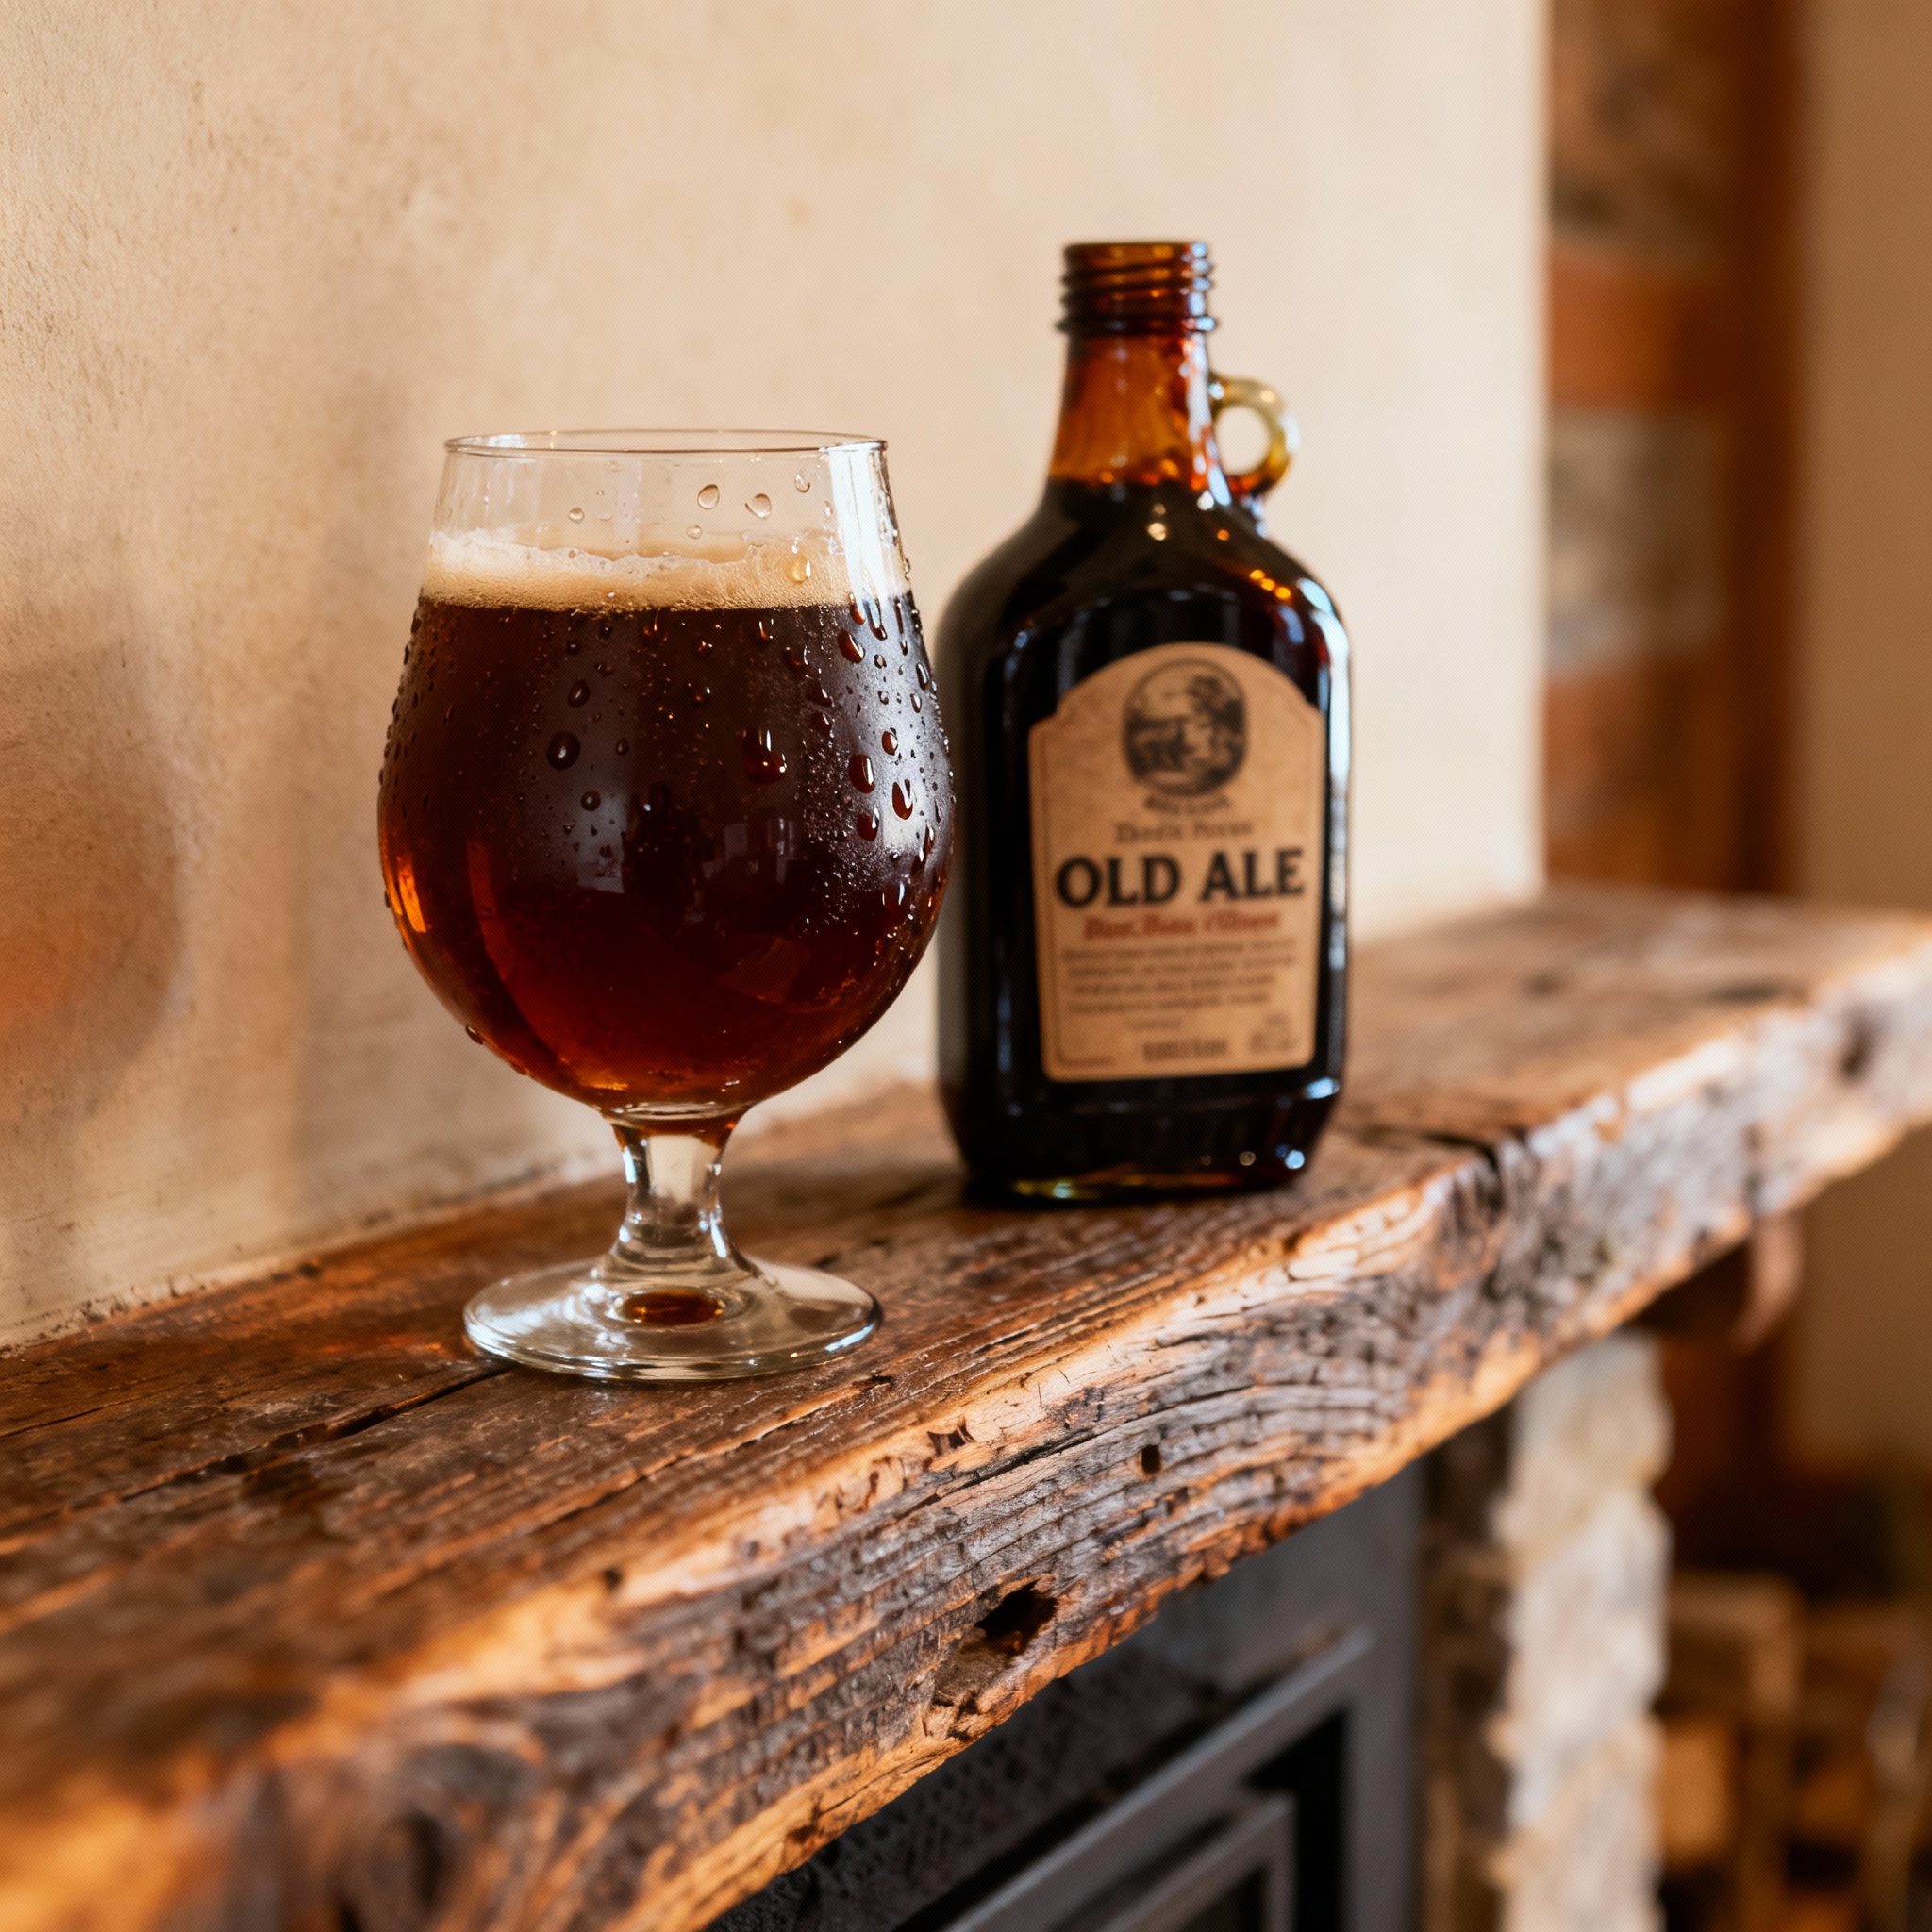
The Base Beer: English Old Ale or Brown Ale base
A winter warmer starts with a strong, malty foundation. You are looking for something in the 7% to 9% ABV range, built on English malts that bring toffee, biscuit, and a touch of dark fruit.
Think of an Old Ale or a robust Brown Ale as your skeleton. This is not an IPA. Hops are here to balance, not to star.
I usually start with Maris Otter as the base malt. It is the workhorse of English brewing, and it gives you that bready, slightly nutty backbone that holds up under spice and sugar.
You want about 80% of your grain bill to be this base malt. Then you layer in specialty grains like Crystal 60L (for sweetness and caramel), Chocolate Malt (for color and roasted notes without bitterness), and maybe a touch of Special B if you want raisin-like complexity.
Your original gravity should land somewhere between 1.070 and 1.085. This is a big beer. You are not making a table beer.
The alcohol itself contributes warmth, which is part of the style. When I taste a winter warmer and it drinks thin, I know the brewer skimped on the malt bill.
For hops, keep it simple. English varieties like Fuggles or East Kent Goldings are traditional, but honestly, any low-alpha noble hop works.
You are targeting 20 to 30 IBUs, just enough to keep the sweetness in check. I do a single 60-minute addition and call it done.
This is not the beer where you showcase your hop schedule.
Yeast matters here. I like English ale strains that leave some residual sweetness and throw off fruity esters.
Wyeast 1968 (London ESB) or White Labs WLP002 (English Ale) are both solid choices. Ferment on the cooler side of their range (around 65°F to 67°F) to avoid too much fruitiness.
You want warmth from the malt and alcohol, not from banana esters.
Mashing at 154°F to 156°F (68°C-69°C) targets alpha-amylase activity while limiting beta-amylase. This creates a higher proportion of unfermentable dextrins, which provide the “chewy” mouthfeel and tongue-coating body essential for high-gravity seasonal ales.
If you can swing it, mash a little higher than usual (around 154°F to 156°F). This leaves more unfermentable sugars, which gives the beer body and a slightly sweet finish. Winter warmers should coat your tongue, not disappear like water.
Spicing Techniques: Tinctures vs Boil Additions (Cinnamon, Nutmeg, Ginger)
Here is where most people ruin their winter warmer. They get excited, dump a tablespoon of cinnamon into the boil, and end up with something that tastes like Red Hots candy dissolved in alcohol.
Spicing is an art, and the margin for error is razor-thin.
There are two main approaches. The first is adding spices during the boil. The second is making tinctures and dosing to taste.
I have tried both, and I will tell you right now that tinctures give you control, while boil additions give you integration.
If you add spices to the boil, you are locking in that flavor. There is no turning back.
The oils volatilize, the flavors meld with the wort, and what you get is what you get. Cinnamon sticks (not powder, never powder) go in during the last 10 minutes of the boil.
Whole nutmeg gets grated and added at the same time. Fresh ginger, peeled and sliced thin, can handle 15 minutes.
You are looking at small amounts here. One stick of cinnamon for a 5-gallon batch. Half a nutmeg. An inch of ginger root.
Start conservative. You can always brew another batch with more spice, but you cannot un-spice a beer.
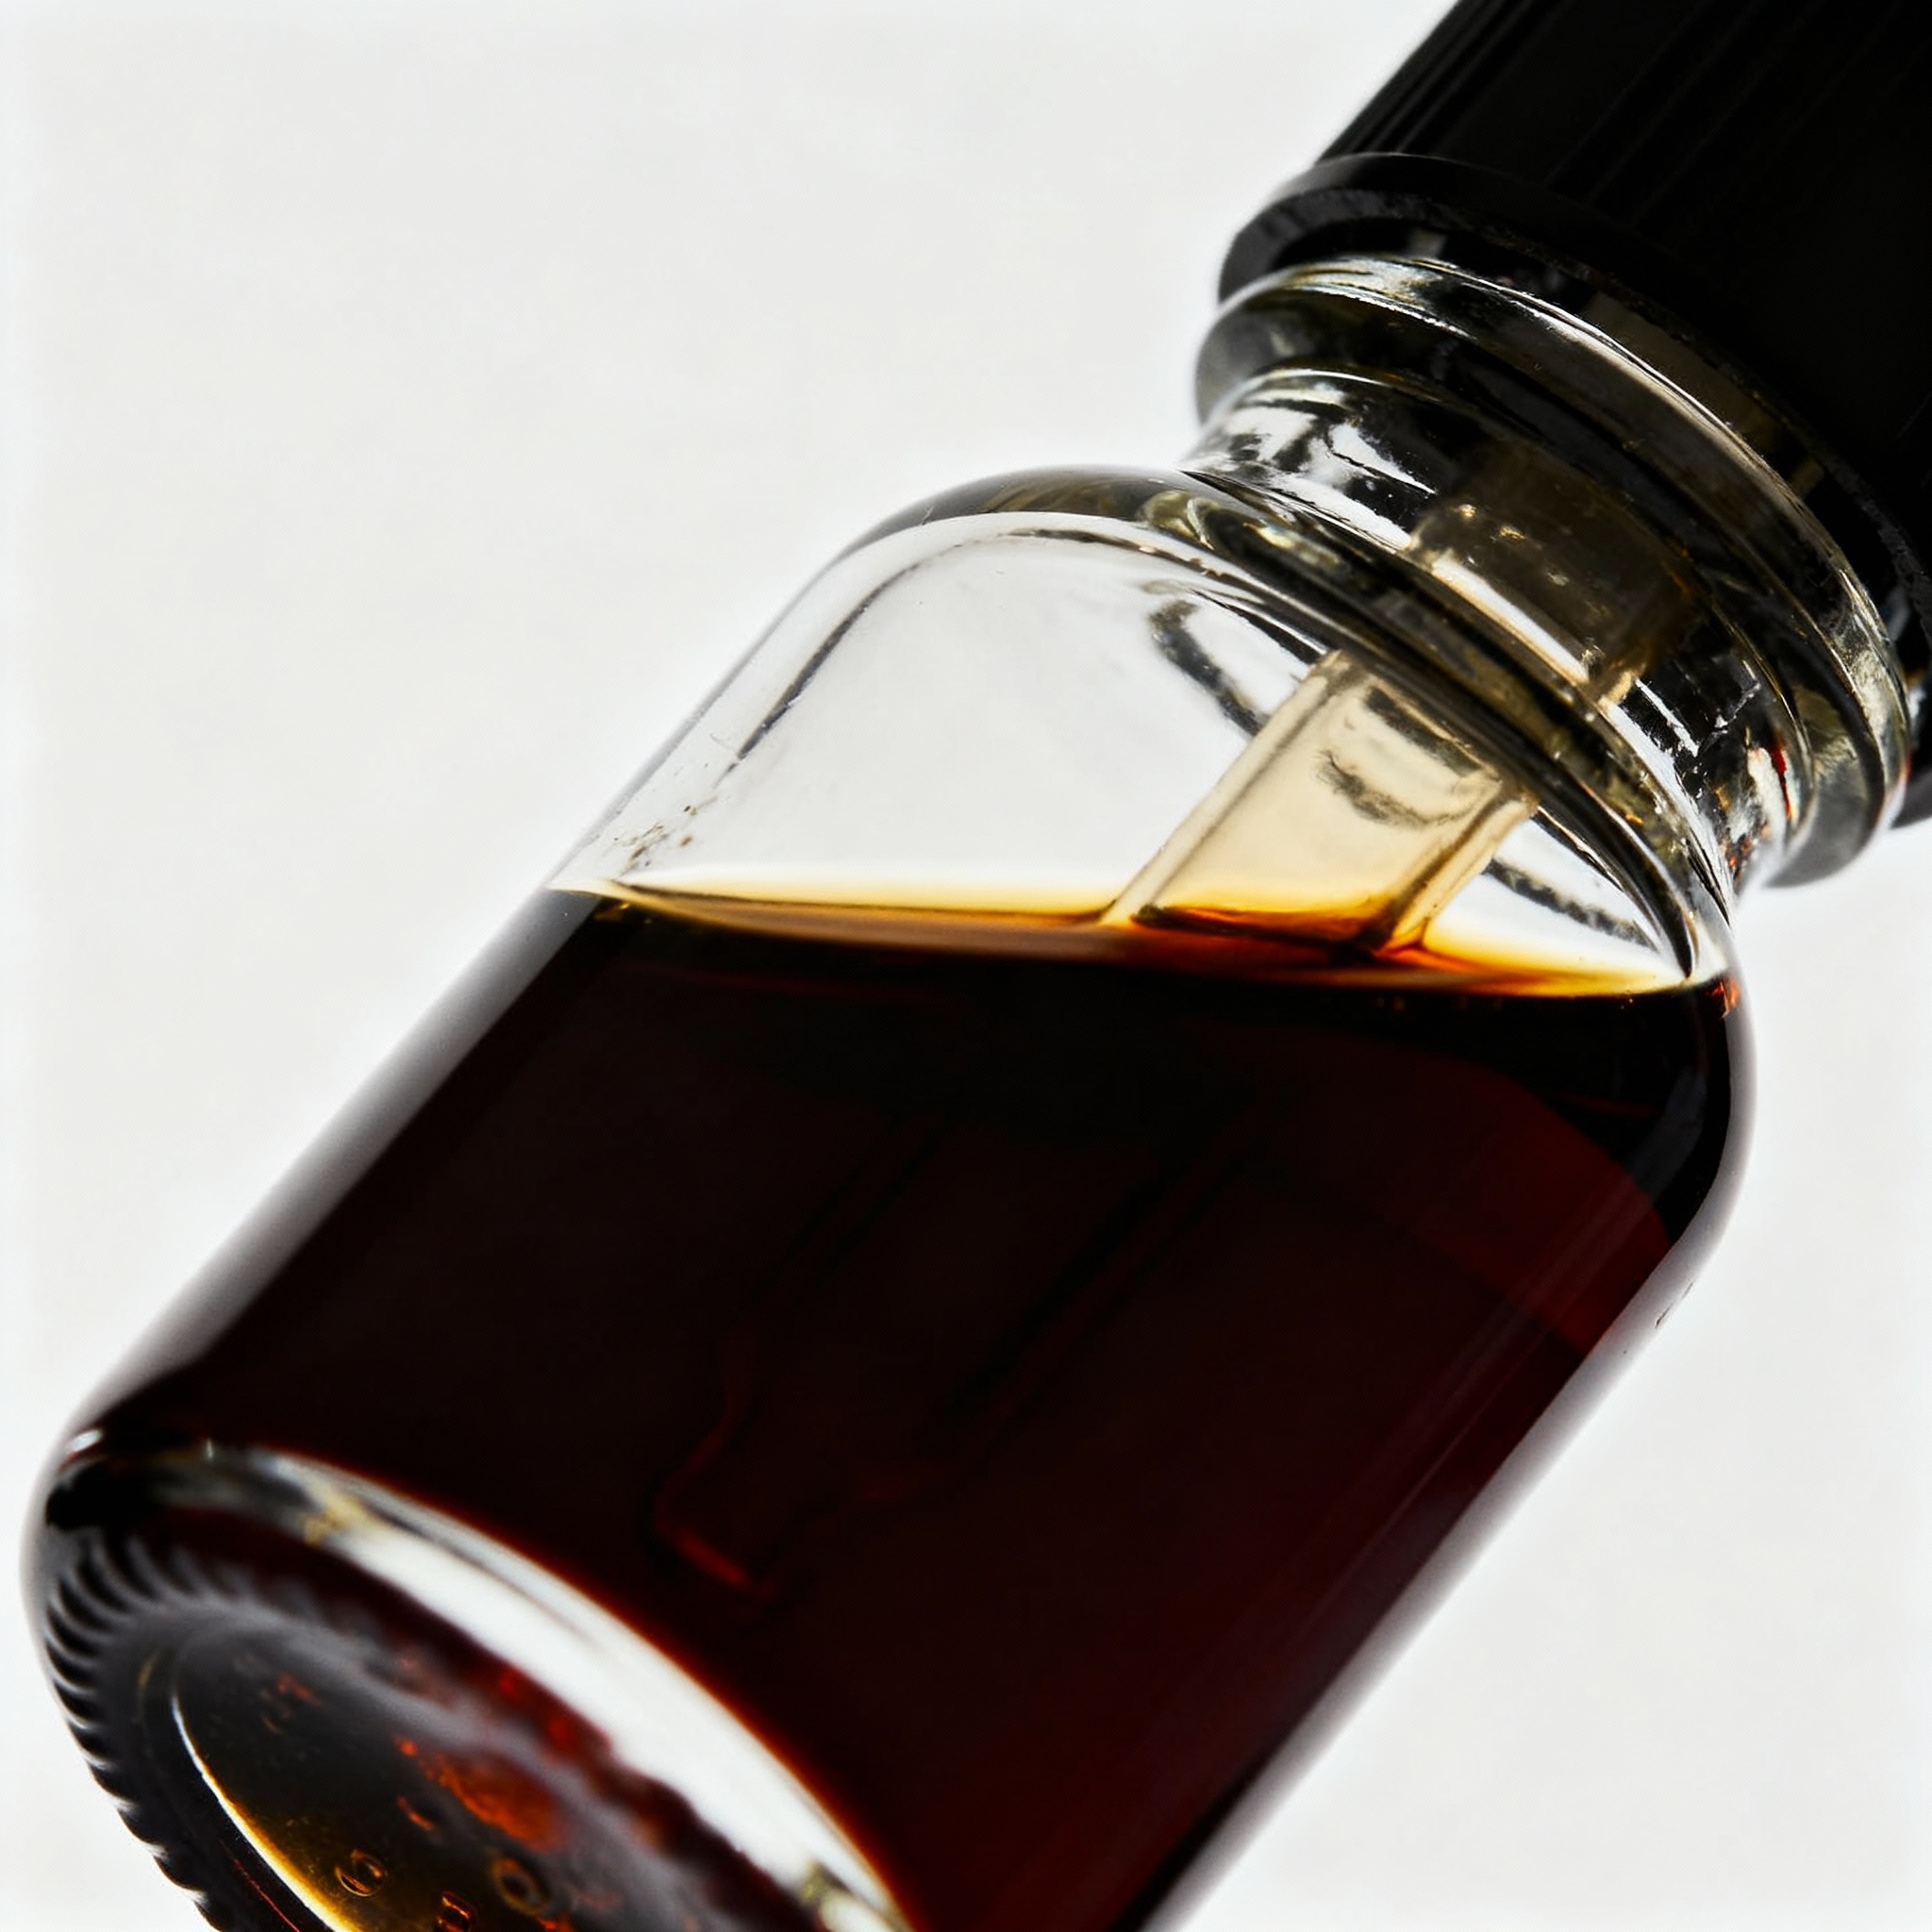
Tinctures are where I have landed after years of trial and error. You take your spices, soak them in vodka for a week, and then dose the beer at packaging.
This gives you the ability to taste, adjust, and dial in the exact level of spice you want. I keep a collection of small mason jars in my cabinet with labels like “Cinnamon Tincture 11/2023” and “Ginger Tincture 12/2023.”
When it is time to bottle, I pull samples, dose them with an eyedropper, taste, and scale up.
Spice aromatics are driven by volatile essential oils like cinnamaldehyde. Adding these to a rolling boil for more than 10 minutes can drive off the delicate top notes, leaving behind a one-dimensional, sometimes woody bitterness.
Here is how I make a basic cinnamon tincture. Take two cinnamon sticks, break them into pieces, and drop them into 4 ounces of vodka.
Let it sit in a dark cupboard for a week, shaking it once a day. Strain out the solids.
Now you have a concentrated cinnamon extract. Start with a teaspoon per gallon of beer and taste. Add more if needed.
Same process works for nutmeg (grate half a nutmeg into vodka) and ginger (slice and soak).
The beauty of tinctures is that you can blend. Maybe you want more cinnamon than nutmeg. Maybe the ginger is overwhelming and you need to back it off.
You can fine-tune this like a sound engineer adjusting levels on a mixing board.
One warning. Do not use pre-ground spices from the grocery store. They are stale, they have been sitting on a shelf for months, and they taste like dust.
Buy whole spices from a place that moves volume (I like Penzeys or a local spice shop). Freshness matters.
Make a “test bottle” before you dose the whole batch. Pull a 12-ounce sample, dose it with tincture, let it sit for 10 minutes, then taste. If it works, scale up. If it does not, adjust and try again. This has saved me from ruining entire batches.
Treacle and Molasses: Adding Dark Sugars for Rum-Like Depth
If you want your winter warmer to taste like it has been aged in a rum barrel without actually owning a rum barrel, you need to add dark sugars.
This is where treacle and molasses come in. These are thick, sticky, almost burnt-tasting syrups that bring a deep, caramelized complexity that regular malt cannot touch.
Treacle is a British thing, a byproduct of sugar refining that tastes like dark toffee and burnt caramel. Molasses is the American equivalent, though it skews a bit more bitter and mineral-heavy.
I use both, depending on what I can find. Lyle’s Golden Syrup (the light treacle) is available at most grocery stores in the baking aisle.
For molasses, I go with Grandma’s Original (not blackstrap, which is too harsh).
You add these sugars late in the boil, around the 15-minute mark. I shoot for about 8 ounces to 12 ounces per 5-gallon batch.
Any more and the beer starts to taste like you are drinking molasses straight. The sugars are highly fermentable, so they will boost your ABV without adding body.
This is actually a good thing because it keeps the beer from turning into syrup.
The flavor you get from treacle is hard to describe. It is not just sweet. It is rich, it is round, it has this almost savory edge that makes you think of Christmas pudding or sticky toffee cake.
In the finished beer, it shows up as a dark fruit note, like figs or raisins, with a hint of rum-soaked tobacco.
One thing I learned the hard way is that treacle and molasses can stress your yeast if you add too much. High-gravity beers are already a challenge, and adding a big sugar addition can leave your yeast struggling to finish.
I make a yeast starter for every winter warmer I brew, and I pitch at least 1.5 times the normal rate. Fermentation might take two weeks instead of one, and that is fine.
Let it ride.
Warm the treacle or molasses before you add it to the boil. Put the bottle in a bowl of hot water for 10 minutes. It will pour like honey instead of cold tar, and you will not lose half of it stuck to the measuring cup.
Aging: Why You Should Brew This in July for December Drinking
This is the part that requires patience, and I am terrible at patience. I want to taste my beer the day I bottle it.
But winter warmers need time. They need to sit in a dark, cool place and let all the sharp edges smooth out.
When you first taste a fresh winter warmer, it will be hot. The alcohol will burn a little.
The spices will be loud and unintegrated. It is like listening to a band at their first rehearsal. Everyone is playing the right notes, but they have not learned to listen to each other yet.
Give it two months, and something magical happens. The alcohol mellows. The spices blend into the malt.
The dark sugars develop complexity. What was harsh becomes smooth. What was disjointed becomes harmonious.
This is why I brew my winter warmers in July or August. By December, they are ready.
I age mine at cellar temperature, which in Asheville means around 60°F to 65°F. If you have a basement, use it.
If not, find the coolest, darkest closet in your house and stash the bottles there. Some people age in the fridge, but I find that slows things down too much.
There is science behind this. Esters and fusel alcohols (the compounds responsible for fruity and alcoholic flavors) undergo chemical reactions over time.
They oxidize, they bond with other molecules, and they mellow out. It is the same reason whiskey tastes better after years in a barrel. Time is an ingredient.
One batch I brewed in 2020 sat for six months because I forgot about it. When I finally cracked a bottle open, it was the best winter warmer I had ever made.
The spices were whispers instead of shouts. The alcohol was warming but not burning. I wrote the recipe down and labeled it “The One I Forgot.”
If you are giving bottles as gifts, brew in August and package in September. By Thanksgiving, they will be drinkable. By Christmas, they will be excellent. Include a note on the bottle that says “Best enjoyed by [date].” People appreciate guidance.
Packaging: Carbonation Levels and Bottling for Gifts
Winter warmers are low-carbonation beers. You are not making a Belgian tripel here.
You want just enough CO2 to lift the flavors without creating a foam volcano. I target around 2.0 to 2.3 volumes of CO2, which is on the lower end of the carbonation spectrum.
For a 5-gallon batch at room temperature, that works out to about 3 ounces of priming sugar. I boil it in a cup of water, let it cool, and then gently stir it into the bottling bucket.
Do not splash. Do not aerate. You are done with oxygen at this point.
Bottle choice matters if you are giving these as gifts. I use 22-ounce bombers because they feel substantial.
You can also use swing-top bottles, which look fancy and are reusable. Whatever you choose, make sure the bottles are clean and sanitized.
Capping is straightforward, but apply even pressure. I have cracked bottles by pressing too hard on one side.
Take your time. The beer has been aging for months. You can afford to spend an extra second per bottle.
Labels turn a bottle into a gift. I use plain kraft paper and print simple designs at home. Include the beer name, the ABV, the date brewed, and a short description.
Store the bottles upright. This minimizes the surface area exposed to the cap and reduces oxidation. Keep them in a cool, dark place until you are ready to drink or gift them.
One last thing. Save a few bottles for yourself. I do this every year.
If you are bottling for long-term aging (6+ months), consider using oxygen-absorbing caps. They are pricier, but they help preserve the beer. I have not used them myself, but homebrewers I trust swear by them.
Conclusion
Winter warmers are not weeknight beers. They are the beers you save for the moments that matter.
The ones you pour when your siblings finally make it home for the holidays, or when you are sitting alone on a cold night and you want something that tastes like effort and care.
Brewing one is an act of optimism. You brew in the heat of summer, trusting that by December, it will be worth the wait.
You measure your spices carefully, knowing that too much will ruin it, but the right amount will make it unforgettable. You add dark sugars and high-gravity malts and then you let time do the rest.
I have brewed a lot of winter warmers over the years. Some were too sweet. Some were too spiced.
But the good ones, the ones that landed right, are the beers people remember. They are the bottles that come up in conversation years later.
If you brew one batch this year, start in July. Use good malt, fresh spices, and a little patience. Bottle it in September. Age it in October and November.
And by December, you will have something worth sharing.
Keep a brewing journal. Write down what you added, when you added it, and how the beer tastes at each stage. Winter warmers improve with iteration, and you cannot improve what you do not measure.
References
- Palmer, J. (2017). How to Brew: Everything You Need to Know to Brew Great Beer Every Time (4th ed.). Brewers Publications.
- Fix, G. J. (1999). Principles of Brewing Science: A Study of Serious Brewing Issues (2nd ed.). Brewers Publications.
- Hierarchical analysis of malt flavor development during kilning and roasting, Journal of Agricultural and Food Chemistry, 2008.
- Aging and maturation of beer flavor compounds, Journal of the Institute of Brewing, 2012.
- Traditional English brewing techniques, CAMRA (Campaign for Real Ale) publications, accessed via www.camra.org.uk.