Carbonation Science: Volumes, PSI, and Temperature.
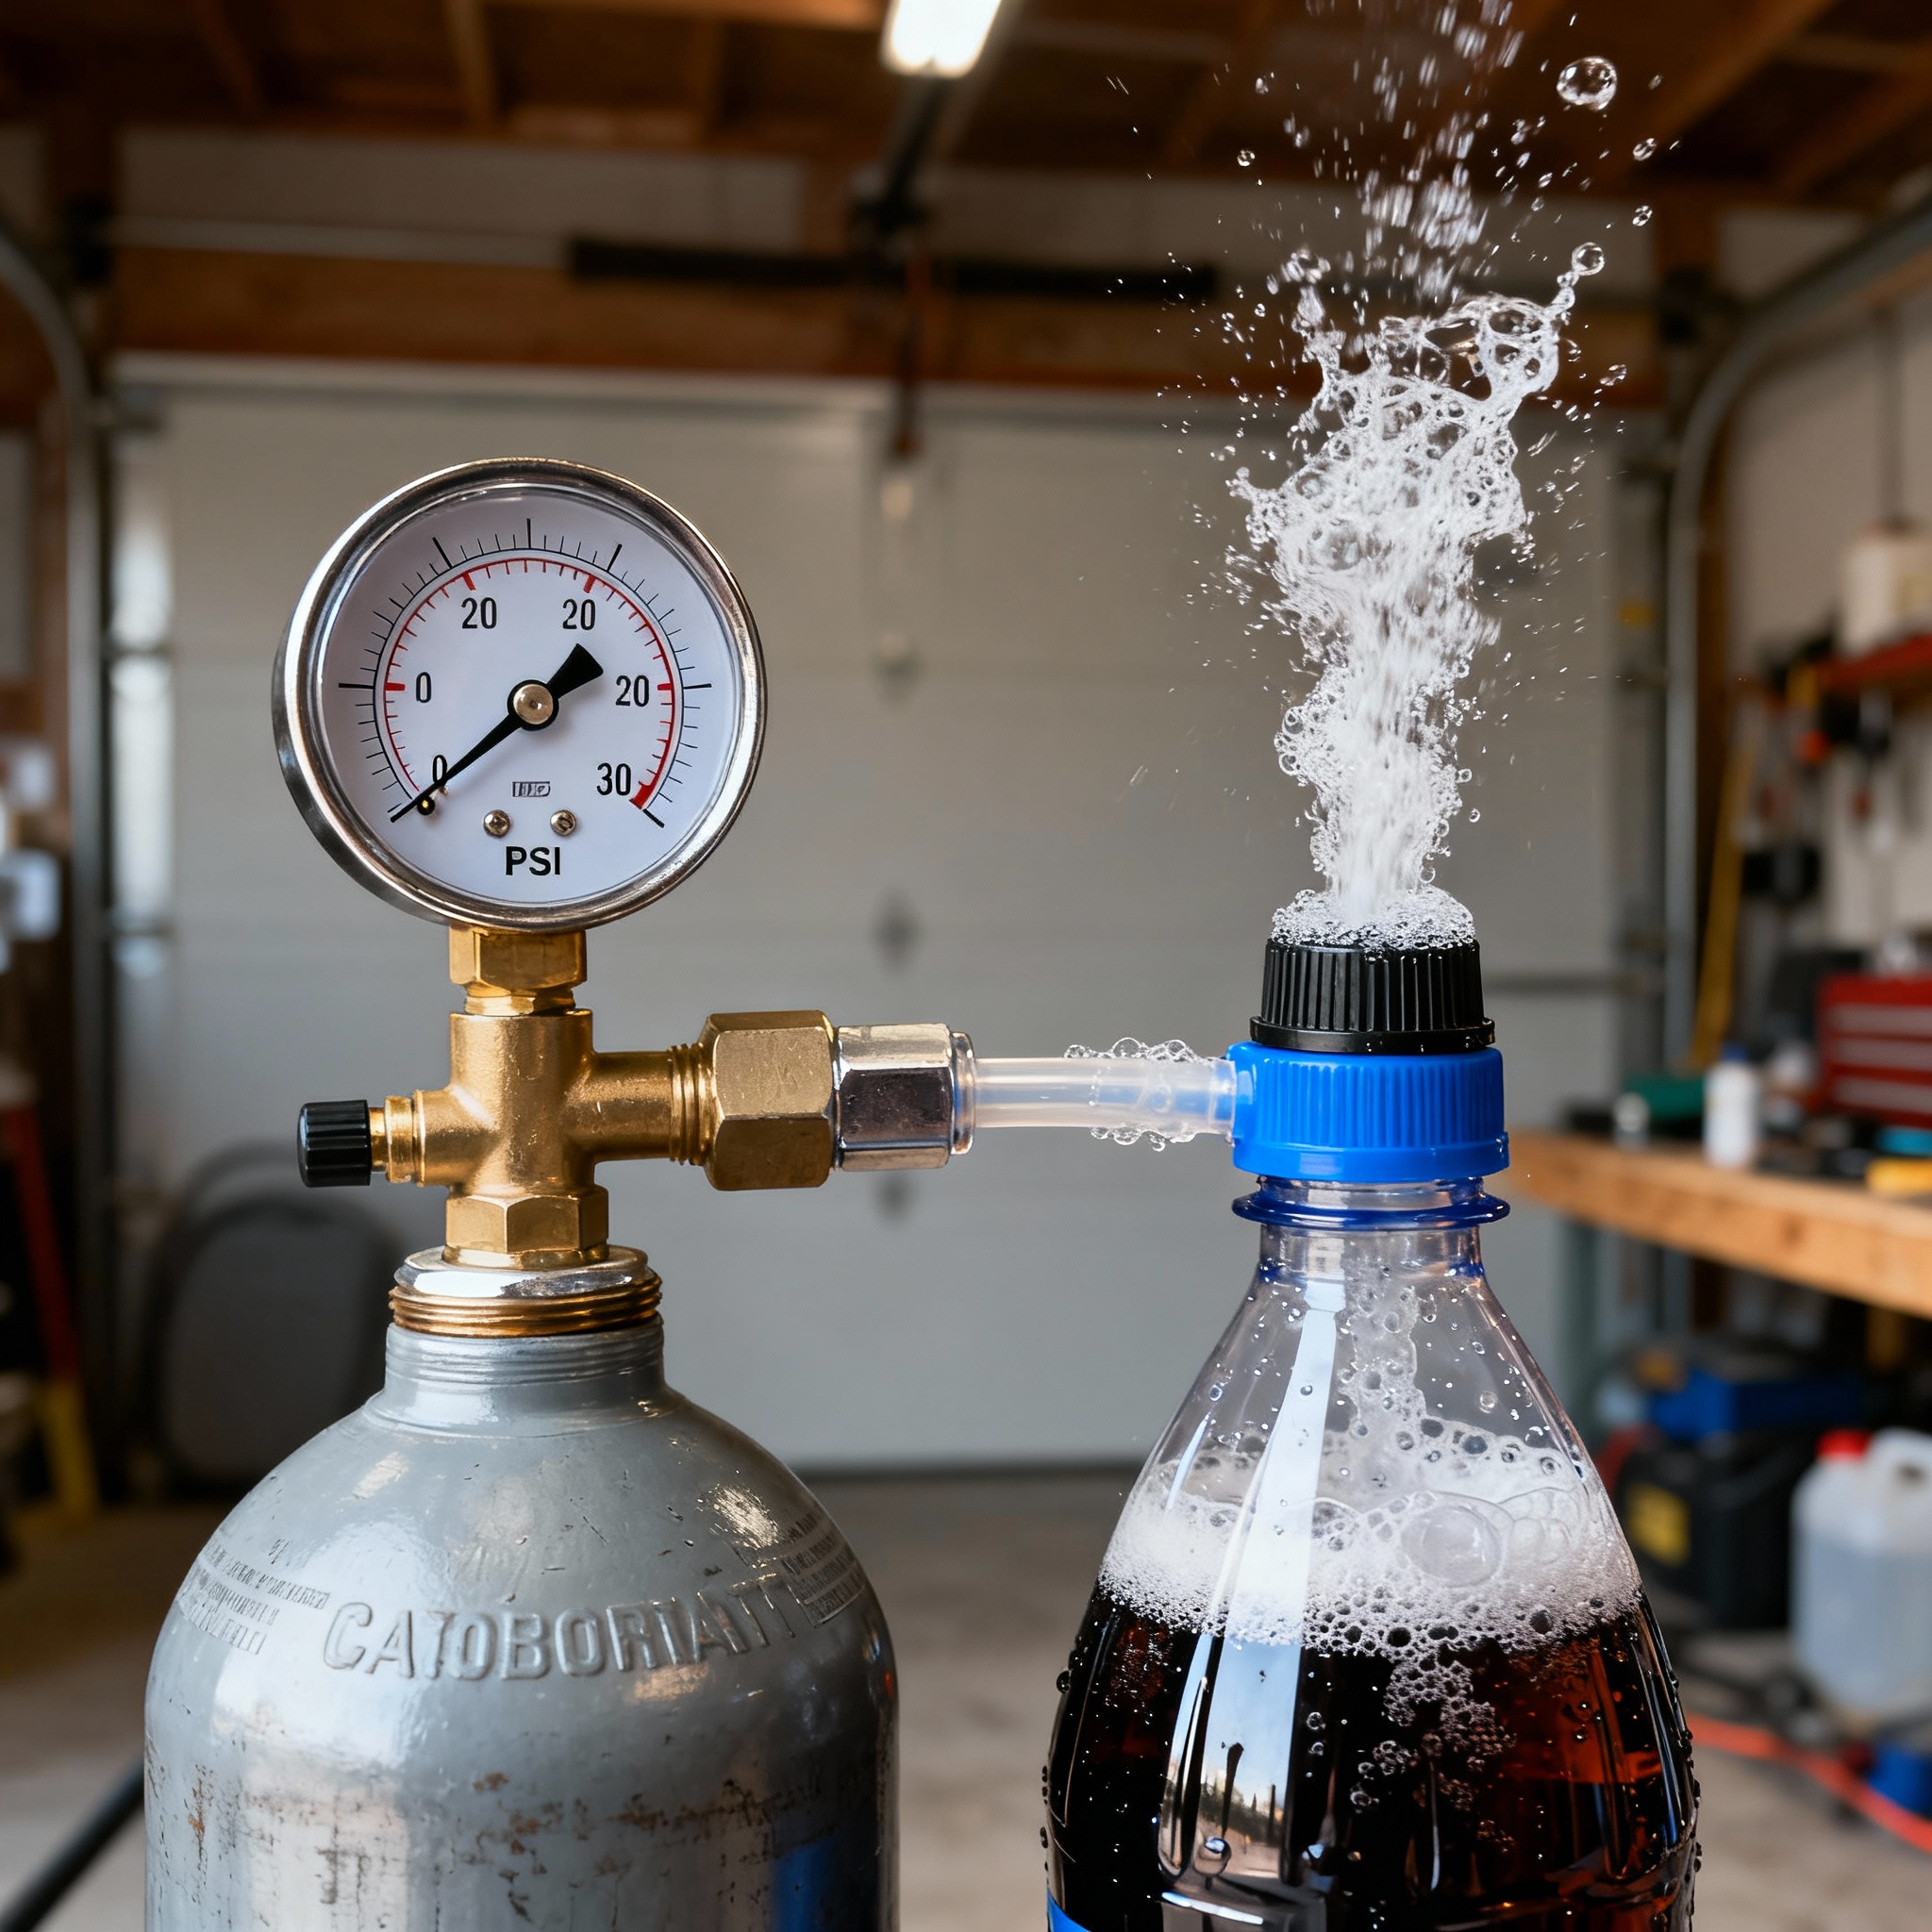
I ruined a perfectly good saison once. Six weeks of careful fermentation, nailed the temp control, hit my gravity target dead on. Then I bottled it without checking my math. Three days later, I heard the first bottle explode in the closet. By morning, I had glass shards embedded in the drywall and beer dripping from the ceiling. The smell hung around for weeks.
That batch taught me something important. Carbonation is not some vague final step you eyeball at the end. It is an ingredient, just like hops or malt. You measure it. You control it. You treat it with the same respect you give everything else in the fermenter, or you end up mopping beer off your floor at 2 AM.
Most people think carbonation is simple. Add sugar, wait, crack a cold one. But carbonation lives at the intersection of chemistry, temperature, and pressure. If you ignore any one of those variables, you get either flat beer or bottle bombs. There is no middle ground when physics is involved. For more on bottling, see my comparison guide.
This guide is not about tricks or shortcuts. It is about understanding the system so you can dial in the exact bubble character you want, whether that is a smooth British mild or a champagne-level Belgian tripel.
Volumes of CO₂: The Unit That Actually Matters
When I first started kegging, I thought PSI was the number I needed to chase. Set the regulator to 12, call it good. But PSI is not the target. It is just the tool. What you actually care about is volumes of CO₂.
One volume of CO₂ means one liter of gas dissolved into one liter of liquid. A British bitter sits around 1.5 to 2.0 volumes. It has gentle bubbles, a soft mouthfeel, and it does not fight the malt. A German weizen might hit 3.0 to 3.5 volumes. That is aggressive carbonation, the kind that scrubs your palate and lifts the clove and banana esters right into your nose.
The difference between 1.5 and 3.0 volumes is not subtle. It changes the entire drinking experience. Low carbonation feels rich and full. High carbonation feels sharp and refreshing. Neither is better. They are just different tools for different styles.
Most brewing software will ask you to input your target volumes, not PSI. That is because the pressure you need depends on temperature. Cold beer holds more CO₂ at lower pressure. Warm beer needs higher pressure to hit the same carbonation level. If you just crank your regulator to some arbitrary number without knowing your serving temp, you are guessing.
I keep a laminated chart taped inside my keezer. It lists common styles and their volume ranges. When I am planning a new batch, I pick the style first, check the volume range, then figure out what pressure I need based on where my keezer sits (usually around 38°F).
Do not trust the residual CO₂ left over from fermentation unless you measured it. Most calculators assume it is close to zero. If you are bottling straight from the fermenter without cold crashing, you might have 0.8 to 1.0 volumes already dissolved. Ignoring that will put you over target.
The PSI Chart: How Temperature Dictates Pressure
Here is where Henry’s Law comes in. It states that the amount of gas dissolved in a liquid is directly proportional to the partial pressure of that gas above the liquid. In plain terms, colder liquid holds more CO₂ at the same pressure. Warmer liquid needs higher pressure to hold the same amount of gas.
This is why you cannot just set your regulator to 12 PSI and walk away. If your kegerator runs at 40°F and you want 2.5 volumes, you need about 12 PSI. But if your garage fridge drifts up to 50°F during summer, that same 12 PSI will only give you around 2.1 volumes. The beer did not change. The physics did.
I learned this the hard way during a heat wave. My keezer sits in the garage, and the ambient temp spiked to 95°F for a week. The fridge could not keep up. Internal temp climbed to 48°F. Suddenly, my porter that had been pouring perfect at 10 PSI started coming out flat. I bumped the pressure to 13, and it came back.
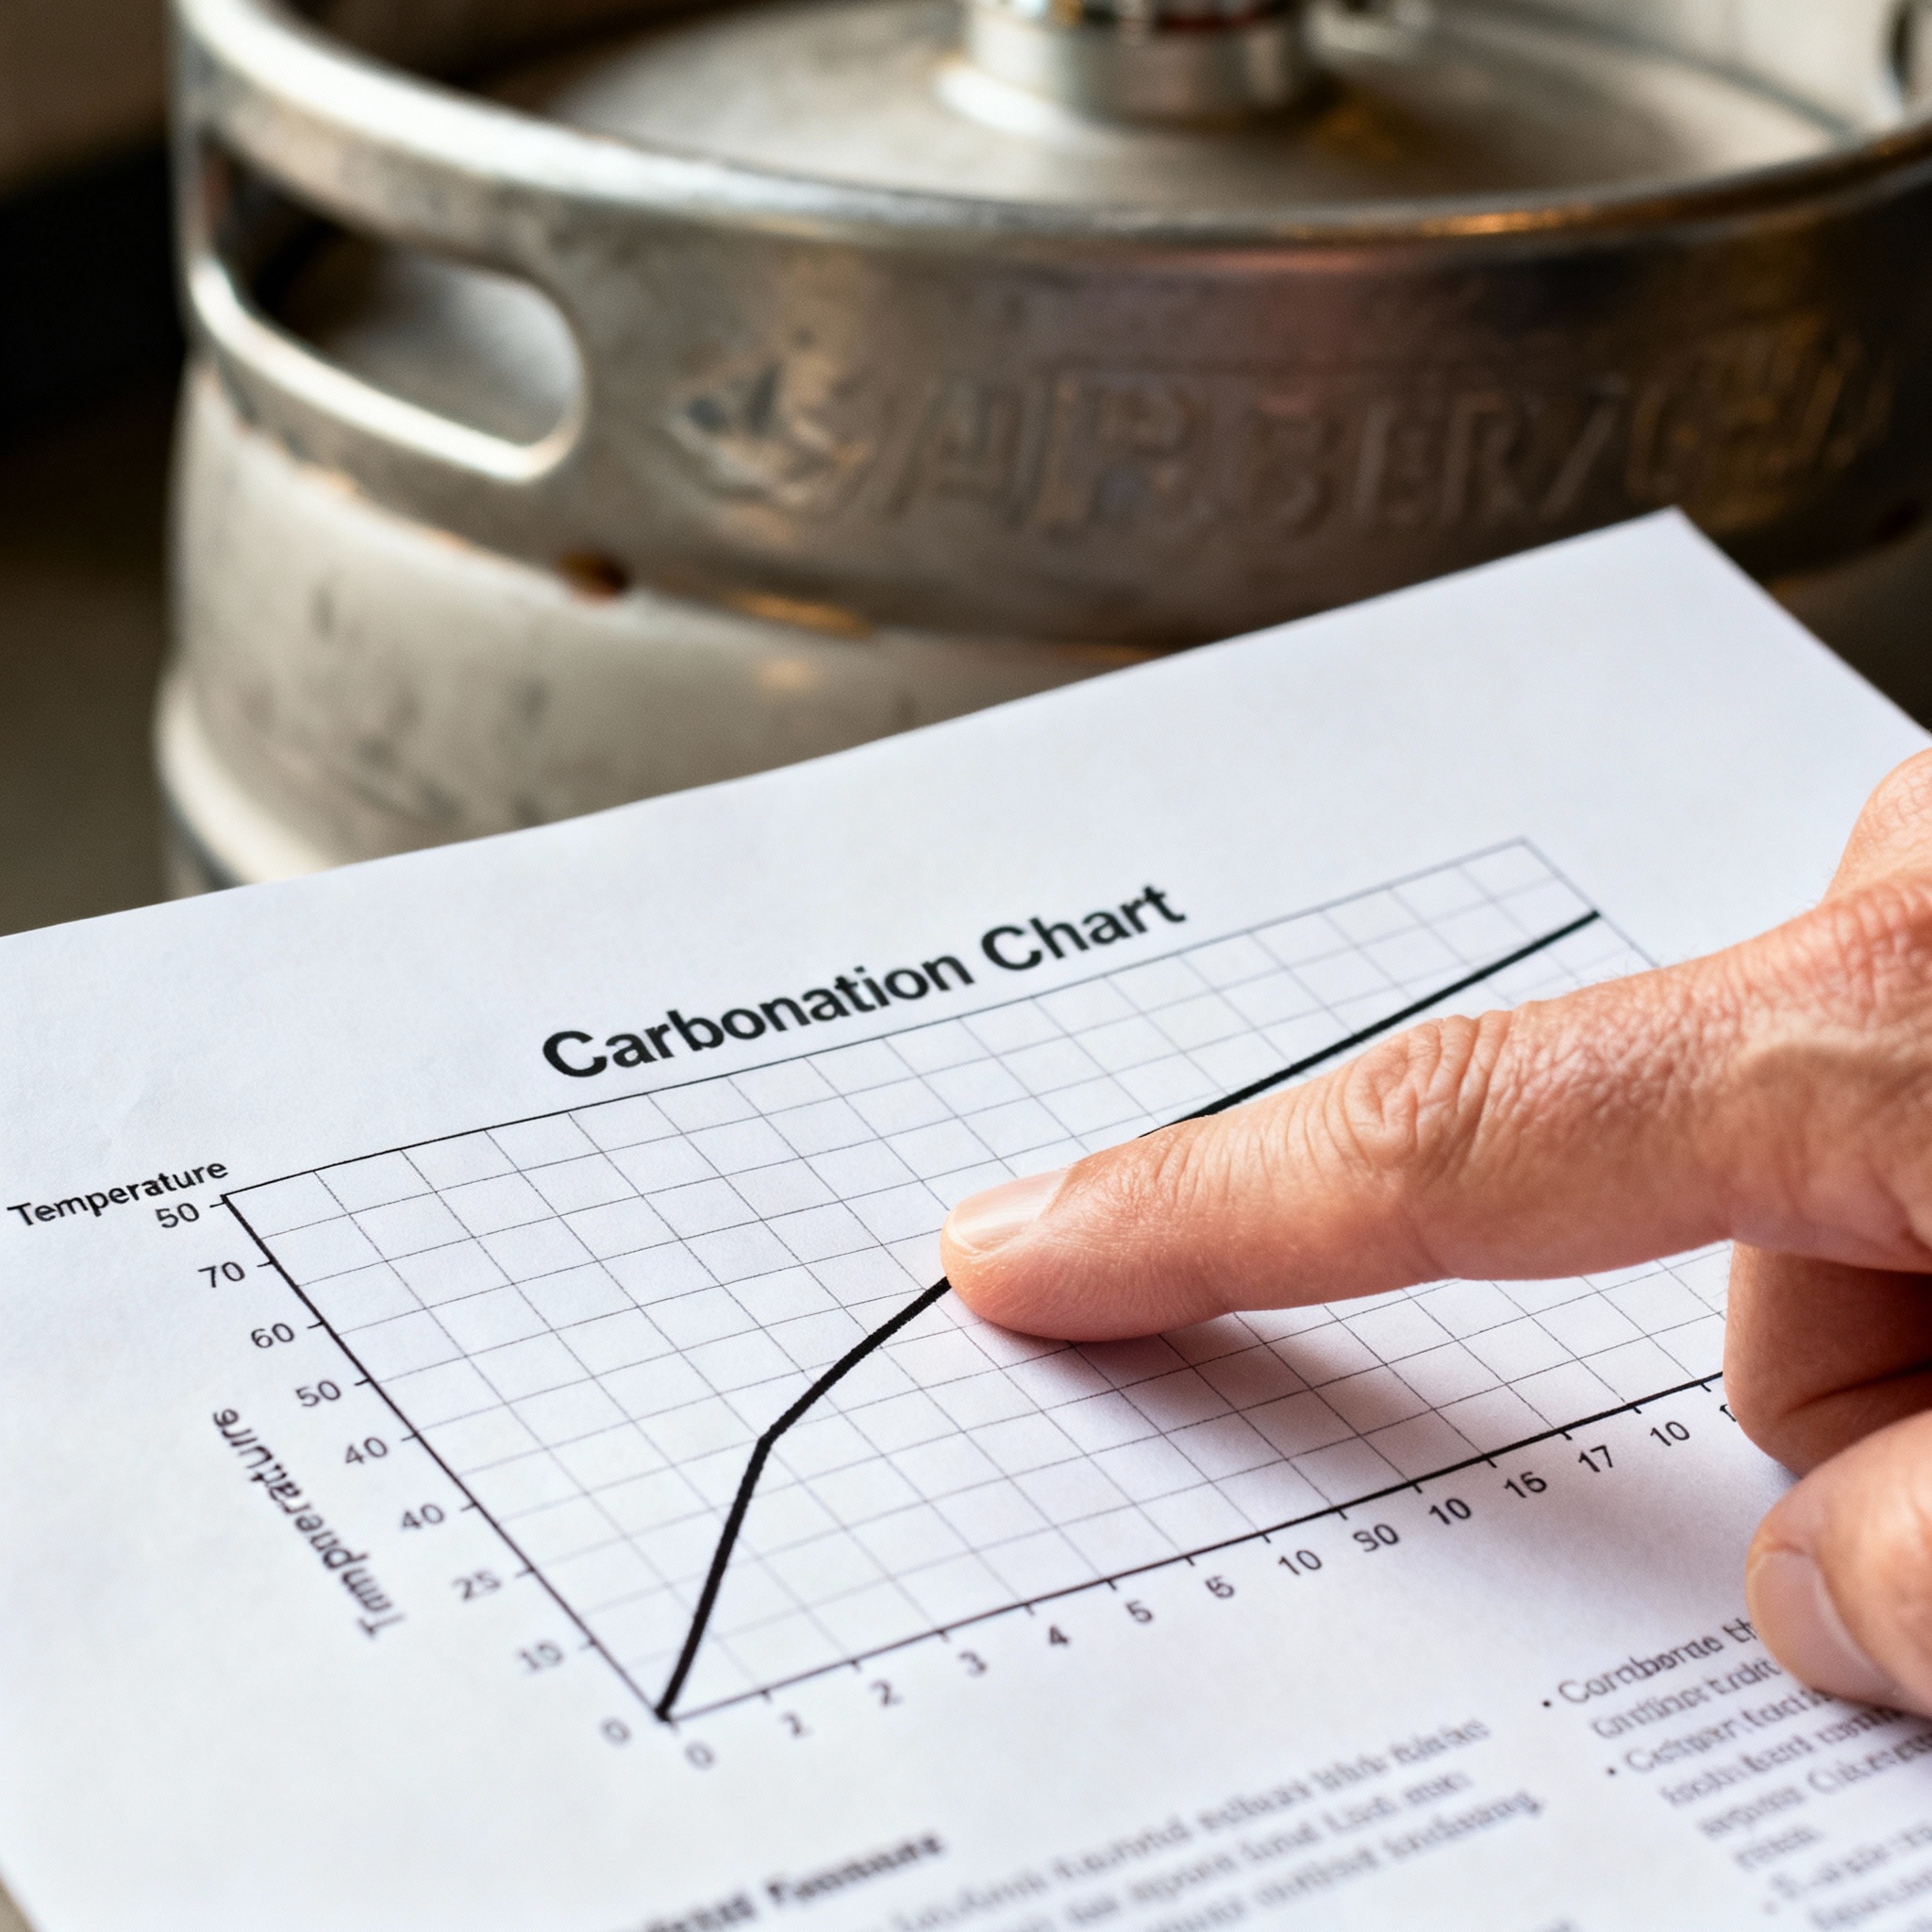
The standard carbonation chart is your friend here. It is a grid with temperature on one axis, volumes on the other, and PSI in the cells. You find your temp, find your desired volumes, and the chart tells you the pressure. No guessing.
I keep a digital copy on my phone and a printed one in the garage. When I tap a new keg, I check the fridge temp with a probe thermometer (not the built-in dial, those lie), decide on my target volumes, then set the regulator. It takes 30 seconds and prevents weeks of mediocre pours.
If your kegerator does not have a reliable thermometer, buy a cheap wireless probe. Stick it in a cup of water on the middle shelf. That water temp is what matters for carbonation, not the air temp near the fan.
Line Resistance: Why You Need Longer Lines for High Pressure
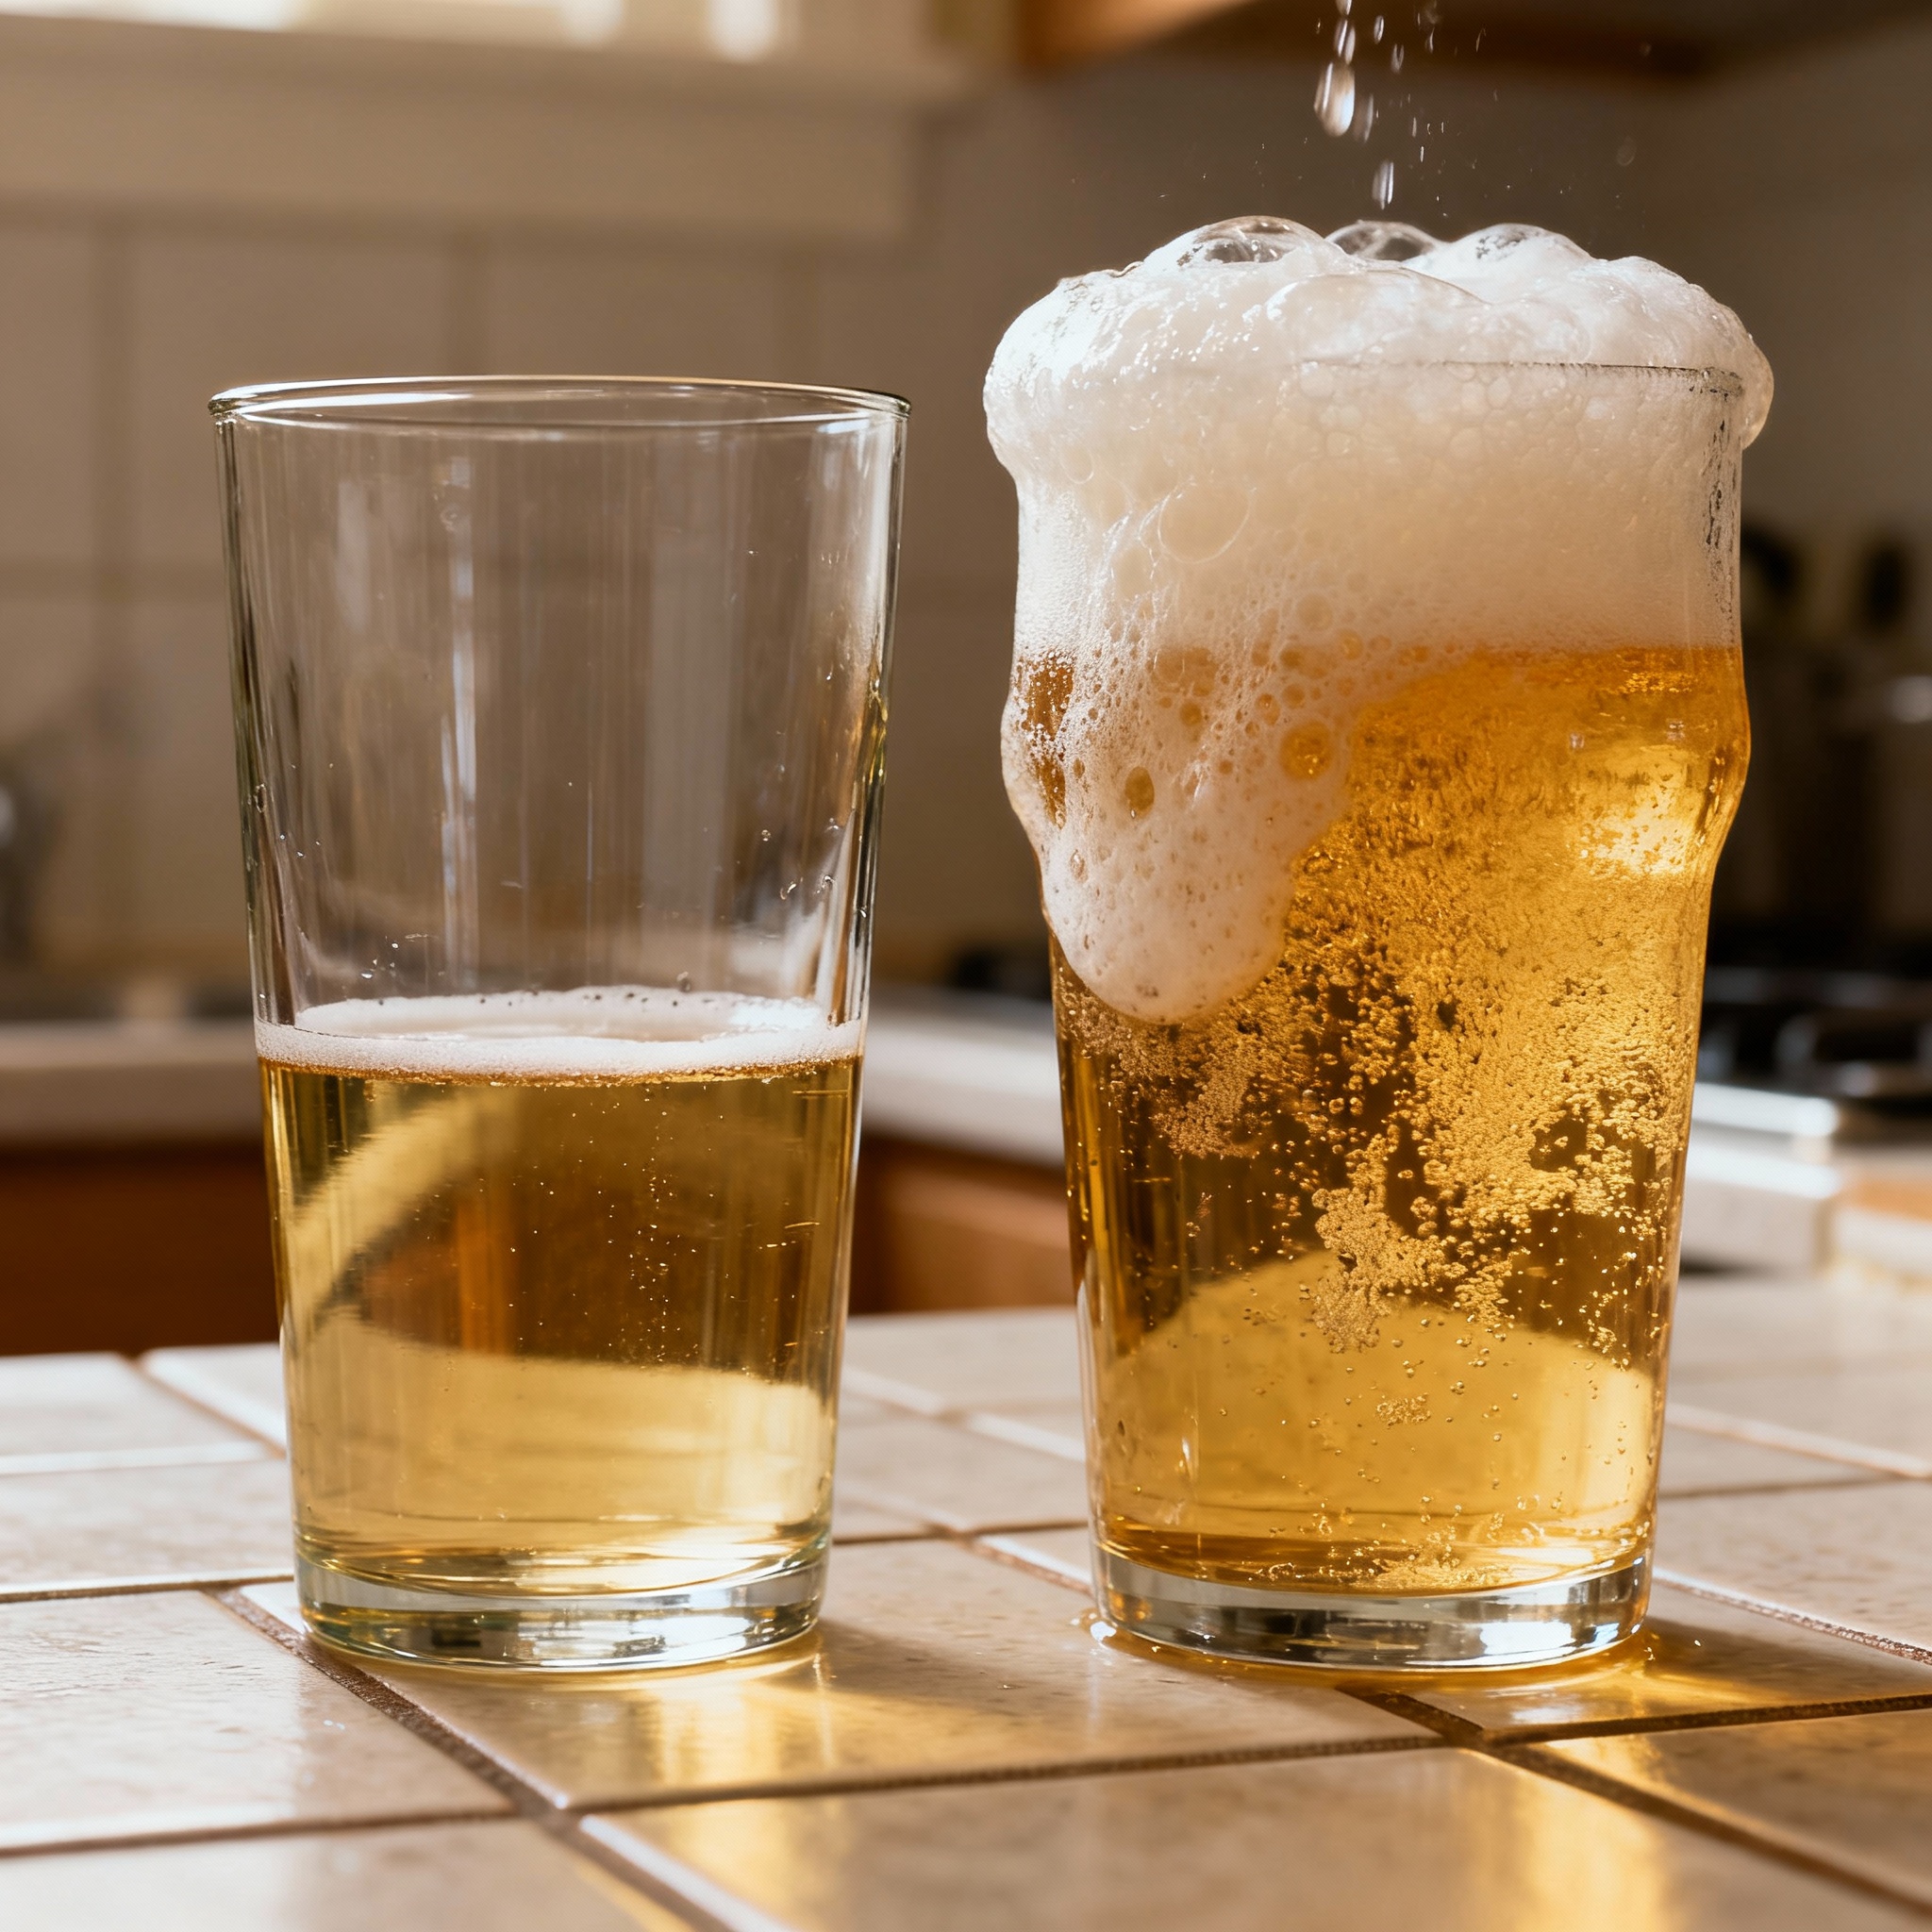
You can nail the carbonation level inside the keg and still pour nothing but foam. That is because pressure does not disappear when you open the tap. It rushes through the line, and if the line does not provide enough resistance, the CO₂ breaks out of solution before it hits the glass.
Line resistance is measured in pounds per foot. Standard 3/16-inch ID vinyl tubing gives you about 2 to 3 PSI of resistance per foot, depending on the brand and temperature. If your keg is sitting at 12 PSI and you have 3 feet of line, you have roughly 6 to 9 PSI of resistance. That is not enough. The beer hits the faucet still under pressure, flashes into foam, and you waste half the pour waiting for it to settle.
The fix is simple. Add more line. For a 12 PSI system, I run about 8 to 10 feet of 3/16-inch line. That gives me 16 to 30 PSI of resistance, which is more than enough to drop the pressure to near zero by the time the beer leaves the tap. The pour is smooth, the foam is minimal, and the glass fills fast.
If you are running a high-carbonation style like a wit or a pilsner (13 to 15 PSI), you might need 12 feet or more. I have one tap dedicated to saisons, and it has 14 feet of line coiled up inside the keezer. It looks messy, but it pours clean every time.
Some people use flow control faucets to handle this, and those work fine. But I am cheap. Line is two bucks a foot. A flow control faucet is 60. I will take the ugly coil.
If you switch a tap between low-carb and high-carb beers, do not swap the keg without adjusting the line length. I keep a spare coil of tubing and some barbed connectors in a drawer. When I tap a 3.0-volume hefeweizen after a 2.0-volume porter, I add 4 feet of line. When I go back, I cut it off.
Priming Sugar Math: Weighing Dextrose vs Volume Measurements
Bottle conditioning is where most people mess up, because the instructions on the priming sugar bag are garbage. They will tell you to use “3/4 cup” or “5 ounces” for a 5-gallon batch, and that is it. No mention of what carbonation level that targets. No mention of temperature. Just dump and hope.
I do not work that way anymore. I calculate the exact amount of sugar needed based on the style, the residual CO₂ already in the beer, and the volume I am bottling. Then I weigh it on a scale.
The formula is not complicated. For dextrose (corn sugar), you need about 0.5 ounces per gallon to add 1 volume of CO₂. But that assumes you are starting from zero volumes. If your beer has been cold-crashed and still holds 0.9 volumes, you only need to add 1.1 volumes to hit a 2.0-volume target. For 5 gallons, that works out to 2.75 ounces of dextrose.
I use a gram scale. It is more precise than ounces, especially for small batches. The same formula in grams is about 14 grams per gallon per volume. So for that same 5-gallon batch needing 1.1 volumes, I would weigh out 77 grams.
Table sugar (sucrose) works too, but the ratio is slightly different because it is a disaccharide. You need about 10% less by weight compared to dextrose to get the same carbonation. I stick with dextrose because it is consistent and I already have the math dialed in.
Volume measurements like cups are a disaster. Sugar settles. Humidity changes the density. A “cup” of dextrose can weigh anywhere from 5 to 7 ounces depending on how you scoop it. That is a 40% margin of error. When you are dealing with something that can turn your bottles into grenades, 40% is unacceptable.
If you are bottle conditioning a high-gravity beer (over 8% ABV), go easy on the priming sugar. The yeast are stressed and might ferment slower. I usually drop my target volumes by 0.2 to 0.3 to give myself a buffer. You can always add more carbonation later by opening and recapping with a tiny bit of sugar. You cannot undo a bottle bomb.
Force Carbonation: Burst Carbing vs Set-and-Forget
When I first got a kegerator, I tried the “set it and forget it” method. Hook up the keg, set the regulator to serving pressure, wait a week. It worked, but I am not patient. Waiting seven days to taste a fresh beer felt like torture.
That is when I learned about burst carbonation. You crank the pressure way up (usually 30 to 40 PSI), let it sit for 24 to 48 hours, then bleed off the excess and drop back to serving pressure. The high pressure forces CO₂ into solution faster. You can have a properly carbonated keg in two days instead of seven.
The first time I tried it, I overdid it. I set the regulator to 40 PSI, left it for 36 hours, then tapped it immediately without bleeding the headspace. The first pour was 90% foam. I had to wait 10 minutes between pints while the keg settled. Not ideal during a game night.
Now I follow a process. I set the regulator to 30 PSI, shake the keg gently for about 2 minutes to increase surface area, then let it sit undisturbed for 24 hours. After that, I pull the pressure release valve to vent the headspace, drop the regulator to serving pressure (usually 10 to 12 PSI), and let it equalize for another 12 hours. The carbonation is even, the foam is manageable, and I am drinking fresh beer on day two.
The set-and-forget method still has a place. If I am not in a rush, I will just hook up the keg, set it to the correct serving PSI based on the chart, and let physics do the work. After a week, it is perfect. No shaking, no babysitting, no risk of over-carbonating.
I use burst carbing for styles I plan to drink fast (IPAs, pale ales, anything hop-forward that will fade). I use slow carbonation for styles that benefit from age (stouts, barleywines, sours). The method does not change the final result. It just changes how fast you get there.
If you burst carb, do not trust the first pour. Even after venting the headspace, the liquid near the dip tube might still be under-carbonated while the top is over-carbonated. Pour off a pint, let it sit for an hour, then check again. The second pour is usually the real test.
Dialing It In
Carbonation is not magic. It is Henry’s Law, line resistance, and a little bit of patience. If you measure your volumes, match your PSI to your temperature, balance your draft system, and weigh your priming sugar, you will get consistent results every time.
I still mess up occasionally. Last month I forgot to account for residual CO₂ in a batch of cider and ended up with geysers when I cracked the first bottle. But those mistakes are rare now, because I treat carbonation like any other process step. I measure. I record. I adjust.
Your bubbles are not an accident. They are a choice. Make them intentional.
Carbonation Reference Table
| Beer Style | Target Volumes CO₂ | Serving Temp (°F) | Approx. PSI (at temp) |
|---|---|---|---|
| British Mild/Bitter | 1.5 - 2.0 | 50 - 55 | 6 - 9 |
| Stout/Porter | 1.7 - 2.3 | 45 - 50 | 8 - 11 |
| American Pale Ale | 2.2 - 2.7 | 38 - 42 | 10 - 13 |
| German Lager | 2.4 - 2.6 | 38 - 42 | 11 - 12 |
| IPA | 2.2 - 2.6 | 38 - 42 | 10 - 12 |
| Hefeweizen | 3.0 - 4.5 | 40 - 45 | 14 - 20 |
| Belgian Tripel | 2.8 - 3.5 | 40 - 45 | 13 - 16 |
| Cider | 2.5 - 3.0 | 38 - 42 | 11 - 14 |
References
-
Palmer, J. (2017). How to Brew. Brewers Publications.
-
Fix, G. (1999). Principles of Brewing Science (2nd ed.). Brewers Publications.
-
Daniels, R. (1996). Designing Great Beers. Brewers Publications.
-
Zainasheff, J., & Palmer, J. (2007). Brewing Classic Styles: 80 Winning Recipes Anyone Can Brew. Brewers Publications.